For the best DIY skylights for your gazebo roof, consider using durable materials like acrylic, polycarbonate, or glass. A simple plexiglass skylight is lightweight and easy to install, while a rustic wooden frame adds charm. Polycarbonate panels offer excellent insulation and weather resistance. Don’t forget decorative elements like stained or frosted glass to enhance your gazebo’s aesthetic. Plus, proper installation and maintenance are essential for longevity. Discover more ways to elevate your gazebo design!
Choosing the Right Materials for Your Skylight
When you’re considering adding skylights to your gazebo roof, it’s essential to choose the right materials to guarantee durability and aesthetics. There are various skylight types, including acrylic, polycarbonate, and glass. Each material brings unique benefits.
Acrylic is lightweight and resistant to shattering, making it a safe choice for outdoor spaces. Polycarbonate offers excellent insulation and UV protection, ensuring your gazebo stays comfortable and protected from harmful rays. Glass, while heavier, provides a classic look and superior clarity, enhancing the natural light in your gazebo.
Consider your climate and how much sunlight you want to let in when choosing. By selecting the right materials, you can create a beautiful, functional space that invites freedom and relaxation. Don’t rush the decision; take your time to weigh the material benefits against your gazebo’s intended use and design.
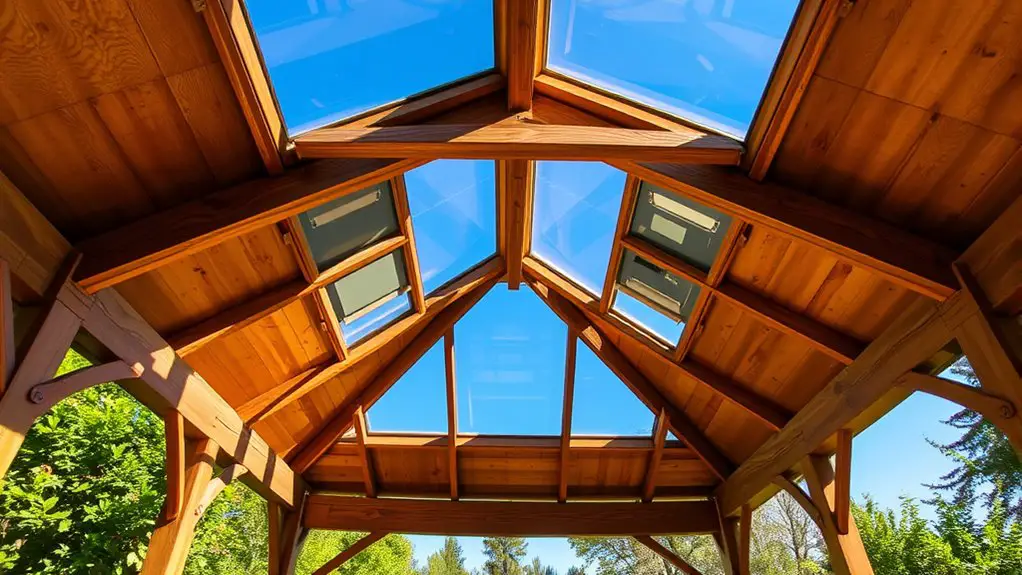
Simple DIY Plexiglass Skylight
Creating a plexiglass skylight for your gazebo is a straightforward project that can brighten up your outdoor space. You’ll need a few essential materials and a clear step-by-step guide to get started. Plus, I’ll share some maintenance tips to keep your skylight looking great for years to come.
Materials Needed for Installation
Before diving into your DIY plexiglass skylight project, it’s essential to gather the right materials to guarantee a smooth installation. Start with quality plexiglass sheets, as they’re ideal for letting in natural light while being lightweight and durable. You’ll also need a saw to cut the plexiglass to your desired size, alongside installation tools like screws, a drill, and a measuring tape for precision. Don’t forget weatherproofing materials, such as silicone sealant, to make sure your skylight withstands the elements. Depending on your gazebo’s design, consider additional skylight types, like dome or flat, to enhance your space. With everything ready, you’ll be well-equipped to create a beautiful, functional skylight!
Step-by-Step Installation Guide
Installing a plexiglass skylight in your gazebo can be achieved in just a few straightforward steps. This project not only enhances your gazebo ambiance but also brings the amazing skylight benefits of natural light. Here’s how to do it:
- Measure the area where you want to install the skylight.
- Cut the plexiglass to size, ensuring it fits snugly into the opening.
- Secure the plexiglass with weather-resistant screws and sealant to prevent leaks.
- Finish by adding trim around the edges for a polished look.
With these steps, you’ll create a beautiful, bright space that invites nature indoors. Enjoy your new skylight, and let the sunshine brighten your gazebo experience!
Maintenance Tips and Tricks
Although installing a plexiglass skylight can greatly enhance your gazebo, regular maintenance is essential to keep it looking great and functioning well. Start by using gentle cleaning techniques, like a soft cloth and a mild soap solution, to prevent scratches. Avoid harsh chemicals that could damage the surface. To guarantee your skylight remains watertight, regularly check the sealing methods you’ve used. If you notice any wear or cracks in the sealant, replace it promptly to prevent leaks. Consider applying a UV protectant to reduce yellowing over time. With these simple steps, you’ll maintain the beauty and functionality of your skylight, allowing you to enjoy your gazebo for years to come.
Rustic Wooden Frame Skylight
Creating a rustic wooden frame skylight for your gazebo can add charm and natural light to your outdoor space. You’ll need specific materials and a clear step-by-step assembly process to guarantee a sturdy build. Plus, we’ll explore design ideas to complement your gazebo’s aesthetics beautifully.
Materials Needed Overview
When you’re ready to enhance your gazebo with a rustic wooden frame skylight, gathering the right materials is crucial for a successful project. A skylight can bring natural light into your space, offering numerous skylight benefits that elevate your gazebo design. Here’s what you’ll need:
- Wooden Beams: Choose sturdy, weather-resistant wood for the frame.
- Plexiglass or Polycarbonate Sheets: Lightweight and durable options for the skylight itself.
- Wood Screws: Confirm you’ve got corrosion-resistant screws for longevity.
- Sealant: A good quality sealant to prevent leaks and keep your structure intact.
With these materials, you’re well on your way to creating a stunning addition that invites the beauty of the outdoors inside!
Step-by-Step Assembly
Now that you’ve gathered all your materials, it’s time to put your plans into action and assemble the rustic wooden frame skylight for your gazebo. Start by cutting your wooden beams to size, ensuring they fit snugly. Next, create a frame by connecting the beams at the corners with screws. Then, install the polycarbonate sheet securely within the frame, allowing for maximum sunlight penetration—enjoying the skylight benefits like natural light and ventilation.
Here’s a quick reference table for assembly:
| Step | Action | Purpose |
|---|---|---|
| 1. Cut Beams | Measure and saw | Fit frame snugly |
| 2. Assemble Frame | Join corners with screws | Create sturdy structure |
| 3. Install Sheet | Secure polycarbonate | Maximize sunlight access |
| 4. Final Touches | Sand and finish | Enhance aesthetic appeal |
Design and Aesthetics
While a rustic wooden frame skylight can enhance your gazebo’s charm, thoughtful design and aesthetics are key to making it a standout feature. To achieve a beautiful and functional skylight, consider these four elements:
- Material Choice: Use reclaimed wood for an authentic rustic look.
- Aesthetic Balance: Confirm the frame complements your gazebo’s overall design.
- Light Diffusion: Use frosted or textured glass to soften sunlight and create a cozy atmosphere.
- Positioning: Place the skylight strategically to maximize natural light while preventing overheating.
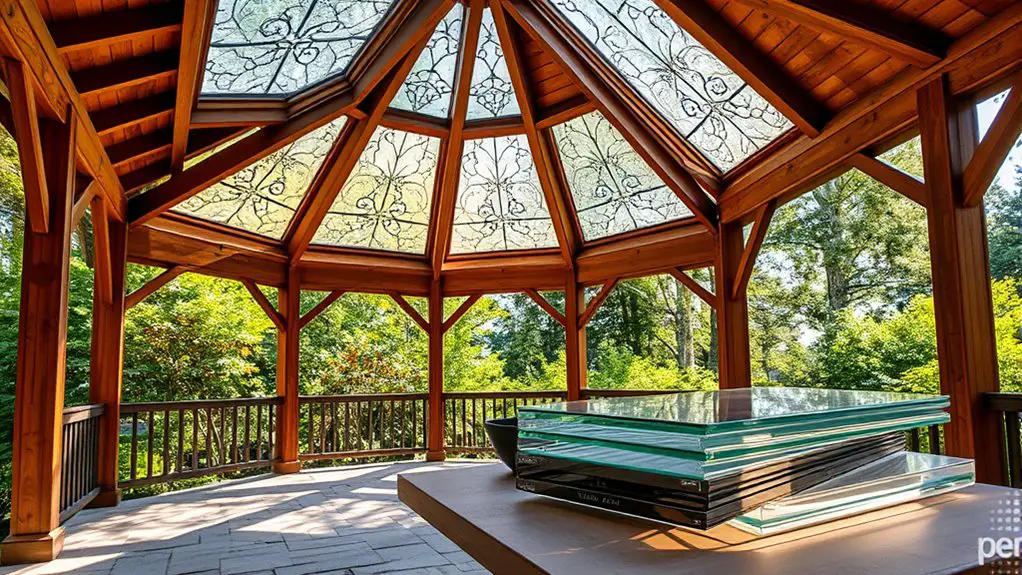
Using Polycarbonate Panels for Durability
Choosing polycarbonate panels for your DIY skylights is a smart move if you’re looking for durability and longevity. These panels offer several polycarbonate advantages that make them ideal for outdoor structures like gazebos. First, their exceptional weather resistance means they can withstand harsh rain, snow, and UV rays without warping or deteriorating over time.
You won’t have to worry about leaks or fading, allowing you to enjoy the natural light without compromising your gazebo’s integrity. Plus, polycarbonate is lightweight yet incredibly strong, making installation a breeze. You can easily cut them to fit your design and secure them without the heavy lifting associated with traditional glass.
Incorporating Decorative Glass for Style
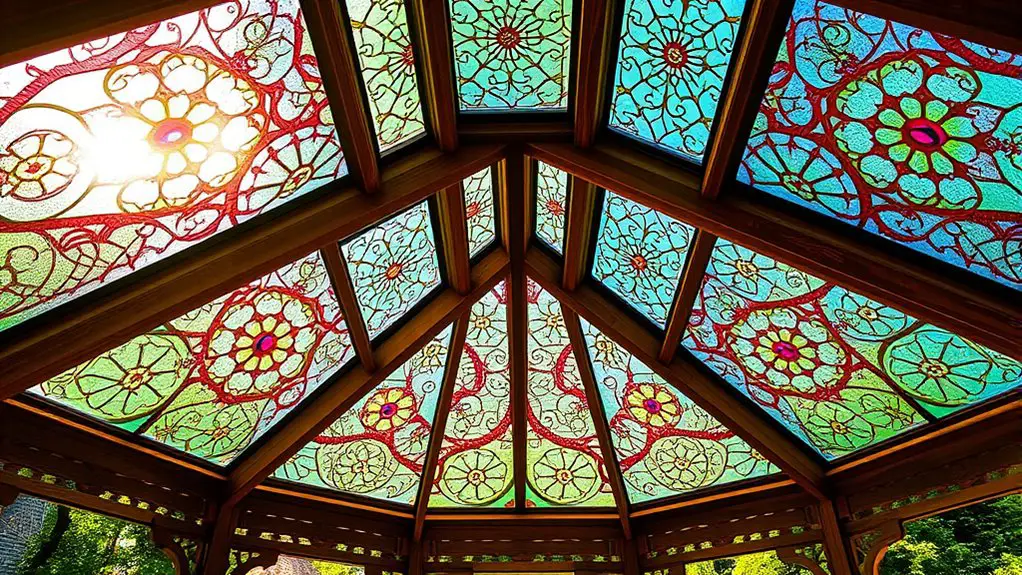
If you want to elevate the aesthetic of your gazebo, incorporating decorative glass into your skylights can add a unique touch that reflects your personal style. Decorative glass not only allows light to filter in beautifully but also adds character and charm. Here are some ideas to take into account:
Elevate your gazebo’s charm with decorative glass skylights that enhance light and showcase your personal style.
- Stained Glass: Choose vibrant colors and intricate designs to create a stunning focal point.
- Frosted Glass: This option provides privacy while still allowing natural light to shine through, featuring soft, soothing patterns.
- Textured Glass: Explore various glass textures that can create interesting shadows and visual depth on your gazebo’s interior.
- Etched Patterns: Custom etching can give your skylights a personalized flair, showcasing designs that resonate with you.
Incorporating these decorative elements can help you express your individuality while enjoying the benefits of natural light in your outdoor space.
Tips for Proper Installation and Maintenance
To guarantee your DIY skylights are both functional and long-lasting, it’s essential to focus on proper installation and regular maintenance. Start by carefully considering skylight placement; position them where they’ll capture the most light while avoiding direct sun exposure during peak hours to reduce overheating. Ascertain your framework is sturdy enough to support the skylights, using weather-resistant materials to combat potential leaks.
When installing, use high-quality seals and flashing to protect against moisture. After installation, keep an eye on your skylights, checking for any signs of wear or damage. Regularly clean the glass to maintain visibility and light flow, and inspect seals at least twice a year, especially before inclement weather. Additionally, ensure that your skylights are integrated into a sloped roof design to facilitate effective rain runoff. By addressing these weather considerations, you’ll enjoy the beauty and brightness of your gazebo for years to come, giving you the freedom to enjoy your outdoor space in style!
Frequently Asked Questions
Can Skylights Be Opened for Ventilation?
Skylights can be your home’s refreshing change. Certain skylight types offer ventilation options, allowing you to open them for airflow. This feature keeps your space comfortable and bright, enhancing your living experience effortlessly.
How Do I Calculate the Size for My Skylight?
To calculate your skylight dimensions, consider the area you want to illuminate and the desired light transmission. Measure your space, then use a ratio of 1:10 for ideal brightness while ensuring it complements your design.
Are There Any Building Permits Required for Skylights?
You wouldn’t want to plunge into skylight magic without checking those pesky skylight regulations! Usually, you’ll need a permit, so navigate the permit process to guarantee your project shines without a hitch. Happy building!
What Is the Best Orientation for a Skylight?
When considering skylight placement, aim for a south-facing orientation. This way, you’ll maximize light direction, allowing sunlight to flood your space throughout the day. It creates a bright, inviting atmosphere that enhances your freedom-loving spirit.
How Can I Improve Energy Efficiency With My Skylight?
Did you know that properly positioned skylights can boost energy savings by up to 30%? To improve energy efficiency, maximize solar gain by using low-E glass and consider shades to regulate temperature in your space.