Creating a photography studio inside your gazebo lets you harness natural light and beautiful backdrops. Start by selecting a suitable location that captures soft morning or golden hour light. Use essential gear like softboxes and LED panels to enhance your shots, and choose between natural and fabric backdrops for diverse aesthetics. Incorporate nature by using surrounding greenery, and remember to edit your images for a polished look. Discover further tips to refine your setup and enhance your photography skills.
Choosing the Right Location for Your Gazebo Studio
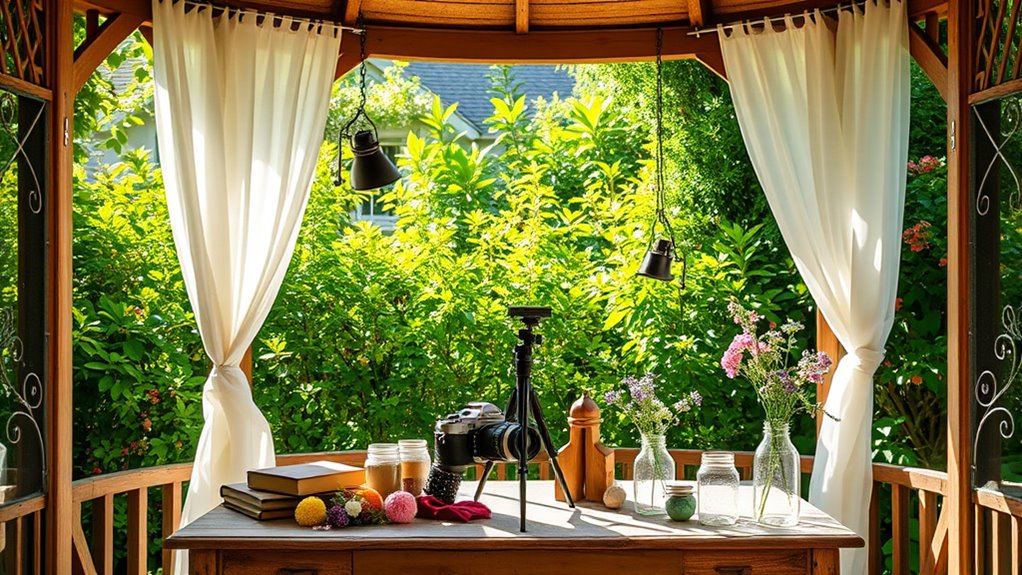
When you’re selecting the perfect location for your gazebo studio, consider how natural light and surroundings will impact your photography. Proper gazebo placement is essential; choose a spot that captures the soft morning light or the golden hour glow. Think about the studio dimensions too—ensure your gazebo is spacious enough to accommodate your equipment while allowing for creative movement.
Look for locations with interesting backdrops, like lush gardens or serene water features, to enhance your images. Pay attention to the direction of sunlight throughout the day; this knowledge will help you plan your shoots effectively. Additionally, think about accessibility for your clients and equipment. You want your studio to feel inviting and free, both for you and those you photograph. By carefully considering these factors, you’ll create a haven for creativity that inspires stunning visual storytelling. Also, consider the impact of sun and shade exposure on your photography, as it can significantly affect the quality of your images.
Essential Lighting Techniques for Outdoor Photography
Selecting the right location for your gazebo studio sets the stage for capturing breathtaking outdoor images, but mastering lighting techniques is equally essential for achieving stunning results. Embrace natural light during the golden hour—just after sunrise or before sunset—when the sun casts a warm, soft glow. Position your subjects to face the light for enchanting highlights, or use reflectors to bounce light onto their faces, softening shadows.
Conversely, don’t shy away from artificial light. Portable LED lights or speedlights can enhance your setup, especially in shaded areas or during overcast days. Experiment with diffusers to soften harsh light, creating a more pleasing ambiance.
Combining both natural and artificial light gives you the freedom to explore various moods and styles. By understanding these essential techniques, you’ll elevate your outdoor photography and capture stunning images that truly reflect your creative vision.
Selecting Backdrops: Natural vs. Fabric Options

When selecting backdrops for your gazebo photography studio, you’ll want to weigh the benefits of natural settings against the versatility of fabric options. Natural backdrops can provide organic beauty and texture, while fabric choices allow for creative patterns and colors that can transform your space. Mixing both can create dynamic and visually striking compositions that enhance your subjects while maintaining cohesion.
Benefits of Natural Backdrops
While both natural and fabric backdrops offer unique advantages, opting for natural settings can greatly enhance the visual appeal of your photographs. Here are some benefits you’ll enjoy with natural backdrops:
- Natural Aesthetics: The beauty of outdoor elements provides an authentic vibe that’s hard to replicate.
- Organic Elements: Incorporating trees, flowers, and water can add depth and texture to your images.
- Dynamic Lighting: Natural light shifts throughout the day, giving you varied moods and tones for your shots.
- Versatility: Different seasons bring unique visuals, ensuring your photos remain fresh and engaging.
Choosing Fabric Backdrop Styles
Fabric backdrops can be a game-changer for your photography, especially if you’re looking for controlled environments and consistent aesthetics. When choosing fabric patterns, consider how they complement your subject. Bold prints can add energy, while subtle designs create a serene vibe. Think about backdrop colors too; they should harmonize with your overall theme. For portraits, softer hues can enhance skin tones, making your subjects stand out beautifully. Don’t shy away from mixing textures; a velvet backdrop can introduce depth, while a linen one offers a more casual feel. Remember, the goal is to create a setting that resonates with your creative vision, providing the freedom to experiment and capture stunning images every time you step into your gazebo studio.
Mixing Both Options Effectively
Choosing the right backdrop is about balancing your creative vision with the environment. Mixing natural elements and fabric options can create stunning backdrop harmony. Here are some tips to achieve that perfect lighting balance:
- Color Coordination: Match fabric colors to natural surroundings; earthy tones work well with greenery.
- Texture Variation: Use fabric backdrops to add layers and depth against the simplicity of nature.
- Lighting Control: Fabric can help diffuse harsh light, while natural backdrops can enhance soft, filtered light.
- Seasonal Adjustments: Embrace seasonal changes by mixing backdrops; vibrant fabrics in spring and muted tones in fall keep your work fresh.
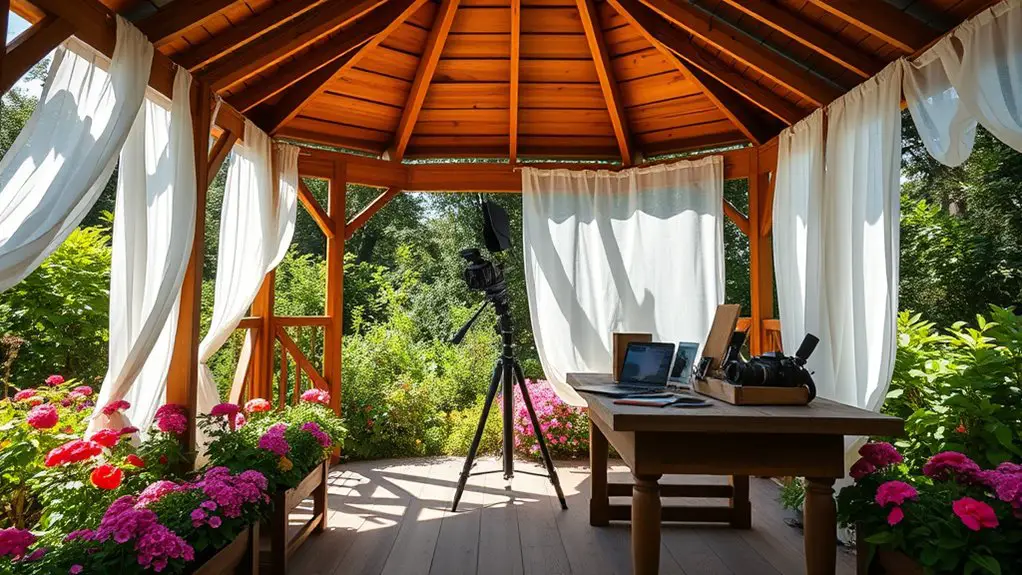
Equipment and Gear for Your Gazebo Studio
To create stunning images in your gazebo studio, you’ll need to focus on essential lighting equipment that enhances your subject. Complement this with carefully chosen backdrops and props that align with your vision, and don’t forget to select the right camera and lenses for ideal results. Each piece of gear plays a vital role in transforming your creative ideas into enchanting photographs.
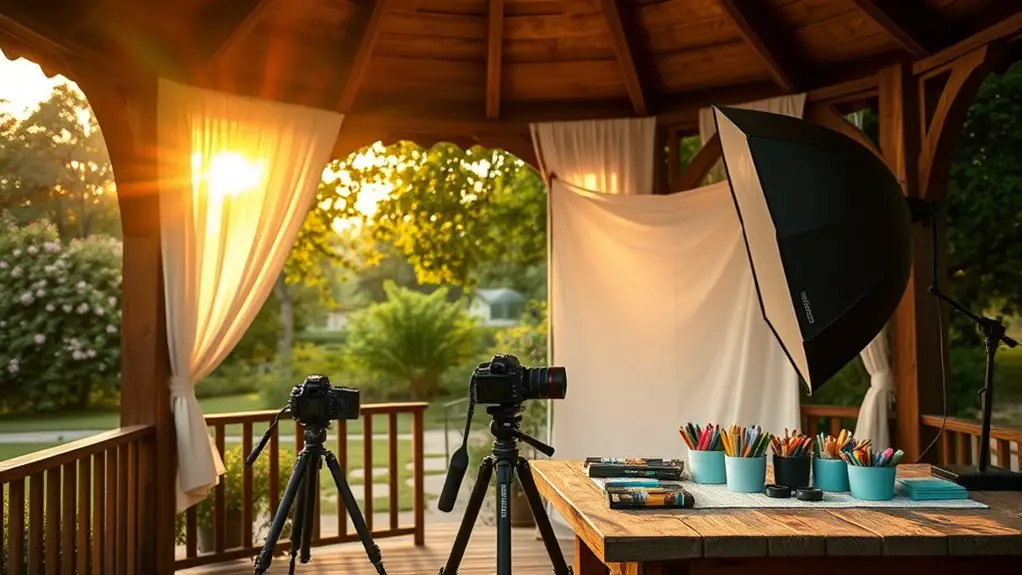
Essential Lighting Equipment
While natural light can create stunning effects in a gazebo studio, having the right lighting equipment is vital for achieving consistent results. Here’s what you’ll need to elevate your setup:
- Softbox Lights: These diffuse light effectively, reducing harsh shadows and creating a soft, flattering glow.
- LED Panels: Versatile and energy-efficient, they offer adjustable brightness and color temperature for precise control.
- Reflectors: Use these to bounce light back onto your subject, enhancing your natural light without additional equipment.
- Light Stands: Proper equipment placement is essential; sturdy stands guarantee your lights stay positioned correctly for ideal coverage.
Backdrops and Props
After setting up your lighting, the next step in creating an inviting photography studio in a gazebo involves selecting the right backdrops and props. Your choices can transform the ambiance and elevate your images. For creative backdrop ideas, consider using fabric drapes, painted canvases, or natural elements like greenery. When it comes to prop selection tips, think about items that complement your theme—like vintage furniture, interesting textures, or seasonal decor.
Here’s a quick reference table for inspiration:
| Backdrop Ideas | Props Ideas | Themes/Concepts |
|---|---|---|
| Fabric Drapes | Vintage Chairs | Bohemian |
| Painted Canvas | Seasonal Decor | Rustic |
| Natural Elements | Textured Fabrics | Elegant |
Camera and Lenses
Choosing the right camera and lenses is essential for capturing stunning images in your gazebo studio. The right gear allows you to express your creative vision while ensuring technical proficiency. Here are some key considerations:
- Camera Body: Select a DSLR or mirrorless camera for flexibility and quality.
- Lens Types: Choose prime lenses for sharp portraits or zoom lenses for versatility in framing.
- Aperture Settings: Use wide apertures for beautiful bokeh or narrow apertures for group shots.
- ISO and Shutter Speed: Adjust these camera settings based on lighting conditions to achieve the desired exposure.
With the right camera and lenses, you’ll have the freedom to create breathtaking images that reflect your unique style in your gazebo studio.
Incorporating Nature Into Your Photography
When you incorporate nature into your photography, you can transform ordinary images into enchanting works of art that resonate with viewers. Embrace nature themes by utilizing the flora and fauna surrounding your gazebo, creating a vibrant backdrop that enhances your subjects. Pay attention to seasonal changes; each season offers unique colors, textures, and moods that can dramatically alter your compositions.
In spring, capture blossoming flowers that infuse your photos with life. Summer’s lush greens evoke warmth and vibrancy, while autumn’s rich oranges and reds provide a cozy, inviting atmosphere. Even winter’s stark beauty can create striking contrasts. Consider including seasonal blooms to ensure a diverse and captivating array of colors throughout the year.
Experiment with natural light, as it can dramatically influence the mood of your shots. Soft, diffused light during golden hour can create magical effects, while harsher midday sun may cast bold shadows. By weaving nature into your photography, you’ll capture not just images, but the essence of the world around you.
Tips for Editing and Enhancing Your Images
While mastering the art of photography begins with capturing the perfect shot, enhancing your images through editing can elevate them to a whole new level. Here are some effective tips to refine your work:
Mastering photography involves not just capturing stunning images, but also refining them through thoughtful editing for an impressive finish.
- Image Sharpening Techniques: Use tools like Unsharp Mask or High Pass Filter to bring out details, but be careful not to overdo it.
- Color Correction Methods: Adjust the white balance and saturation to create vibrant, true-to-life colors that resonate with your vision.
- Crop Strategically: Trim away distractions and improve composition, ensuring your subject stands out and commands attention.
- Experiment with Filters: Try different presets and filters to achieve a unique style, but keep your edits subtle for a natural look.
Frequently Asked Questions
What Are the Benefits of Using a Gazebo for Photography?
Using a gazebo for photography offers natural lighting and a creative backdrop. You can capture stunning images while enjoying the freedom of an outdoor setting, enhancing your artistic vision with unique elements and diverse angles.
How Can I Protect My Equipment From Outdoor Elements?
To protect your equipment from outdoor elements, invest in weatherproof gear and use protective covers. These measures guarantee your gear stays safe from moisture and dust, allowing you to focus on capturing stunning images without worry.
Can I Use My Gazebo Studio During Rainy Weather?
Did you know that over 30% of photographers struggle with outdoor shoots during rainy weather? Your gazebo can provide shelter, but guarantee proper gazebo lighting to capture those moody, atmospheric shots while keeping your equipment safe.
What Time of Day Is Best for Outdoor Photography?
For outdoor photography, the golden hour—just after sunrise or before sunset—offers the best natural light. You’ll capture softer shadows and warmer tones, enhancing your images with a magical quality that can’t be replicated at other times.
How Do I Ensure Privacy While Shooting in My Gazebo?
To guarantee privacy while shooting, consider installing privacy screens and sound barriers. For instance, a client covered their gazebo with lush greenery and decorative panels, creating a serene environment that kept distractions at bay during sessions.