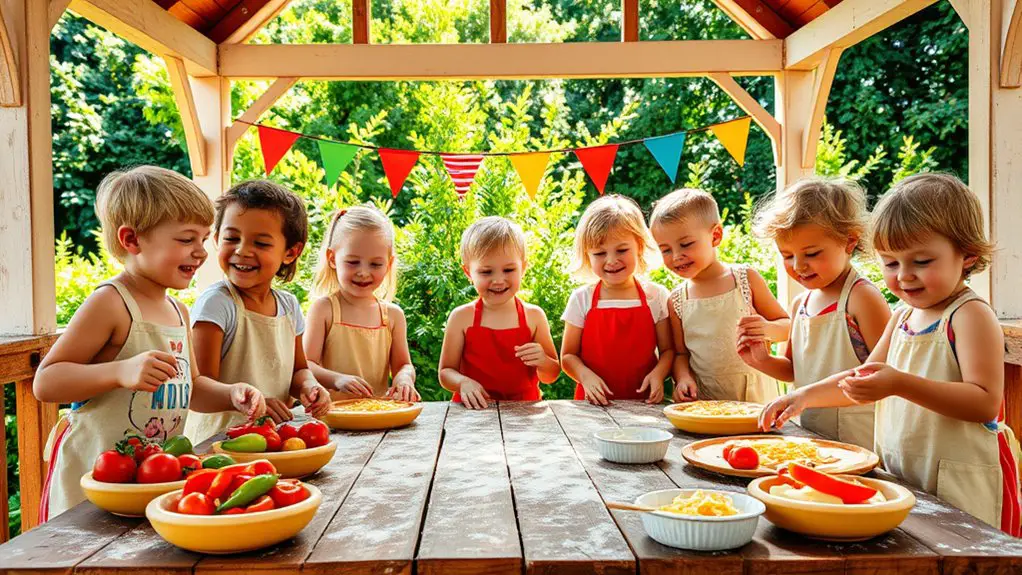
Hosting a pizza-making class for kids under your gazebo can be a fun and creative experience. Start by ensuring your outdoor space is comfortable with ample seating and shade. Gather essential ingredients like dough, sauces, and toppings, along with necessary tools such as rolling pins and baking sheets. Guide the kids through an engaging step-by-step pizza-making process, allowing them to explore unique topping combinations. With a little planning, you’ll create a memorable event that sparks culinary creativity. You’ll discover even more tips to enhance your class.
Preparing Your Outdoor Space for the Class
When it comes to preparing your outdoor space for the pizza-making class, a little organization goes a long way. First, assess your outdoor seating—make sure there’s enough for everyone to gather comfortably. Arrange tables under your gazebo, ensuring easy access to each station. Next, think about weather considerations; if it’s sunny, provide shade or umbrellas to keep the kids cool. If rain’s in the forecast, consider a waterproof cover. Set up a designated area for ingredients, tools, and clean-up supplies, keeping everything within reach. Finally, create a fun atmosphere with decorations or playful music, encouraging creativity. With thoughtful planning, your outdoor space will transform into an inviting haven for a memorable pizza-making experience! Additionally, be mindful of sun and shade exposure to ensure a comfortable environment for the kids.
Essential Ingredients and Tools for Pizza Making
With your outdoor space ready for a fun-filled pizza-making class, it’s time to gather the right ingredients and tools to guarantee a smooth cooking experience. Here’s what you’ll need to get started:
| Ingredient/Tool | Purpose | Suggestions |
|---|---|---|
| Pizza Dough | Base for your pizza | Pre-made or homemade |
| Sauce Options | Flavor base for your pizza | Tomato, pesto, BBQ |
| Toppings | Customization for individual pizzas | Cheese, veggies, meats |
Make sure to have a rolling pin, baking sheets, and pizza cutters on hand, too! With these essentials, your pizza-making adventure will be both fun and delicious. Let creativity flow, and encourage the kids to explore their favorite flavors!
Step-By-Step Guide to Making Pizza With Kids
Creating a delicious pizza with kids can be a fun and rewarding experience, and following a step-by-step guide makes it even easier. Start by choosing your dough type—whether it’s store-bought or homemade, let the kids help knead and shape it. Next, preheat your oven to the recommended temperature. Once the dough is ready, it’s time to spread your sauce evenly. Then, let each child pick their favorite cheese varieties, like mozzarella or cheddar, and sprinkle them over the sauce. After that, roll out the dough into personal-sized pizzas, allowing creativity to flow. Finally, bake until golden and bubbly. Enjoy the delightful pizzas together, celebrating your teamwork and tasty creations!
Creative Topping Ideas to Inspire Young Chefs
Now that you’ve mastered the basics of pizza-making, it’s time to get creative with toppings! Encourage the kids to think outside the box and explore unconventional toppings. How about using fig jam and goat cheese for a sweet and savory combo? Or try roasted Brussels sprouts with balsamic glaze for a crunchy twist.
Incorporating seasonal ingredients is another fun way to inspire young chefs. For instance, summer brings juicy tomatoes and basil, while fall offers delicious pumpkin and sage. Let the kids experiment with combinations like pear and gorgonzola or apple and cheddar.
These creative toppings not only make for unique pizzas but also spark imagination and conversation. Additionally, having a gazebo provides outdoor comfort that enhances the overall experience, allowing everyone to enjoy their culinary creations in a shaded and pleasant environment. So, let their culinary creativity shine under your gazebo!
Tips for a Fun and Safe Pizza-Making Experience
How can you guarantee that pizza-making is both fun and safe for kids? Start by establishing clear safety measures. Set up a designated cooking area where kids can work without distractions. Use kid-friendly recipes that allow for creativity but minimize the risk of burns or cuts. Pre-measure ingredients to keep things organized and reduce mess. Encourage handwashing before and after handling food to promote hygiene. Supervise closely while they handle dough and toppings, and be sure to have a first aid kit on hand just in case. Additionally, ensure that your gazebo is secured from wind to provide a safe and comfortable cooking environment. Create a relaxed atmosphere where kids can express themselves and share ideas. With these tips, you’ll foster an enjoyable experience that sparks their culinary creativity while ensuring their safety.
Frequently Asked Questions
What Age Group Is Best for a Pizza-Making Class?
For a pizza-making class, ages 5 to 12 work best. Younger kids enjoy hands-on fun, while older ones can explore diverse pizza preferences. This age range strikes a balance between creativity and age appropriateness, ensuring everyone enjoys!
How Long Should the Pizza-Making Class Last?
For a pizza-making class, aim for a duration of about one to two hours. This allows enough time for activity engagement without overwhelming participants, ensuring everyone enjoys the process while learning valuable skills.
Can I Accommodate Dietary Restrictions?
Absolutely, you can accommodate dietary restrictions! Just make sure to offer gluten-free options and dairy-free alternatives. This way, everyone can enjoy the fun of making pizza without worrying about their dietary needs.
What Should I Do if It Rains?
If it rains, don’t fret! Embrace the opportunity for fun rainy day activities. Have a backup plan with alternative locations, like your kitchen or a nearby community center, ensuring everyone still enjoys making delicious pizzas together.
How Many Kids Can I Host at One Time?
When considering group size, aim for ten to twelve kids for ideal engagement. Smaller groups allow for better interaction and supervision. Some hosting tips include preparing materials in advance and ensuring everyone feels included and excited.

