To capture the perfect sunset or sunrise shot with your gazebo, make the most of the golden hour’s soft, warm light. Position your camera for ideal angles, experimenting with foreground elements for depth. Use a low ISO and wide aperture, ensuring your gazebo remains the focal point. Don’t forget to play with shadows and reflections for added drama. With a keen eye for framing and color harmony, you can create stunning images that truly evoke emotion. There’s more to explore!
Understanding the Golden Hour
As the sun dips below the horizon or rises to greet the day, you’re in the midst of what photographers call the “golden hour.” This enchanting period, occurring shortly after sunrise and just before sunset, bathes the landscape in soft, warm light that enhances colors and textures. The benefits of the golden hour are undeniable; the light temperature during this time is cooler than midday sun, creating a dreamy atmosphere that makes everything look magical.
Shadows soften, and harsh contrasts fade, allowing you to capture the true essence of your surroundings. Whether it’s a dew-kissed flower or the silhouette of your gazebo, every shot feels alive and vibrant. This is your time to explore, to breathe in the beauty around you, and to let your creativity flow. Embrace the golden hour, and watch how it transforms ordinary moments into extraordinary memories.
Choosing the Right Angle
When you’re out there chasing that perfect sunset or sunrise, the angle you choose can make all the difference. Positioning your camera near a gazebo or other focal point can add depth and interest to your shot, while landscape orientation can help convey the vastness of the scene. Experimenting with different perspectives will help you find the most enchanting view.
Optimal Gazebo Positioning
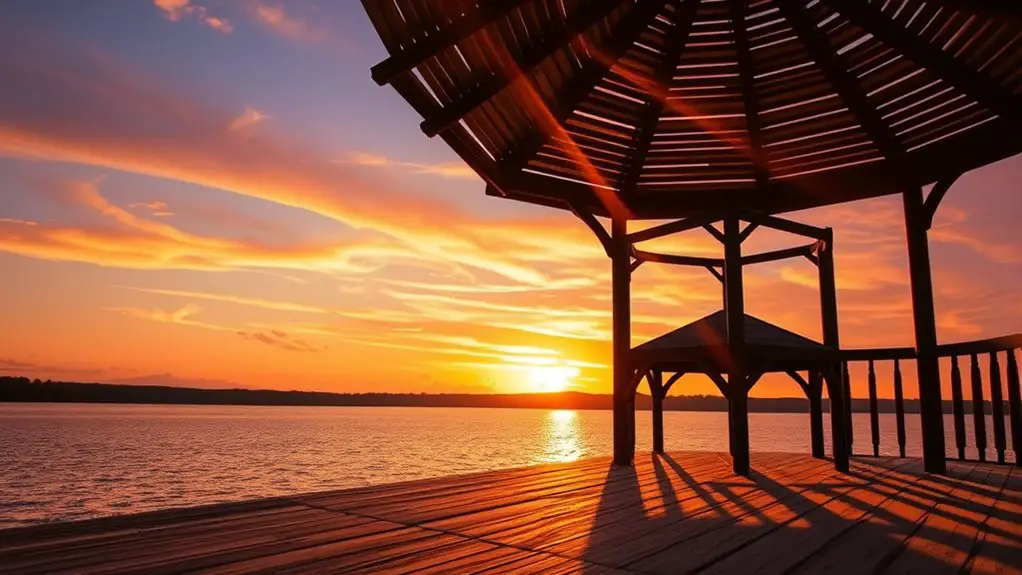
To capture the breathtaking beauty of a sunset or sunrise from your gazebo, you need to contemplate its positioning carefully. Start by considering the gazebo orientation; it should face the horizon where the sun rises or sets. This way, you can frame the perfect sunset backdrop, with vibrant colors spilling into your shots. Think about the surrounding landscape as well; a clear view enhances the beauty of those golden hours. You might want to experiment with different angles within the gazebo, too, allowing you to capture the scene in various ways. By aligning your gazebo and your perspective, you’ll set the stage for stunning photographs that evoke a sense of freedom and tranquility.
Landscape Orientation Considerations
Choosing the right angle for your sunset or sunrise shots can make all the difference, especially when you’re working from the confines of a gazebo. Embracing landscape orientation allows you to capture the expansive beauty of the sky and horizon, showcasing the vibrant colors that dance during these magical moments. Here are some landscape orientation tips to elevate your photography game:
| Aspect | Consideration |
|---|---|
| Framing | Include foreground elements |
| Composition | Use the rule of thirds |
| Lighting | Shoot during golden hour |
| Angle | Experiment with low and high shots |
| Perspective | Capture depth for dimension |
Utilizing these landscape orientation benefits will not only enhance your shots but also bring a sense of freedom to your photography journey.
Framing Your Gazebo
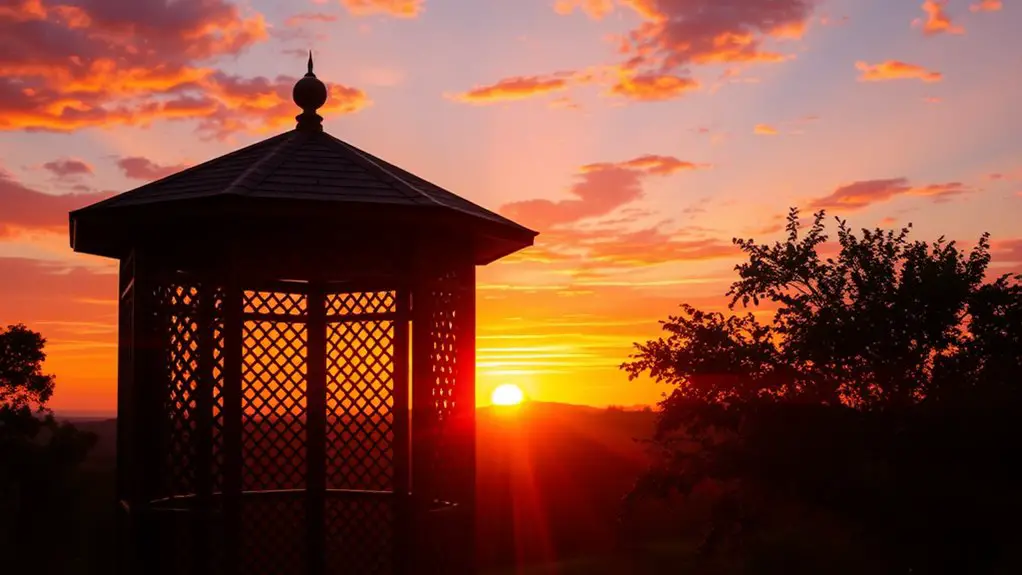
A gazebo can serve as a stunning focal point in your sunset or sunrise photography, creating a picturesque frame for the vibrant colors of the sky. To guarantee your gazebo design enhances visual balance, consider these tips:
- Positioning: Place your gazebo where it complements the horizon, allowing the sun’s descent or ascent to shine through.
- Angles: Experiment with various angles; a low angle might emphasize the gazebo’s structure against a dramatic sky.
- Foreground Interest: Incorporate flowers, trees, or other elements in the foreground to add depth and intrigue to your shot.
- Leading Lines: Use pathways or fences leading to the gazebo to guide the viewer’s eye toward the focal point. Additionally, ensure that the gazebo is located on flat, sturdy ground to provide stability and enhance the overall composition of your photographs.
Utilizing Natural Light
While capturing the perfect sunset or sunrise, harnessing natural light is essential for enhancing your images. The soft, golden hues of dawn or dusk can create stunning natural light effects, adding depth and warmth to your photos. Pay close attention to light direction; the angle of the sun can dramatically change the mood of your shot.
Position yourself so the light bathes your gazebo in a flattering glow, highlighting its structure against the vibrant sky. Experiment with different angles to see how shadows dance across the ground, or how the light filters through the gazebo’s openings.
Adjusting Camera Settings
To capture that breathtaking sunset or sunrise, adjusting your camera settings is essential. Here’s how to optimize your settings for stunning results:
Adjusting camera settings is crucial for capturing breathtaking sunsets and sunrises. Optimize for stunning results with careful adjustments.
- ISO Settings: Start with a low ISO (100-200) to minimize noise, ensuring a clean image with vibrant colors.
- Shutter Speed: A slower shutter speed captures the soft, glowing light; experiment to find the perfect balance between motion and clarity.
- Aperture Priority: Use a wide aperture (f/8 to f/16) to enhance depth of field and capture the dynamic range in the sky.
- White Balance: Adjust your white balance to “cloudy” or “shade” to warm up the colors and bring out the rich hues of the sunset or sunrise.
Don’t forget to set your focus mode to single-point for precision, use metering mode to gauge exposure accurately, and consider lens selection to frame your gazebo perfectly. Happy shooting!
Incorporating Foreground Elements
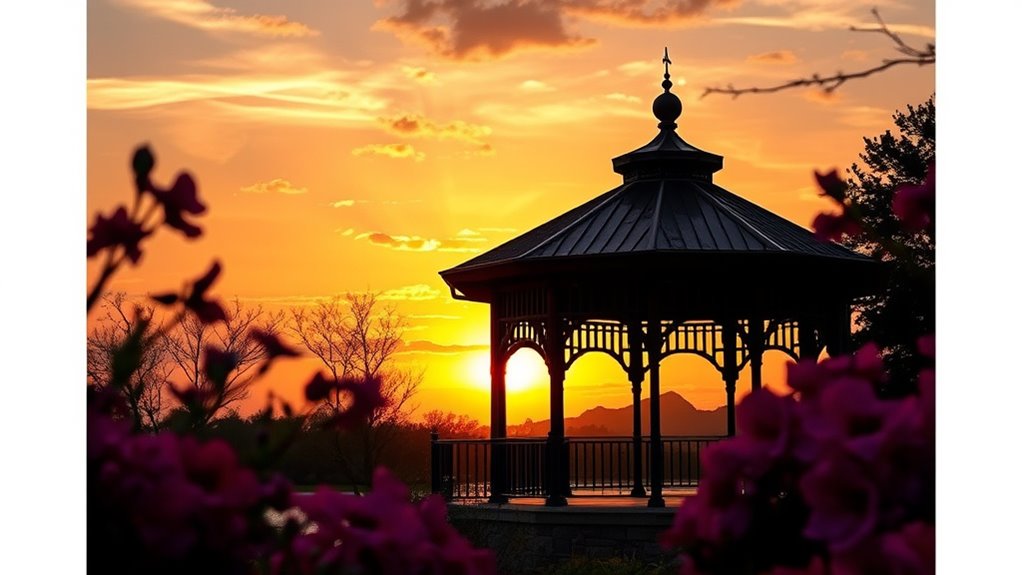
Incorporating foreground elements can elevate your sunset or sunrise shots by adding depth and context to your images. Think of your gazebo as a canvas; it’s not just about the sky but what’s around it. Use flowers, trees, or rocks to create foreground interest that frames your shot. This adds layers, guiding the viewer’s eye towards the beautiful horizon.
Position these elements strategically to achieve visual balance. For instance, if your gazebo is on one side, consider placing a vibrant flower or a silhouette of a tree on the opposite side. This contrast enriches your composition, making it more dynamic and inviting.
Don’t be afraid to experiment with angles. Kneeling or even lying down can introduce unique perspectives that highlight both the foreground and the spectacular colors above. Remember, it’s about freedom in creativity—let your surroundings inspire you, and capture that perfect moment!
Experimenting With Reflections
As you seek to capture the breathtaking beauty of sunsets and sunrises, don’t overlook the magical effect of reflections. These mirror effects can transform an ordinary shot into something extraordinary. Here are some reflection techniques to enhance your photos:
- Water Surfaces: Look for ponds, lakes, or puddles that can mirror the vibrant colors of the sky.
- Glass Structures: Utilize nearby buildings or windows to create intriguing layers and depth in your composition.
- Shiny Objects: Position reflective surfaces like metal sculptures or even your gazebo to catch and amplify the sunset or sunrise hues.
- Natural Elements: Consider using foliage or rocks that can cast reflections in the water, adding texture and interest.
Experimenting with these techniques can elevate your photography, allowing the enchanting essence of the moment to shine through. Embrace the freedom of creativity and watch your sunset or sunrise shots come alive!
Post-Processing Tips
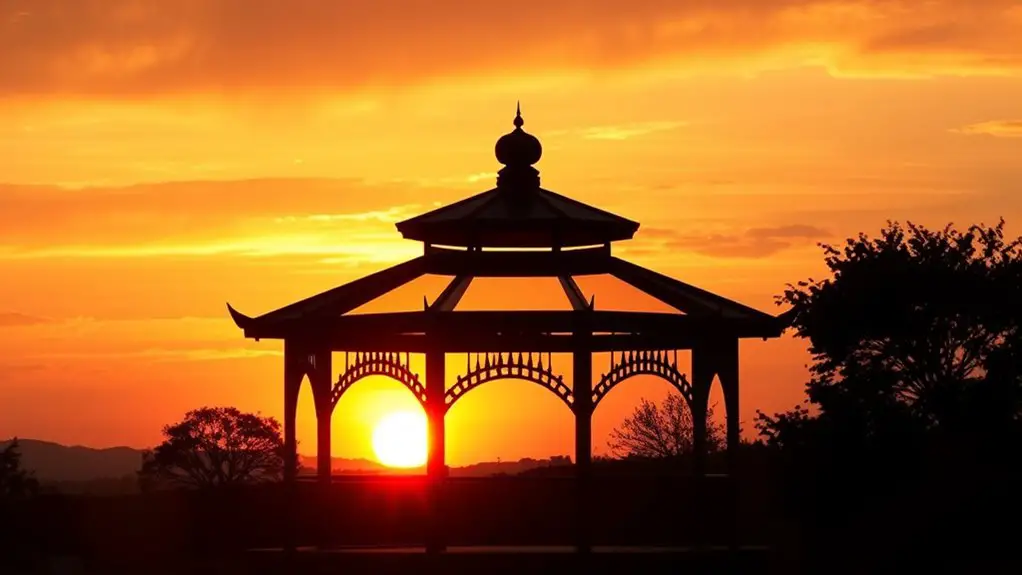
While capturing the perfect sunset or sunrise shot is important, the magic often continues in post-processing. You’ve got a stunning image, but a little enhancement can elevate it to new heights. Start with color correction; adjust the hues to make those vibrant oranges and pinks pop. Don’t shy away from boosting saturation just a touch—this can bring your gazebo’s silhouette to life against the fiery sky.
Next, focus on contrast adjustment. Increasing contrast can add depth, making the foreground stand out against the soft, ethereal background. Play around with shadows and highlights to give your photo that extra drama.
Experiment with filters or presets, but remember, subtlety is key. You want to enhance the natural beauty, not overshadow it. With these post-processing tips, you’ll transform your sunset or sunrise shots into breathtaking works of art that resonate with freedom and tranquility. Enjoy the journey!
Creating a Consistent Theme
To create a consistent theme in your sunset or sunrise shots, start by selecting a cohesive color palette that complements the natural hues of the sky. Pay attention to your framing techniques and maintain a similar composition across your images. Finally, consistent subject placement will help tie your collection together, giving it a polished and intentional feel.
Color Palette Selection
When choosing a color palette for your sunset or sunrise shots, it’s essential to contemplate how the hues will interact to create a cohesive theme. A well-selected palette not only enhances color harmony but also heightens the emotional impact of your photographs. Here are some tips to guide your selection:
- Complementary Colors: Choose colors that complement each other, creating a pleasing contrast.
- Analogous Tones: Use colors adjacent on the color wheel for a serene effect.
- Warm vs. Cool: Balance warm tones (reds, oranges) with cool tones (blues, purples) to evoke different feelings.
- Nature’s Palette: Draw inspiration from the natural surroundings for a more organic feel.
Framing Techniques
As you prepare to capture those breathtaking moments of sunset or sunrise, consider how framing techniques can greatly enhance your composition and create a consistent theme throughout your shots. By incorporating elements like your gazebo, trees, or distant hills, you can establish visual balance that draws the eye and enhances the scene. Experiment with different angles and perspectives; try placing the horizon higher or lower to emphasize the sky’s vivid colors. Use leading lines, such as pathways or railings, to guide viewers into the frame, adding depth and interest. Remember, a consistent theme can tie your series of shots together, creating a cohesive visual story that captures the essence of those magical moments. Embrace your creativity and let your unique perspective shine!
Consistent Subject Placement
While capturing the beauty of sunsets and sunrises, consistently placing your subjects can greatly enhance the overall impact of your images. Effective subject placement creates visual balance and adds a cohesive theme to your shots. Here are some tips to achieve this:
- Choose a focal point: Make your gazebo the centerpiece, drawing the eye naturally.
- Utilize the rule of thirds: Position your subjects off-center to create dynamic compositions.
- Incorporate leading lines: Use pathways or railings to guide viewers toward your subjects.
- Maintain consistency: Experiment with different angles but keep your subject’s placement similar for a unified series.
Frequently Asked Questions
What Time Should I Arrive for the Best Sunset/Sunrise Shot?
You’ll want to arrive at least 30 minutes before the golden hour. This way, you can enjoy the soft lighting, experiment with different angles, and capture that magical moment as the colors unfold around you.
Can I Use My Phone for Capturing Sunsets or Sunrises?
Yes, you can definitely use your phone to capture stunning sunsets or sunrises! Just tweak your phone settings for ideal lighting, and consider using editing apps afterward to enhance those vibrant colors and breathtaking details.
How Do Weather Conditions Affect My Photographs?
Weather conditions can make or break your photos; a clear sky can feel like pure magic. Light conditions and cloud coverage dramatically influence colors and mood, so embrace varying weather for stunning, unexpected results in your photography.
Should I Use a Tripod for Stability?
Using a tripod’s stability advantages can’t be overstated. It guarantees sharper images, especially in low light. You’ll appreciate the freedom to experiment with longer exposures without worrying about camera shake ruining your beautiful shots.
What Should I Wear for Outdoor Photography Sessions?
As the sun kisses the horizon, wear breathable clothing materials that dance with the breeze. Choose colors that reflect nature’s palette—soft earth tones or vibrant hues—allowing you to blend in, yet stand out beautifully.