To install solar panels on your gazebo roof, first assess the roof’s condition and structural integrity. Then, choose the right type of panels based on efficiency and space. Calculate your energy needs and system size to determine the number of panels required. Obtain any necessary permits, before gathering tools and materials. Finally, install the mounting system, connect the panels, and wire them into your home’s electrical system. Learn expert maintenance tips to guarantee peak performance.
Assessing Your Gazebo Roof for Solar Panel Installation
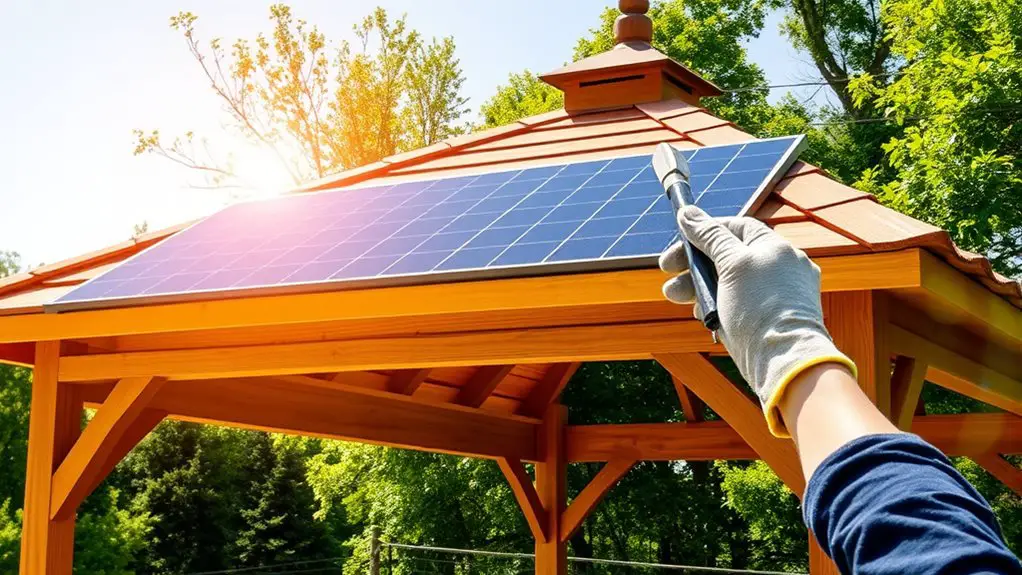
Before you can install solar panels on your gazebo roof, it’s vital to assess its suitability for the project. Start by examining the roof condition; look for any signs of wear, such as cracks, leaks, or sagging. These issues can compromise the effectiveness and safety of your solar installation. Next, evaluate the structural integrity of the gazebo. Make sure the framework can support the additional weight of solar panels, mounting hardware, and potential wind loads. If your gazebo is older or made from lighter materials, you may need to reinforce the structure before proceeding. It’s also wise to check local building codes to guarantee compliance. A well-maintained and structurally sound roof not only protects your investment but also maximizes solar panel efficiency. Taking these steps guarantees your setup will provide the freedom and energy independence you seek without compromising safety.
Determining the Right Type of Solar Panels
When selecting the right type of solar panels for your gazebo roof, it’s essential to take into account factors such as efficiency, size, and aesthetic appeal. You’ve got various types of solar panels to choose from, each with different solar panel efficiency ratings. Here are some points to contemplate:
- Monocrystalline panels: Known for their high efficiency and sleek appearance, these panels are great if you have limited space.
- Polycrystalline panels: A more budget-friendly option, they’re slightly less efficient but still effective for larger installations.
- Thin-film panels: Lightweight and flexible, these panels may suit unique gazebo designs but usually have lower efficiency.
- Bifacial panels: These can capture sunlight from both sides, maximizing energy production in certain setups.
Choose wisely based on your gazebo’s design and your energy goals to embrace freedom with solar energy!
Calculating Energy Needs and System Size
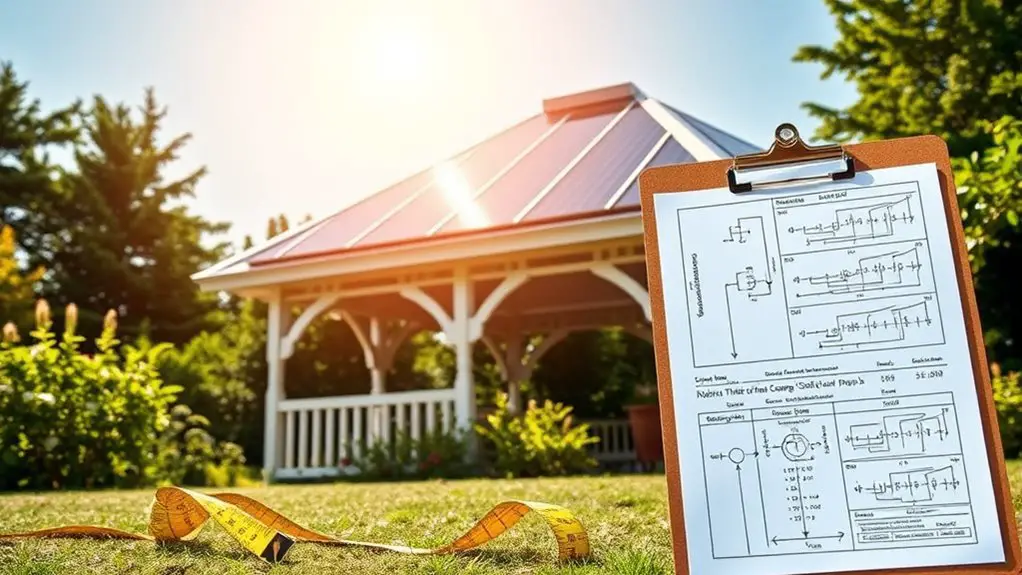
Selecting the right type of solar panels is just the first step; next, you’ll need to calculate your energy needs and determine the appropriate system size. Start by evaluating your energy consumption. Look at your past utility bills to find your average monthly usage in kilowatt-hours (kWh). This number will guide your calculations.
Next, consider the solar efficiency of the panels you plan to install. Different panels have varying efficiencies, typically ranging from 15% to 22%. Multiply your total energy needs by the number of peak sunlight hours your location receives daily to estimate how much solar energy you can generate.
Finally, divide your total energy consumption by the solar efficiency of your chosen panels to find out how many panels you’ll need. This will guarantee that your gazebo’s solar system is adequately sized to meet your energy demands, providing you with the freedom to harness renewable energy efficiently.
Obtaining Necessary Permits and Approvals
As you prepare to install solar panels on your gazebo roof, understanding the necessary permits and approvals is essential to confirm compliance with local regulations. Taking the time to navigate the permit application and approval process can save you headaches down the line. Here’s a simple checklist to guide you:
- Research Local Regulations: Check with your local building department for specific requirements regarding solar panel installations.
- Complete the Permit Application: Gather all necessary documents, including site plans, engineering reports, and any required fees.
- Submit for Approval: Submit your application and wait for the review process. This can take anywhere from a few days to several weeks, depending on your locality.
- Schedule Inspections: Once approved, make sure to schedule any required inspections during and after the installation process.
Gathering Required Tools and Materials
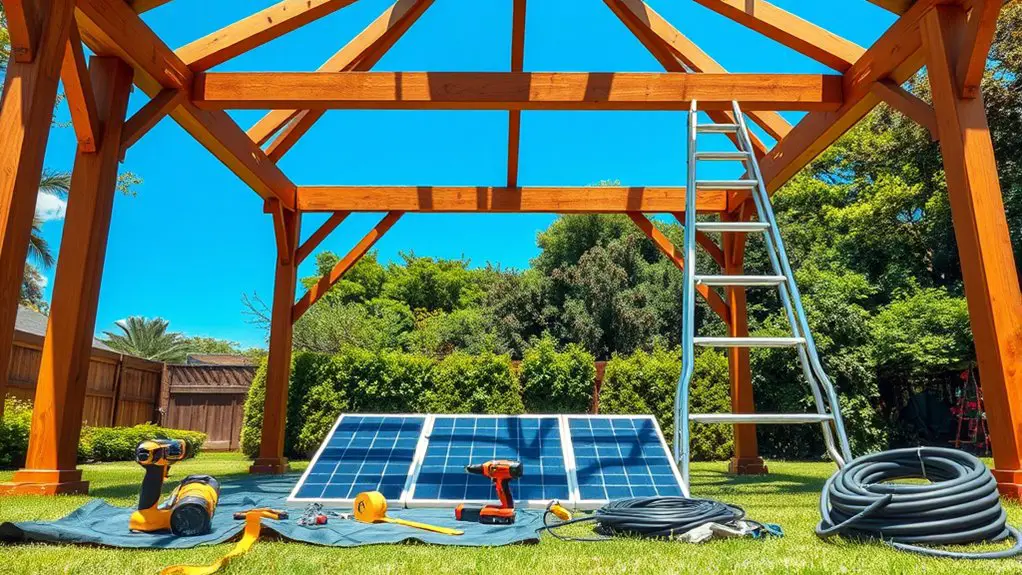
Gathering the right tools and materials is essential for a successful solar panel installation on your gazebo roof. Start by creating a tools checklist that includes a drill, socket set, level, and safety gear like gloves and goggles. You’ll also need mounting brackets and a torque wrench for securing the panels.
Next, identify reliable material sources for solar panels, wiring, inverters, and battery systems if you’re going off-grid. Check local suppliers or reputable online stores that specialize in solar equipment.
Make sure to gather sufficient lengths of conduit and connectors for electrical wiring, along with sealants to weatherproof your installation. By ensuring you have all necessary tools and materials beforehand, you can avoid unnecessary interruptions during the installation process. This preparation empowers you to take control of your energy independence and make the most of your gazebo’s potential.
Preparing the Gazebo Roof for Installation
Before installing solar panels, you’ll need to assess the gazebo roof structure to guarantee it can support the additional weight. Clean the roof surface thoroughly to remove any debris or dirt that could interfere with installation. Finally, check for leaks or damage that may need repairs before proceeding with the solar panel setup.
Assess Roof Structure
While you may be keen to install solar panels on your gazebo, it’s essential to first assess the roof structure to confirm it can support the weight and installation requirements. Evaluating the roof’s load capacity is vital for guaranteeing structural integrity. Here’s how to approach it:
- Inspect Materials: Check if the roof materials (wood, metal) are robust enough for the added load.
- Evaluate Support Beams: Verify that support beams are sturdy and capable of handling extra weight.
- Check for Damage: Look for signs of rot, cracks, or other damage that could compromise support.
- Consult a Professional: If unsure, getting advice from a structural engineer can provide you with peace of mind.
Taking these steps will help confirm your gazebo roof is ready for solar panels.
Clean Roof Surface
Cleaning the roof surface is an essential step in preparing your gazebo for solar panel installation. Begin with roof cleaning to remove debris, dirt, and any algae growth that could hinder the panels’ efficiency. Use a soft-bristle brush and a mixture of gentle soap and water to avoid damaging the roofing material. Rinse thoroughly to guarantee no soap residue remains, as this could affect the adhesive used for mounting the solar panels.
Once the surface is clean, inspect for uneven areas that may require additional surface preparation. A smooth, clean surface allows for better adhesion of mounting hardware and assures peak performance of your solar panels. Following these steps will set a solid foundation for your solar installation project, granting you a sense of freedom in harnessing renewable energy.
Check for Leaks
Checking for leaks is essential in ensuring your gazebo roof is ready for solar panel installation. Performing a thorough roof inspection helps identify any issues that could compromise your system. Follow these steps for effective leak detection:
- Visual Inspection: Look for obvious signs of wear or damage, like cracks or missing shingles.
- Water Test: Use a hose to simulate rain, checking for water entry points around seams and joints.
- Moisture Meter: Employ this tool to detect hidden moisture in the roofing material, revealing potential leaks.
- Sealant Check: Examine existing sealants for deterioration; replace them as needed to maintain a watertight barrier.
Installing the Solar Panel Mounting System
When installing the solar panel mounting system, you’ll first need to select the appropriate mounting hardware that suits your gazebo’s roof type. Positioning the solar panels correctly is essential for maximizing sunlight exposure and ensuring structural integrity. Make sure to follow the manufacturer’s guidelines for both hardware and panel placement to achieve ideal results.
Selecting Mounting Hardware
Selecting the right mounting hardware is essential for a secure and efficient solar panel installation on your gazebo roof. You’ll need to take into account various mounting hardware types and materials to guarantee durability and effective performance. Here are four key factors to keep in mind:
- Types of Mounts: Decide between fixed, adjustable, or tracking mounts based on your panel positioning needs.
- Materials: Opt for corrosion-resistant materials like aluminum or stainless steel for longevity.
- Weight Capacity: Confirm the hardware can support the weight of your solar panels.
- Compatibility: Check that the mounting hardware aligns with your specific panel model and gazebo design.
Choosing the right components will help you achieve a reliable solar setup while enjoying the freedom of clean energy.
Positioning Solar Panels
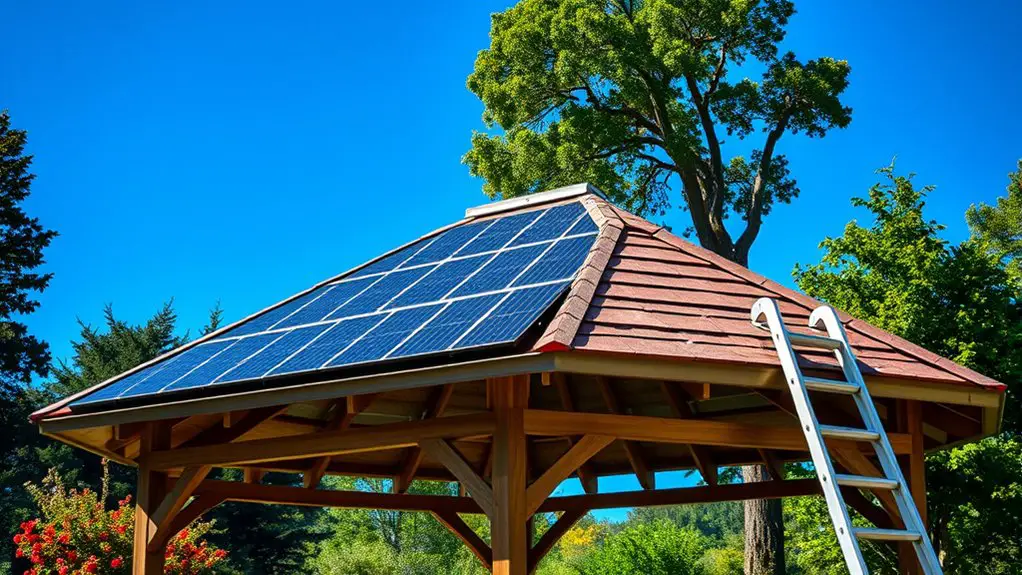
To guarantee ideal energy production from your solar panels, it’s crucial to position them correctly on your gazebo roof. Start by determining the best solar panel orientation; ideally, panels should face true south in the Northern Hemisphere or true north in the Southern Hemisphere. Conduct a shading analysis to identify any obstructions—like trees or nearby structures—that could block sunlight during peak hours. Aim for a tilt angle that maximizes exposure while considering the gazebo’s design. Verify your mounting system allows for adjustments, facilitating best alignment throughout the year. By positioning your solar panels with precision, you’ll harness the maximum potential of solar energy, granting you the freedom to power your life sustainably.
Connecting the Solar Panels to the Inverter
As you prepare to connect the solar panels to the inverter, it’s crucial to guarantee all components are compatible and properly configured to maximize energy efficiency. Focus on the inverter specifications to verify it can handle the output from your solar panels. Follow these wiring techniques for a successful connection:
Ensure compatibility and proper configuration of solar panels and inverter for optimal energy efficiency before connecting.
- Turn Off Power: Always switch off the inverter and any electrical supply before beginning the connection.
- Connect the Wires: Use appropriate gauge wires to connect the solar panels to the inverter, ensuring positive and negative terminals are matched correctly.
- Secure Connections: Tighten all connections to prevent loose wiring, which can cause energy loss or fire hazards.
- Double-Check: Review the connections and specifications one last time to verify everything is secure and compliant with local codes.
Wiring and Integrating With Your Home Electrical System
When wiring your solar panels to your home electrical system, it’s essential to prioritize electrical safety to prevent hazards. You’ll need to follow the grid connection process meticulously, guaranteeing that all components are compatible and properly installed. This integration not only maximizes efficiency but also assures compliance with local regulations and standards.
Electrical Safety Considerations
While installing solar panels on a gazebo roof can enhance your energy efficiency, it’s crucial to prioritize electrical safety during the wiring process and integration with your home’s electrical system. Here are some key safety considerations to keep in mind:
- Use Proper Safety Equipment: Always wear insulated gloves and safety goggles to protect yourself.
- Follow Electrical Codes: Familiarize yourself with local electrical codes to guarantee compliance.
- Turn Off Power: Always disconnect the power supply before starting any wiring work.
- Consult a Professional: If you’re unsure about any aspect, don’t hesitate to contact a licensed electrician for guidance.
Grid Connection Process
To successfully connect your solar panel system to the grid, you’ll need to follow a series of vital steps that guarantee proper wiring and integration with your home’s electrical system. Start by reviewing the grid connection requirements set by your local utility, as these can vary widely. You’ll likely need to submit your installation plans and specifications for the utility approval process. Once you receive approval, verify your inverter is compatible with the grid and properly wired to handle the energy flow. It’s essential to connect to a dedicated circuit breaker to avoid overloads. Finally, schedule an inspection to verify compliance with local regulations, making sure that your system is safe, efficient, and ready to harness the power of the sun.
Maintenance Tips for Your Solar Panels on the Gazebo Roof
Although solar panels on a gazebo roof can considerably enhance energy efficiency, they require regular maintenance to guarantee peak performance. By following these maintenance tips, you can ascertain your system runs smoothly:
- Regular Inspections: Check your solar panels every few months for any visible damage or debris that could obstruct sunlight.
- Solar Panel Cleaning: Clean the panels at least twice a year using a soft brush or cloth to remove dirt, leaves, and bird droppings. Avoid harsh chemicals.
- Monitor Performance: Use your inverter’s monitoring system to track energy output. A sudden drop may indicate a problem needing attention.
- Professional Check-Up: Schedule a professional inspection annually to ascertain all components are working efficiently and safely.
Frequently Asked Questions
Can I Install Solar Panels on a Fabric Gazebo Roof?
Sure, you could try installing solar panels on a fabric gazebo roof—if you enjoy living dangerously! Just consider fabric durability and the installation methods. But hey, who needs stability when you’ve got ambition, right?
Will Solar Panels Damage My Gazebo Structure?
Solar panels can potentially affect your gazebo’s structural integrity if not properly installed. Guarantee adequate weight distribution and consult a professional to assess your gazebo’s design, preventing any damage while enjoying sustainable energy solutions.
How Much Does Solar Panel Installation Cost for a Gazebo?
When considering the delightful journey of solar panel installation, you’ll find cost factors like materials and labor influencing installation quotes, typically ranging from $2,000 to $10,000, depending on your gazebo’s size and complexity.
What Is the Lifespan of Solar Panels on a Gazebo?
The lifespan of solar panels typically ranges from 25 to 30 years. Their durability depends on proper gazebo maintenance, including regular inspections and cleaning, which guarantees peak performance and longevity of the panels you’ve installed.
Can I Remove and Reinstall Solar Panels Easily?
You can remove and reinstall solar panels with relative ease by following proper removal techniques and installation tips. Make sure you have the right tools, and be cautious with wiring to maintain efficiency and safety.