To re-stain your gazebo for better weather protection, start by evaluating its condition for any damage or signs of wear. Choose a suitable stain—oil-based for durability or water-based for quick drying. Clean and prepare the surface by sanding and repairing damages. When applying the stain, use thin, even coats and keep a wet edge. Allow proper drying and curing time to maximize protection. Regular maintenance is key to longevity, and there’s more to discover about ideal care techniques.
Assessing the Condition of Your Gazebo
Before you plunge into re-staining your gazebo, it’s crucial to assess its current condition. Start with a thorough visual inspection. Look for signs of wear, such as peeling paint, cracks, or mold. These issues can compromise the gazebo’s aesthetics and its structural integrity.
Check the joints and supports for any signs of rot or damage. If you notice any soft spots, it’s a red flag that repairs might be necessary before you apply any stain. Don’t forget to examine the flooring and railings, as these areas often bear the brunt of weather exposure.
Taking the time to evaluate these elements guarantees that your gazebo is not only visually appealing but also safe and sturdy. By addressing any concerns upfront, you’ll set yourself up for a successful re-staining project that enhances both the look and longevity of your outdoor retreat. Additionally, consider using naturally resistant wood types like cedar or redwood to prolong the life of your structure. Enjoy the freedom of a well-maintained space!
Choosing the Right Stain for Your Gazebo
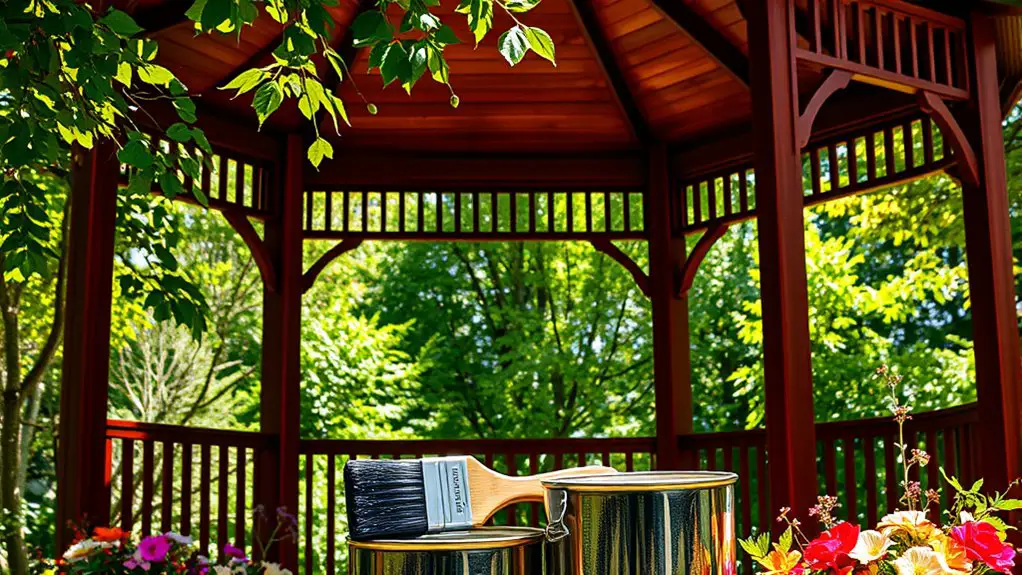
Choosing the right stain for your gazebo is essential for both aesthetics and protection. You’ll need to decide between oil-based and water-based stains. Oil-based stains penetrate deeply, providing excellent durability and weather resistance, making them ideal for harsher climates. However, they take longer to dry and can emit strong odors. On the other hand, water-based stains dry quickly and are easier to clean up, but they may not last as long in extreme weather.
When it comes to color selection, consider your gazebo’s surroundings and your personal style. Lighter colors can brighten your outdoor space, while darker shades can add elegance. Test a few samples on small areas before making a final decision. Remember, the right stain not only enhances your gazebo’s beauty but also helps to protect it from the elements, allowing you to enjoy your outdoor freedom for years to come. Additionally, choosing a stain that offers weather resistance can further extend the life of your gazebo.
Preparing the Surface for Staining
Before you start staining, it’s essential to prepare your gazebo’s surface properly. Begin by cleaning it thoroughly to remove dirt and mildew, then sand the surface to guarantee a smooth finish. Don’t forget to repair any damages first, as this will help the stain adhere better and give you a stunning result.
Clean the Gazebo Thoroughly
Cleaning your gazebo thoroughly is essential for achieving a smooth and even stain application. Start by gathering your cleaning supplies: a soft-bristle brush, a mild detergent, and a hose or pressure washer. Begin with a gentle rinse to remove loose dirt and debris. Then, apply your detergent using the brush, focusing on any stained or weathered areas. For stubborn spots, try scrubbing in a circular motion with some elbow grease. Rinse off the soap completely to avoid residue, which can interfere with the stain’s adhesion. Once your gazebo’s clean and dry, you’re ready for the next steps. This preparation not only enhances the look of your gazebo but also extends its life, giving you more freedom to enjoy your outdoor space.
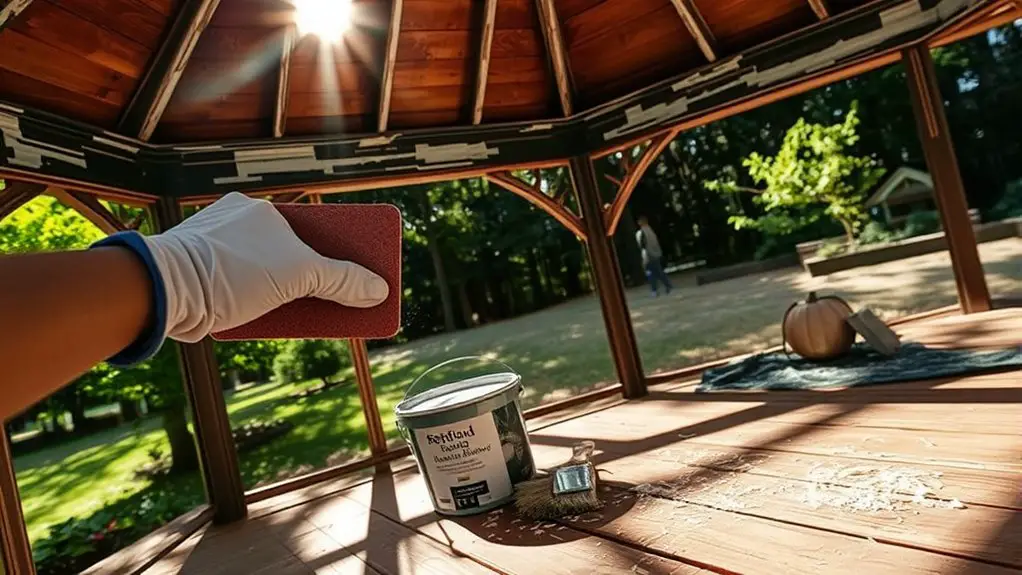
Sand the Surface Smoothly
Once your gazebo is clean and dry, it’s time to focus on sanding the surface smoothly. This step is essential for effective surface preparation before staining. Start by choosing the right sanding techniques—use a power sander for large areas and hand sanding for tight spots. Opt for medium-grit sandpaper to remove any rough patches, then finish with fine-grit sandpaper for a silky-smooth surface. Always sand in the direction of the wood grain to avoid scratches. Don’t rush; take your time to guarantee even sanding across all surfaces. Once you’re done, wipe away any dust with a damp cloth. This will help the stain adhere better, giving your gazebo a beautiful, long-lasting finish.
Repair Any Damages First
Inspect your gazebo carefully for any damages that need attention before applying stain. Look for cracked wood, loose boards, or signs of rot. These issues can compromise your gazebo’s structure and beauty. Use appropriate repair techniques like wood filler for small cracks or replace damaged sections entirely if needed. When selecting materials, opt for high-quality wood and sealants that resist moisture and UV damage. This guarantees your repairs last and provide a solid base for staining. Don’t skip this essential step—taking the time to fix any damages will enhance the longevity of your gazebo and maximize the effectiveness of your new stain. Your outdoor retreat deserves this attention to detail for years of enjoyment!
Applying the Stain: Techniques and Tips
Now that you’ve prepared your gazebo’s surface, it’s time to focus on applying the stain effectively. You’ll want to choose the right techniques to guarantee an even finish and long-lasting protection. Let’s explore some essential tips to help you achieve a professional-looking result.
Preparation Before Staining
Before diving into the staining process, it’s essential to guarantee your gazebo is properly prepped to achieve the best results. Start with pre stain cleaning; use a mixture of mild soap and water to remove dirt, mold, and old stain remnants. A good scrub will help the new stain adhere better. Rinse thoroughly and let it dry completely before proceeding.
Next, don’t forget to wear protective gear like gloves, goggles, and a mask to safeguard yourself from fumes and splashes. Protect surrounding areas by covering plants and furniture with drop cloths. Once everything’s clean and protected, you’re ready to enjoy the freedom of a beautifully stained gazebo that stands strong against the elements!
Application Techniques Explained
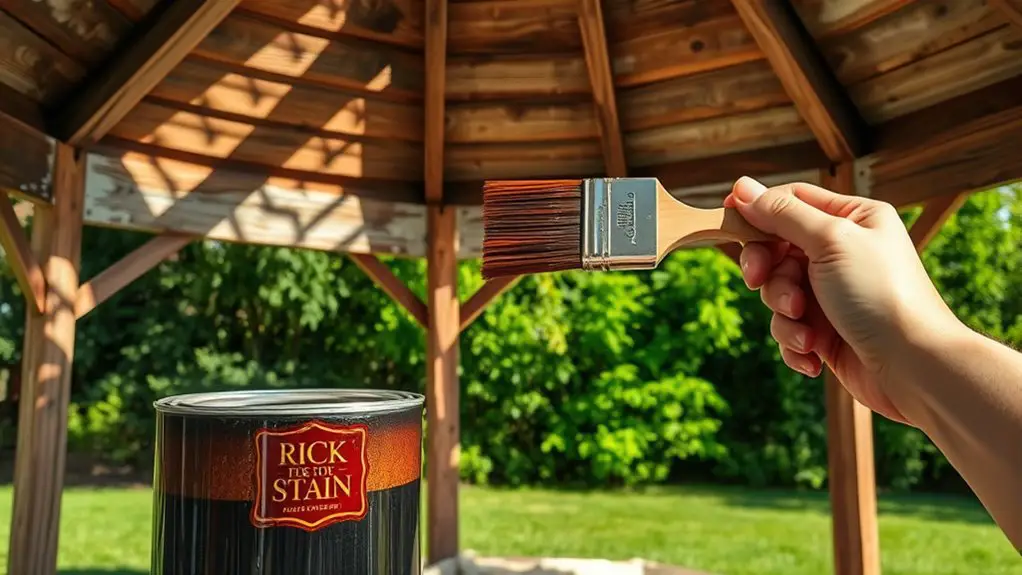
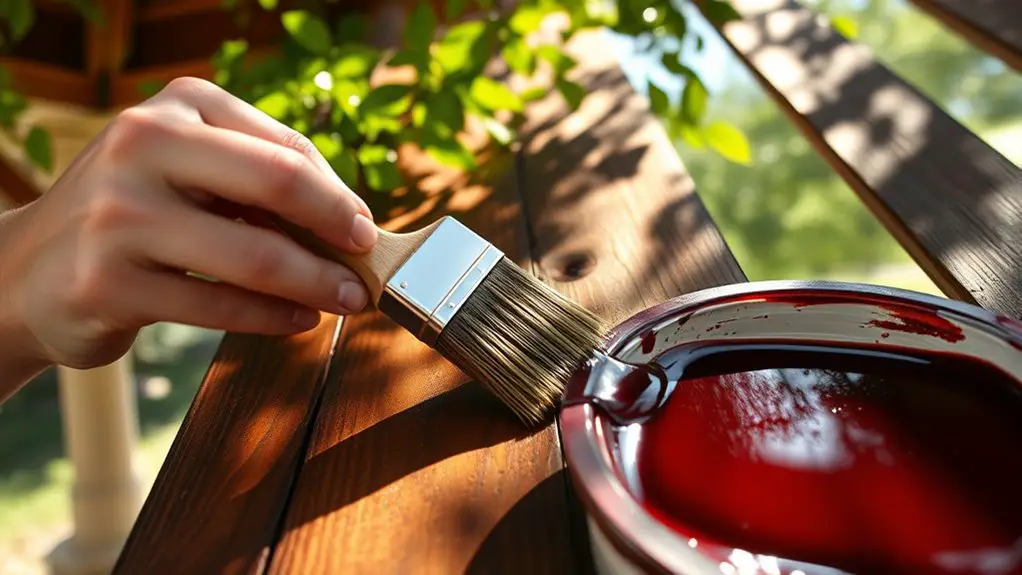
When it comes to applying stain to your gazebo, using the right techniques can make all the difference in achieving a smooth, even finish. Start with high-quality brushes for your stain application; angled brushes work great for corners and edges, while wider brushes cover large areas efficiently. Apply the stain in thin, even coats, moving with the wood grain to prevent streaks. For best results, don’t overload your brush—this helps avoid drips and unevenness. Consider using a roller for expansive flat surfaces; it speeds up the process. Always maintain a wet edge to guarantee a seamless blend between sections. Finally, remember to step back periodically to check for consistency, giving your gazebo that beautiful, free-spirited look you desire!
Allowing for Proper Drying and Curing
As you prepare to enjoy your newly stained gazebo, it’s important to allow adequate time for the stain to dry and cure properly. Rushing this step can lead to poor results and reduced longevity. Here’s a quick guide to help you understand drying times and the curing process:
| Stain Type | Drying Time | Curing Time |
|---|---|---|
| Oil-based stains | 6-8 hours | 2-3 days |
| Water-based stains | 1-2 hours | 1-2 weeks |
| Gel stains | 4-6 hours | 1-2 weeks |
After applying the stain, keep the gazebo free from moisture and debris. Weather conditions matter too—choose a dry, warm day for the best results. Remember, patience pays off! Allowing your gazebo to cure completely guarantees it’ll withstand the elements and stay beautiful for years to come.
Maintaining Your Gazebo After Staining
To keep your gazebo looking stunning after staining, regular maintenance is key. By following a solid maintenance schedule, you can guarantee your outdoor retreat stays protected and beautiful. Here are three essential maintenance tips:
- Inspect Regularly: Check for any signs of wear, such as peeling or discoloration. Catching issues early can save you time and effort in the long run.
- Clean Gently: Use a soft brush or cloth to remove dirt and debris. Avoid harsh chemicals that could harm the stain or wood.
- Apply Protective Measures: Consider reapplying a sealant every couple of years. This extra layer will help fend off moisture and UV damage, prolonging the life of your gazebo. Additionally, maintaining regular inspections can help identify potential problems before they escalate.
With these simple steps, you’ll enjoy your gazebo for years to come, embracing the freedom of outdoor living without worry.
Frequently Asked Questions
How Often Should I Re-Stain My Gazebo?
You should re-stain your gazebo every two to three years, depending on stain types and weather exposure. Establishing a maintenance schedule guarantees it stays protected and looks great, freeing you to enjoy your outdoor space.
Can I Use Leftover Stain From Previous Projects?
Using leftover stain from previous projects can feel like finding treasure! Just guarantee stain compatibility, as mismatched products might ruin your hard work. Always test it first, so your gazebo shines with freedom and beauty.
What Tools Do I Need for Staining?
For staining, you’ll need brushes or rollers for application, drop cloths to protect surfaces, and a good ladder for reaching high spots. Familiarize yourself with different staining techniques to achieve the best results and durability.
Is It Safe to Stain My Gazebo in Cold Weather?
Staining your gazebo in cold weather’s like trying to paint a masterpiece on ice; it’s tricky. Follow staining temperature guidelines and take cold weather precautions to guarantee your finish lasts and protects beautifully.
How Do I Remove Old Stain Before Re-Staining?
To remove old stain, you’ll want to use stain removal techniques like sanding or chemical strippers. After that, employ wood preparation methods, such as cleaning and rinsing, to guarantee your surface is ready for a fresh coat.