To set up your gazebo for an Italian pasta-making class, start by choosing a location that avoids direct sunlight and allows for easy movement. Gather essential equipment like mixing bowls, rolling pins, and a pasta machine. Create designated cooking stations for guests, ensuring they’re organized and equipped with necessary tools. Add vibrant decorations and ambient lighting to foster a cozy atmosphere. Keep ingredients neatly organized for easy access, and arrange seating for comfort. There’s more to contemplate for a fantastic experience!
Choose the Right Location for Your Gazebo
Choosing the right location for your gazebo is essential for a successful pasta-making class. Start by considering your gazebo orientation; ideally, it should face away from direct sunlight to keep the space cool and comfortable. Think about the time of day your class will take place—morning or late afternoon might offer the best natural light without the harsh heat of midday sun.
Weather considerations are key, too. If you’re in an area prone to unexpected rain, positioning your gazebo near a sturdy structure can provide extra protection. Check local forecasts ahead of time, and consider having a backup plan. By thoughtfully selecting your gazebo’s location, you’ll create an inviting atmosphere that encourages creativity and freedom in your pasta-making adventure. Additionally, ensure that the chosen spot allows for adequate space around it to avoid overcrowding and enhance the overall experience.
Gather Essential Pasta-Making Equipment
Before you start rolling out that perfect pasta, you’ll need to gather some essential equipment. From a checklist of must-have tools to the right ingredients and a well-organized prep area, getting everything in place will set you up for success. Let’s explore what you need to make your pasta-making class a delightful experience!
Essential Tools Checklist
To guarantee a successful pasta-making class, it’s essential to gather the right tools that will make the process smooth and enjoyable. Here’s a checklist of essential equipment you’ll need to explore various pasta types and cooking techniques:
| Tool | Purpose | Quantity |
|---|---|---|
| Mixing Bowl | Combine ingredients | 1 |
| Rolling Pin | Flatten dough for fettuccine | 1 |
| Pasta Machine | Shape various pasta types | 1 |
| Knife | Cut pasta into desired shapes | 1 |
| Measuring Cups | Measure flour and water accurately | 2 sets |
Having these tools ready will not only enhance your experience but also inspire creativity as you craft delicious dishes under the open sky of your gazebo.
Recommended Ingredients Supply
While you’re gathering your tools, don’t forget the essential ingredients that will bring your pasta-making class to life. Start with fresh ingredients: you’ll need high-quality flour, eggs, and a pinch of salt. Consider experimenting with different pasta varieties, like tagliatelle or ravioli, to keep your guests engaged and excited. Don’t overlook the importance of vibrant, seasonal vegetables for fillings or sauces—think ripe tomatoes, fragrant basil, and crunchy zucchini. Olive oil and parmesan cheese will elevate flavors, creating a rich experience. Finally, stock up on herbs and spices to enhance your dishes. By focusing on these fresh ingredients, you’ll guarantee every participant feels the freedom to create and enjoy their own delicious pasta masterpiece!
Preparation Space Setup
As you plunge into the world of pasta-making, ensuring your preparation space is well organized will make a world of difference. For ideal space efficiency and workflow optimization, gather essential tools that facilitate your creative process. Here’s a handy table to help you organize:
| Essential Equipment | Purpose | Quantity Needed |
|---|---|---|
| Mixing Bowls | For dough preparation | 2 |
| Rolling Pin | For flattening dough | 1 |
| Pasta Cutter | For shaping pasta | 1 |
| Measuring Cups | For accurate ingredient ratios | 2 |
Set Up Cooking Stations for Guests
To create an enjoyable pasta-making experience, you’ll want to designate individual workspaces for each guest, ensuring everyone has room to get creative. Organizing essential tools at each station will streamline the process, making it easy for participants to find what they need. Finally, set up ingredient stations with all the necessary components to keep the flow smooth and the excitement high.
Designate Individual Workspaces
Creating a successful pasta-making class hinges on the effective setup of individual workspaces for your guests. Start by determining the workspace layout, ensuring each guest has ample room to stretch their pasta dough and roll out their creations comfortably. A circular or U-shaped arrangement encourages interaction while maintaining personal space, allowing everyone to feel connected yet free to explore their culinary skills.
Provide each station with essential items like flour, rolling pins, and dough cutters, ensuring they’re easily accessible. Consider adding decorative elements, like fresh herbs or Italian cookbooks, to inspire creativity. By designating these individual spaces, you’ll foster an environment where guests can express themselves and fully enjoy the pasta-making experience.
Organize Essential Tools
Setting up three well-organized cooking stations is key to a smooth pasta-making class. By ensuring that your guests have easy access to essential pasta tools, you’ll create a fun and efficient atmosphere. Focus on kitchen organization to enhance the experience.
- Rolling Pins: Provide each station with a rolling pin for achieving that perfect dough thickness.
- Cutting Boards: Set up sturdy cutting boards for easy handling and preparation of pasta shapes.
- Measuring Cups and Spoons: Equip each station with accurate measuring tools to help maintain consistency in your recipes.
With these essentials, your guests will feel empowered to explore their pasta-making skills while enjoying the freedom of creativity in your beautifully set-up gazebo!
Provide Ingredient Stations
While you’re organizing your pasta-making class, providing well-stocked ingredient stations is essential for a seamless experience. A great station layout enhances creativity and allows your guests to explore a delightful ingredient variety. Set up multiple stations to cater to different pasta-making needs.
Here’s a simple layout to contemplate:
| Station | Ingredients | Tools |
|---|---|---|
| Dough Station | Flour, Eggs, Olive Oil | Rolling Pins, Bowls |
| Sauce Station | Tomatoes, Garlic, Basil | Knives, Pots |
| Garnish Station | Parmesan, Fresh Herbs, Peppers | Graters, Spoons |
Create a Welcoming Atmosphere With Decor
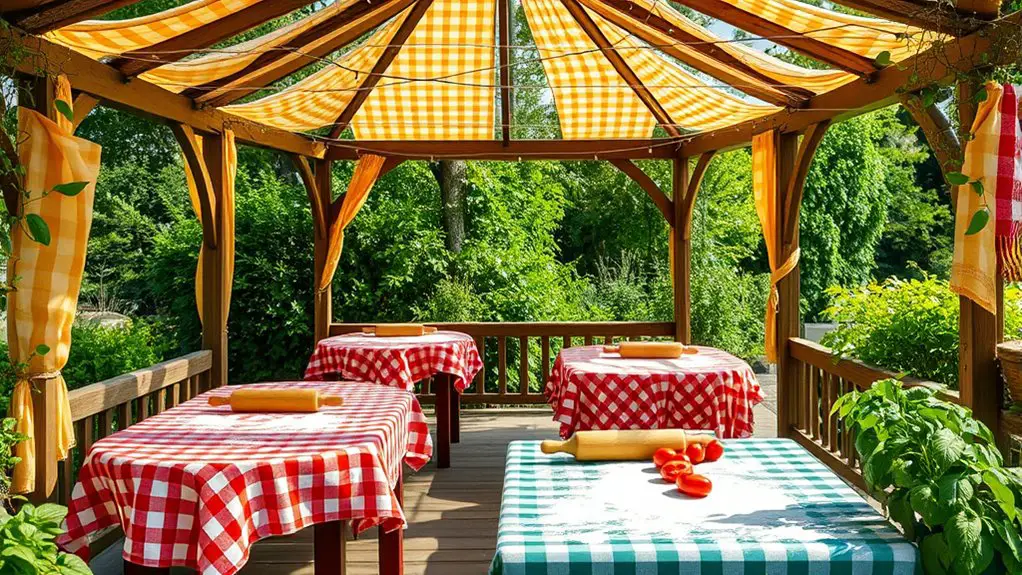
To make your pasta-making class truly inviting, consider how thoughtful decor can transform your gazebo into a culinary haven. Start by creating cozy table settings that encourage connection and camaraderie among your guests. Use vibrant tablecloths and charming dishware to set a festive tone.
Next, enhance the ambiance with soft ambient lighting. String lights or lanterns can create a warm glow that makes your space feel intimate and welcoming.
Finally, don’t forget to add personal touches, like fresh herbs in small pots or seasonal flowers, to bring a touch of Italy to your class. Incorporating outdoor lighting options like solar-powered lights can also enhance the evening atmosphere.
By focusing on these three elements, you’ll guarantee your gazebo is not just functional but also a delightful escape for everyone involved.
Organize Ingredients and Supplies
With a warm and inviting atmosphere established, it’s time to focus on the heart of your pasta-making class: the ingredients and supplies. Start by gathering all your essentials—flour, eggs, salt, and any desired herbs or sauces. For effective ingredient storage, use labeled containers to keep everything fresh and easily accessible. Arrange your supplies, like rolling pins, mixing bowls, and cutting boards, in a way that promotes flow during the cooking process. Consider a mobile cart or table to transport items effortlessly. With a bit of supply organization, you’ll create a seamless experience, allowing participants to immerse themselves in the joy of making pasta without distractions. Freedom in movement and creativity will flourish in this well-prepared environment.
Plan a Comfortable Seating Arrangement
Creating a comfortable seating arrangement is essential for fostering an enjoyable and engaging atmosphere during your pasta-making class. To guarantee everyone feels relaxed and ready to plunge into the culinary experience, consider these comfort considerations:
- Flexible Seating Options: Use a mix of chairs, benches, or even floor cushions, allowing participants to choose what feels best for them.
- Adequate Space: Arrange seating with enough room between each participant, providing space for movement and interaction without feeling cramped.
- Natural Elements: Incorporate cushions or throws in vibrant colors and textures, enhancing comfort and adding a cozy Italian touch.
Additionally, consider setting up the gazebo with UV protection to ensure a pleasant outdoor experience while cooking.
With these elements in place, you’ll create an inviting environment that encourages creativity and connection as everyone gets ready to make delicious pasta together!
Prepare for a Fun and Engaging Experience
Once you’ve established a comfortable seating arrangement, it’s time to focus on preparing for a fun and engaging experience that will leave a lasting impression on your participants. Begin by sharing fascinating tidbits about pasta history—its origins and evolution will spark curiosity. Next, plan engaging activities that get everyone involved. Consider a hands-on demonstration of making fresh pasta, followed by a friendly competition to create unique shapes or flavors. Encourage participants to share their own family recipes, adding a personal touch to the class. Finally, provide a relaxed atmosphere with light music and plenty of space for laughter and creativity. With these elements in place, your pasta-making class will be both memorable and enjoyable, fostering connections among participants.
Frequently Asked Questions
What Type of Gazebo Is Best for Outdoor Cooking Classes?
Think of your gazebo as a culinary stage. For outdoor cooking classes, a permanent structure offers stability and weather protection, while temporary setups provide flexibility. Choose based on your needs and the experience you want to create.
How Many Guests Can Comfortably Fit in the Gazebo?
When considering guest capacity, a gazebo typically accommodates 8-12 people comfortably. With a thoughtful seating arrangement, everyone can enjoy the experience without feeling cramped, allowing for a relaxed atmosphere that encourages creativity and interaction.
What Weather Precautions Should I Consider for the Class?
When planning your class, consider rain protection like tarps or canopies and guarantee temperature control with fans or heaters. Keeping guests comfortable allows creativity to flow, making your pasta-making experience enjoyable and memorable.
Can I Use a Portable Stove in the Gazebo?
Sure, you can use a portable stove in your gazebo, but guarantee proper ventilation to avoid smoke buildup. Prioritize safety by keeping flammable materials away—it’s your culinary sanctuary, after all, where creativity should flourish without constraints.
Are There Any Safety Tips for Cooking Outdoors?
When cooking outdoors, guarantee fire safety by keeping flammable items away from heat sources. Maintain food hygiene by using clean utensils and surfaces. Always supervise cooking to prevent accidents and keep your culinary experience enjoyable and safe.