Many homeowners underestimate the impact of proper weather-stripping on energy efficiency. Drafts can account for significant heat loss during winter, leading to higher energy bills. By identifying and sealing these gaps, you can create a more comfortable living space. Understanding the types of materials available and the installation process is vital. This can save you money and enhance your home’s overall performance. Are you ready to learn how to effectively tackle this essential winter preparation?
Understanding Weather-Stripping and Its Benefits
When you’re looking to enhance your home’s energy efficiency, understanding weather-stripping is vital. This material seals gaps around doors and windows, preventing air leaks that can greatly affect your heating costs. A benefits overview reveals that proper installation reduces energy bills, enhances comfort, and prolongs HVAC system life. It’s important to choose the right type of weather-stripping, like adhesive-backed foam or metallic strips, for best performance. The installation importance can’t be overstated; even small gaps can lead to considerable energy loss. By investing in weather-stripping, you’re taking a proactive step toward a more comfortable, efficient home environment.
Identifying Drafty Areas in Your Home
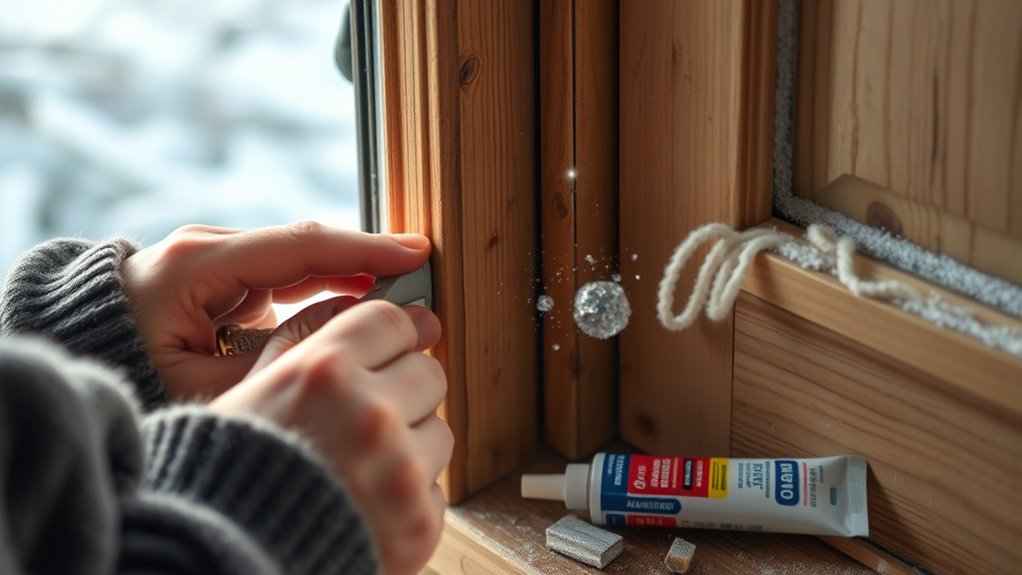
How can you effectively pinpoint drafty areas in your home? Start with draft detection methods like the candle test: light a candle and move it around windows, doors, and other potential leaks. Watch for flickering flames; this indicates drafts. You can also use a smoke pencil or incense stick to visualize air movement. Common draft sources include gaps around window frames, door thresholds, and electrical outlets. Pay attention to areas where materials meet—these joints often harbor leaks. Identifying these issues early allows you to tackle them with weather-stripping, ensuring your home stays warm and comfortable throughout winter.
Choosing the Right Weather-Stripping Material
Which weather-stripping material should you choose for ideal insulation? Consider your needs: vinyl options are durable and resistant to moisture, making them ideal for exterior use. Foam types, on the other hand, provide excellent insulation and flexibility, perfect for irregular gaps.
Here’s a quick comparison:
| Material Type | Pros |
|---|---|
| Vinyl Options | Durable, moisture-resistant |
| Foam Types | Excellent insulation, flexible |
Choosing the right material can greatly impact your home’s energy efficiency. Evaluate the specific areas you need to insulate to make an informed decision, ensuring your home stays cozy this winter.
Tools and Supplies You’ll Need
Before you begin installing weather-stripping, gather the essential tools you’ll need, such as a utility knife, measuring tape, and adhesive. You’ll also want to select the appropriate type of weather-stripping material for your specific application. Don’t forget to wear safety gear like gloves and goggles to protect yourself during the installation process.
Essential Tools Required
When preparing to install weather-stripping for winter, having the right tools on hand is crucial for a successful project. You’ll need a utility knife for precise cutting of various weather stripping types, a measuring tape for accurate measurements, and a straight edge for clean lines. A caulk gun is essential if you’re using adhesive-backed strips, while a hammer and nails can secure certain styles. Don’t forget a level to check alignment and verify your installation techniques are up to par. Having these tools ready will streamline your process, allowing you to effectively seal your home against the cold.
Types of Weather-Stripping
Now that you’ve gathered your tools, it’s important to understand the different types of weather-stripping available for your winter preparation. The right choice can enhance energy efficiency and comfort. Here’s a quick overview:
| Weather-Stripping Type | Adhesive Types |
|---|---|
| Foam Tape | Self-adhesive |
| V-strip | Contact cement |
| Rubber Gasket | Double-sided tape |
| Magnetic Strip | Peel-and-stick |
Consider sealant options like silicone or caulk for added protection. Selecting the appropriate materials will guarantee your home stays cozy and draft-free this winter.
Safety Gear Considerations
Preparing for a weather-stripping project requires the right safety gear to protect yourself while ensuring an efficient installation process. Start with safety goggles to shield your eyes from dust and debris. They’re essential when cutting or installing materials. Next, consider gloves usage; wearing durable work gloves can prevent cuts and abrasions while handling sharp tools and weather-stripping materials. Choose gloves that allow for dexterity, ensuring you can manipulate components easily. Finally, sturdy footwear is crucial to protect your feet from heavy objects and provide stability. With the right gear, you’ll work confidently and effectively during your installation project.
Step-by-Step Guide to Installing Weather-Stripping
Installing weather-stripping can greatly enhance your home’s energy efficiency during the winter months. Follow these weather stripping installation techniques for ideal results:
| Step | Description | Tools Needed |
|---|---|---|
| Measure | Measure door/window gaps | Measuring tape |
| Cut | Cut the weather-stripping | Utility knife |
| Clean | Clean surfaces thoroughly | Cleaning cloth |
| Apply | Apply adhesive or press | Roller or adhesive |
| Seal | Seal edges firmly | Smoothing tool |
These seasonal maintenance tips will guarantee longevity. With careful application, you’ll enjoy a cozier, more energy-efficient home this winter.
Tips for Maintaining Your Weather-Stripping
Although you’ve successfully installed weather-stripping, regular maintenance is essential to guarantee it continues to perform effectively throughout the winter. Start with seasonal inspections; check for any tears, gaps, or wear. If you spot damage, replace the affected sections immediately to maintain energy efficiency. Clean the weather-stripping with a mild soap solution to remove dirt and debris, ensuring a proper seal. Additionally, consider applying a silicone-based lubricant to flexible materials to prolong their lifespan. Keeping an eye on your weather-stripping will help you avoid drafts and maintain comfort in your home, giving you the freedom to enjoy winter without worry.
Common Mistakes to Avoid
When installing weather-stripping, it’s essential to avoid improper measurement techniques that can lead to gaps or overlaps. Additionally, neglecting surface preparation can hinder the effectiveness of the adhesive or seal. By focusing on accurate measurements and ensuring clean surfaces, you’ll set the stage for a successful installation.
Improper Measurement Techniques
If you underestimate the importance of precise measurements, you might find yourself facing gaps or overlaps that compromise the effectiveness of your weather-stripping. To guarantee measurement accuracy, always use reliable measurement tools like a tape measure or a carpenter’s square. Don’t rely on eye-balling; even a slight miscalculation can lead to significant issues. Measure twice, cut once—this adage holds true when installing weather-stripping. Pay attention to the dimensions of both the door or window frames and the weather-stripping itself. Taking the time to accurately measure prevents costly mistakes and enhances your home’s energy efficiency during winter.
Ignoring Surface Preparation
Before you start installing weather-stripping, it’s essential to confirm that the surfaces are clean and dry, as neglecting this step can lead to poor adhesion and reduced effectiveness. Use proper surface cleaning and preparation techniques to guarantee longevity and efficiency. Here’s a quick reference table:
| Step | Method | Importance |
|---|---|---|
| Inspect Surface | Check for dirt and debris | Ensures proper adhesion |
| Clean | Use soap and water or a cleaner | Removes contaminants |
| Dry | Wipe with a cloth | Prevents moisture issues |
| Apply Weather-Stripping | Follow manufacturer guidelines | Maximizes sealing efficiency |
Enhancing Energy Efficiency Beyond Weather-Stripping
Although weather-stripping is an essential step in improving your home’s energy efficiency, there are several additional measures you can take to further enhance insulation and reduce energy costs. Start by scheduling energy audits to identify air leaks and insulation deficiencies. Based on the findings, consider insulation upgrades, such as adding fiberglass batts or spray foam in attics and walls. Don’t overlook sealing gaps around windows and doors with caulk. Installing thermal curtains can also minimize heat loss. Finally, make sure your HVAC system is well-maintained and consider programmable thermostats to optimize energy use, allowing you to enjoy a comfortable, efficient home.
Frequently Asked Questions
How Long Does Weather-Stripping Typically Last?
Weather-stripping usually lasts three to five years, though its lifespan depends on factors like material durability and environmental conditions. Regular checks and maintenance can extend its effectiveness, giving you more freedom from drafts and energy loss.
Can I Install Weather-Stripping Myself?
Yes, you can definitely install weather-stripping yourself! With basic DIY installation skills and tools like scissors, a utility knife, and adhesive, you’ll effectively seal gaps and enhance your home’s energy efficiency. Enjoy the freedom of a hands-on project!
What Temperature Is Best for Installation?
The ideal installation temperature for weather-stripping is between 70°F and 80°F. In these conditions, adhesives bond better, ensuring longevity. So, choose a mild day for your project, and you’ll achieve the best results.
Are There Weather-Stripping Options for Sliding Doors?
Yes, there are weather-stripping options for sliding doors. You can choose from materials like vinyl, foam, or felt, tailored for various sliding door types. Each option effectively seals gaps, enhancing energy efficiency and comfort.
How Do I Remove Old Weather-Stripping?
Removing old weather-stripping’s like peeling off a stubborn sticker. Use a putty knife for initial separation, then apply adhesive remover to dissolve any remaining glue. Make certain the surface is clean before installing new weather-stripping.