To host a sushi-making class in your gazebo, start by choosing a serene location with a circular seating arrangement for interaction. Gather essential supplies like bamboo mats, sharp knives, and a rice cooker. Prepare your ingredients by rinsing sushi rice and slicing vegetables. Follow step-by-step instructions for assembling sushi rolls while creating a lively atmosphere with decorative lighting and upbeat music. If you’re enthusiastic to perfect this experience, discover more tips and ideas that will elevate your class.
Choosing the Perfect Gazebo Setup
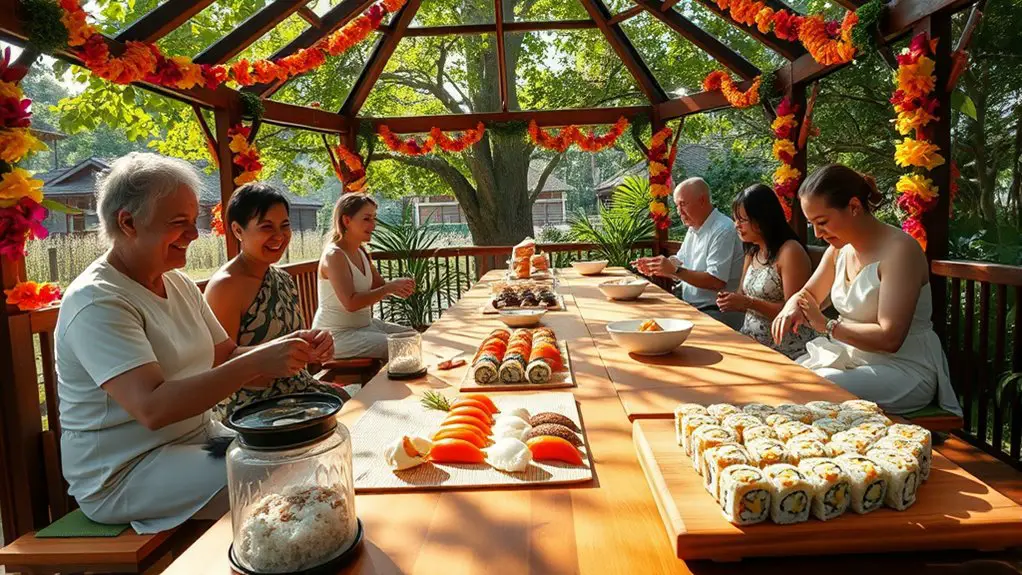
When you’re planning a sushi-making class, creating the right atmosphere is key, and a gazebo can provide an ideal setting. Choosing the perfect gazebo location is essential; opt for a spot surrounded by nature to inspire creativity and relaxation. Make sure your seating arrangement promotes interaction—consider a circular setup where everyone can engage with each other. Using a mix of tables and cushions can create a casual vibe that encourages freedom of movement. Don’t forget to have enough space for participants to work comfortably while making sushi. Adding decorative touches like lanterns or floral arrangements can enhance the ambiance, making your class more enjoyable. This thoughtful setup invites everyone to immerse themselves in the exciting world of sushi making together. Additionally, selecting a location with optimal shade coverage ensures everyone stays comfortable while enjoying the outdoor experience.
Essential Sushi-Making Supplies
To create delicious sushi, having the right supplies is essential. You’ll want to gather some key sushi making tools and guarantee proper ingredient storage to keep everything fresh. Here’s a quick list of must-haves for your class:
- Bamboo sushi mats for rolling
- Sharp knife for cutting fish and vegetables
- Rice cooker for perfectly cooked sushi rice
- Soy sauce and wasabi for flavoring
- Airtight containers for ingredient storage
With these items, you’ll set the stage for a fantastic sushi-making experience. Having the right tools not only makes the process smoother but also enhances the enjoyment of creating your rolls. So, get ready to roll up your sleeves and plunge into the art of sushi!
Preparing Ingredients for Your Class
To kick off your sushi-making class, you’ll need to gather essential ingredients like sushi rice, nori, and fresh fish. It’s also important to have the right equipment, such as bamboo mats and sharp knives, on hand for effective preparation. Mastering a few key preparation techniques will set the stage for a fun and delicious experience for everyone involved.
Essential Sushi Ingredients
Crafting delicious sushi relies heavily on the quality and selection of essential ingredients. To guarantee your sushi-making class is a hit, gather these must-haves:
- Sushi rice: Short-grain rice that’s sticky and perfect for rolling.
- Seaweed types: Nori for traditional rolls and perhaps some shiso leaves for a fresh twist.
- Fresh fish: Choose high-quality sashimi-grade fish like salmon, tuna, or eel.
- Vegetables: Cucumber, avocado, and scallions add crunch and flavor.
- Condiments: Soy sauce, wasabi, and pickled ginger elevate the experience.
Equipment and Tools
Once you’ve gathered all the necessary ingredients for your sushi-making class, it’s time to focus on the equipment and tools that will help you prepare them effectively. A sharp knife is essential for honing your knife skills; it’ll make slicing fish and veggies a breeze. You’ll also need a bamboo sushi rolling mat, which is vital for mastering the art of sushi rolling. A rice cooker can simplify the process of preparing sushi rice, ensuring it’s perfectly fluffy. Don’t forget small bowls for dips and toppings, as well as a cutting board for your prep work. With the right tools at hand, you’ll be well on your way to crafting delicious sushi that your guests will love!
Preparation Techniques
While preparing for your sushi-making class, it’s important to focus on the ingredients you’ll be using. The right ingredient selection sets the stage for delicious sushi rolling and a fun experience. Here are some key items to prep:
- Sushi rice: Rinse and soak before cooking for the perfect texture.
- Nori sheets: Keep them dry and ready for wrapping.
- Fresh fish: Choose high-quality, sushi-grade options like tuna or salmon.
- Vegetables: Think cucumber, avocado, and carrots—slice them into thin strips.
- Sauces: Prepare soy sauce, wasabi, and pickled ginger for dipping.
Step-by-Step Sushi-Making Instructions
Sushi-making involves a few key steps that can turn a simple gathering into a memorable culinary experience. Start with sushi rolling by laying a sheet of nori on a bamboo mat. Spread a thin layer of sushi rice evenly over the nori, leaving an inch at the top. Now comes the fun part: ingredient pairing! Choose your fillings, like fresh fish, avocado, or cucumbers, and place them in a line along the rice. Gently lift the mat and start rolling, applying light pressure to keep everything together. Once rolled, slice your sushi into bite-sized pieces with a sharp knife. Serve with soy sauce, wasabi, and pickled ginger, and enjoy the fruits of your labor with friends!
Creating a Fun and Inviting Atmosphere
A successful sushi-making class isn’t just about the technique; it’s also about the ambiance you create. To guarantee a fun and inviting atmosphere, consider these elements:
- Decorative lighting: Use string lights or lanterns to create a warm glow.
- Seating arrangements: Opt for a cozy, informal setup that encourages interaction.
- Background music: Choose upbeat tunes to keep the energy lively.
- Themed decorations: Incorporate Japanese-inspired decor to enhance the experience.
- Sushi stations: Set up multiple stations for a hands-on approach, allowing everyone to mingle.
Additionally, consider adding soft lighting to further enhance the overall atmosphere and create a welcoming environment for your guests.
Tips for a Successful Sushi-Making Experience
To guarantee your sushi-making class is a hit, it’s essential to prepare in advance and pay attention to the details. Start by sharing a bit of sushi history to spark interest. Discuss how sushi evolved and its cultural significance. Next, focus on flavor pairings; the right combinations can elevate the experience.
Here’s a quick reference table for inspiration:
| Ingredient | Suggested Pairing |
|---|---|
| Salmon | Avocado |
| Tuna | Cucumber |
| Eel | Cream cheese |
| Vegetables | Pickled ginger |
| Seaweed | Sesame seeds |
Encourage creativity and allow guests to experiment with their rolls. This freedom will make the class memorable and enjoyable!
Frequently Asked Questions
What Is the Ideal Number of Participants for the Class?
The ideal class size typically ranges from six to twelve participants. This allows for excellent participant engagement while ensuring everyone receives personal attention. Smaller groups enhance the learning experience, making it fun and interactive for everyone involved.
How Long Does a Typical Sushi-Making Class Last?
When it comes to sushi-making classes, you’ve gotta know the ropes! Typically, a class lasts 2-3 hours, allowing ample time for sushi preparation timelines and ensuring everyone meets class duration expectations while enjoying the experience.
Can I Host the Class During Bad Weather?
You can definitely host your class during bad weather, but it’s wise to have indoor alternatives ready. Consider weather precautions like covering your gazebo or moving inside to guarantee everyone enjoys the experience comfortably.
What Dietary Restrictions Should I Consider for Participants?
Like a well-balanced meal, consider everyone’s needs. You’ll want to include vegan options and gluten alternatives to guarantee all participants can enjoy the experience. It’s essential to embrace dietary restrictions for a truly inclusive event.
Is It Necessary to Have Prior Sushi-Making Experience?
You don’t need prior sushi-making experience! Focusing on sushi basics and beginner tips, you’ll quickly learn techniques and flavor combinations. Embrace the freedom to experiment, and enjoy the delicious journey of creating your own sushi.