To organize a DIY craft fair under your gazebo, start by choosing the right date and setting a detailed budget. Curate local vendors who reflect your community’s spirit, and design a layout that promotes foot traffic. Promote your event through engaging social media posts and vibrant flyers. Enhance the experience with fun workshops and activities. Guarantee health and safety measures while providing amenities for everyone. Discover the secrets to making your fair unforgettable with more helpful tips ahead.
Choosing the Right Date and Time
When’s the best time to host your DIY craft fair? Choosing the right date and time can make all the difference. You’ll want to take into account seasonal considerations, like holidays and local events that could either draw crowds or create competition. Spring and summer often boast vibrant weather, perfect for outdoor fairs, while autumn can bring a cozy charm with its changing leaves.
Keep an eye on weather forecasts, too. You wouldn’t want to set your fair on a rainy day! Aim for weekends, when people typically have more free time, and take into account morning or early afternoon hours for maximum foot traffic.
Don’t forget to factor in the availability of your chosen venue—your gazebo! By aligning your fair with favorable weather and community activities, you’ll create an inviting atmosphere that encourages creativity and connection. Remember, the right timing sets the stage for a successful event! Additionally, hosting your fair under a gazebo provides outdoor comfort that enhances the overall experience for both vendors and attendees.
Setting Up Your Budget
Setting a budget for your DIY craft fair is essential for ensuring the event runs smoothly and stays financially viable. Start by creating a detailed budget breakdown, including venue costs, permits, marketing materials, and supplies. Don’t forget to account for unexpected expenses—it’s always wise to have a cushion.
Next, prioritize your spending. If you want to splurge on quality signage, cut back on other areas, like refreshments. Use expense tracking tools or apps to keep tabs on every dollar spent; this will help you stay in control and adjust as needed.
Lastly, consider potential revenue from vendor fees or ticket sales. By understanding both your costs and potential income, you can create a balanced budget that allows you the freedom to focus on making your craft fair a vibrant community event. With careful planning, you’ll set the stage for a successful gathering under your gazebo!
Curating Local Vendors
When curating local vendors for your DIY craft fair, it’s essential to seek out artisans who reflect the spirit of your community. Start by creating a vendor application process that’s clear and inviting, encouraging diverse talents to showcase their work. This thoughtful approach not only enhances the fair’s unique offerings but also fosters local connections that can make your event truly memorable.
Finding Local Artisans
How can you discover talented local artisans to showcase at your DIY craft fair? Start by tapping into artisan networks in your area. These groups often have a rich roster of creative individuals enthusiastic to share their work. Attend local art shows or markets to scout potential vendors and connect with them directly. Don’t overlook community outreach—post on social media or local bulletin boards to invite artisans to apply. Collaborate with local shops or studios; they might know artists looking for exposure. Encourage a diverse range of crafts, from pottery to textiles, to create a vibrant atmosphere. By actively seeking out these connections, you’ll curate a unique selection that reflects the spirit of your community.
Vendor Application Process
Although the idea of organizing a DIY craft fair can be exciting, curating the right vendors is crucial to its success. Start by defining your vendor criteria, focusing on originality, quality, and local representation. Create clear application guidelines that outline what you’re looking for, including product types, booth requirements, and pricing structures. This transparency helps potential vendors understand your vision and guarantees a cohesive fair. Promote your application process through local social media, community boards, and artisan groups, encouraging diverse submissions. Don’t forget to include a deadline, and consider a selection committee to review applications. Ultimately, your goal is to gather a vibrant mix of talent that reflects the spirit of your community, creating an unforgettable experience for everyone involved.
Designing Your Layout
Designing your layout is essential for a successful DIY craft fair, and a well-thought-out plan can make all the difference. Start by sketching a layout that prioritizes layout optimization and effective space utilization. Consider the size of your gazebo and how many vendors you can comfortably fit. Each booth should have enough room for customers to browse without feeling cramped.
Create clear pathways to enhance foot traffic and encourage exploration. Place popular vendors or unique attractions at the end of aisles to draw attendees through the fair. Utilize vertical space by incorporating displays that catch the eye.
Don’t forget about essential areas like seating, food, and restrooms—these should be easily accessible and strategically placed. Additionally, consider placing your gazebo near a pool or pond to create a relaxing environment that complements your craft fair’s atmosphere. By thoughtfully designing your layout, you’ll foster a welcoming atmosphere where creativity thrives, and participants feel free to explore every corner of your craft fair.
Promoting Your Event
To guarantee your DIY craft fair attracts a crowd, you’ll want to harness the power of social media and local flyers. Create eye-catching posts and stories that highlight your vendors and unique offerings, while also sharing your event details across community groups. Distributing vibrant flyers in local shops, cafes, and community centers can amplify your reach and spark interest in your fair.
Utilize Social Media
As you plan your DIY craft fair, leveraging social media can greatly amplify your reach and draw in a larger crowd. A solid social media strategy is key; use platforms like Instagram and Facebook to share eye-catching visuals of your crafts. Engage your audience with fun polls or sneak peeks of what they’ll find at the fair. Here’s a simple table to help you organize your engagement tactics:
| Platform | Engagement Tactics |
|---|---|
| Share stories, host contests | |
| Create event pages, polls | |
| Tweet updates, use hashtags |
Distribute Flyers Locally
While social media offers a powerful way to promote your DIY craft fair, distributing flyers locally can create a tangible presence in your community. Start with an engaging flyer design that reflects the spirit of your event—bright colors, engaging images, and clear details. Visit local businesses and ask if you can display your flyers in their windows or on bulletin boards; they’ll appreciate the community engagement. Consider coffee shops, libraries, and community centers as prime locations. Don’t forget to include a call to action, encouraging folks to bring friends and explore local talent. By spreading the word through these physical reminders, you’ll foster excitement and connection, making your craft fair a must-visit event in your neighborhood.
Preparing the Gazebo and Surrounding Area
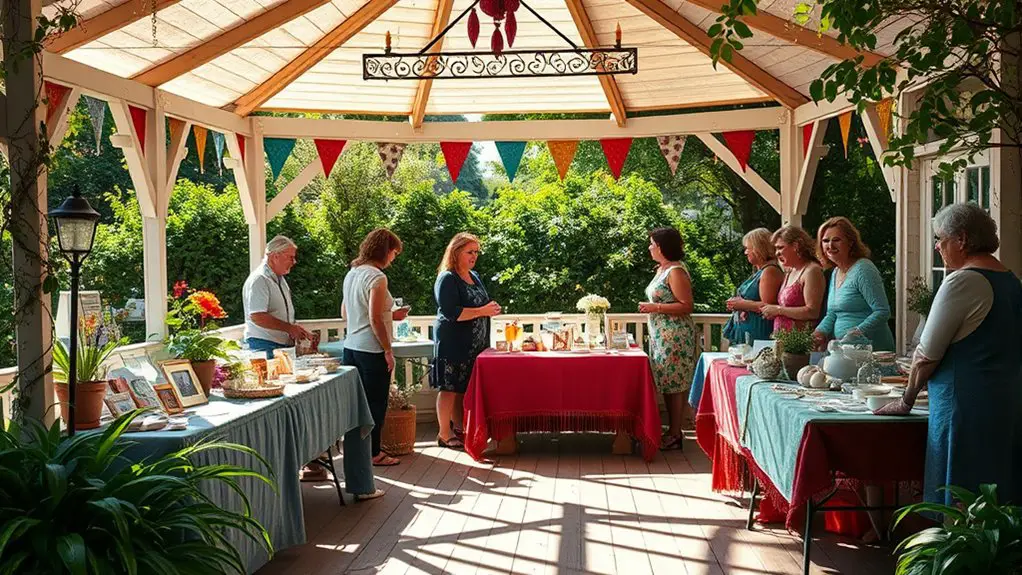
Before you plunge into the details of your DIY craft fair, getting the gazebo and surrounding area ready is essential for creating an inviting atmosphere. Start with some fun gazebo decoration ideas—think vibrant bunting, fairy lights, or colorful tablecloths that reflect your craft’s spirit. These elements not only draw attention but also set a cheerful tone.
Next, focus on the surrounding area setup. Clear any clutter, ensuring pathways are accessible for everyone. Use tables to create distinct zones for different crafts, allowing for easy browsing. Consider adding seating areas with cozy blankets or cushions, encouraging guests to linger. Additionally, incorporating outdoor lighting can enhance the ambiance for your evening event.
Don’t forget about signage! Clear signs can guide attendees to various sections, enhancing their experience. With thoughtful preparation, your gazebo will transform into a welcoming hub that fosters creativity and connection. So roll up your sleeves and let your vision come to life!
Organizing Activities and Workshops
When planning your DIY craft fair, you’ll want to curate engaging workshops that draw in attendees and keep them excited. Think about the types of activities that will not only showcase your vendors’ skills but also allow participants to create something memorable. Plus, organizing a clear schedule and gathering all necessary materials in advance will help guarantee everything runs smoothly on the day of the event.
Workshop Ideas for Engagement
There’s something special about hands-on experiences that can transform a DIY craft fair from a simple marketplace into an engaging community event. To create memorable moments, consider setting up interactive stations that showcase diverse crafting techniques. Here are some workshop ideas to spark creativity:
| Workshop Title | Description | Materials Needed |
|---|---|---|
| Paint Pouring | Learn fluid art techniques | Acrylic paints, canvas |
| Jewelry Making | Create unique pieces with beads | Beads, wires, tools |
| Upcycled Art | Transform old items into treasures | Various recyclables |
| Calligraphy Basics | Master beautiful lettering | Inks, pens, practice paper |
| Candle Making | Craft personalized scents | Wax, wicks, molds |
These activities not only enhance skills but also foster connections among participants, making your fair truly unforgettable.
Schedule and Timing Tips
To guarantee your DIY craft fair flows smoothly, you’ll want to create a well-structured schedule that balances activities and workshops. Consider the following tips to avoid scheduling conflicts and guarantee an ideal duration for each event:
- Time Slots: Assign specific time slots for each workshop to keep things organized.
- Breaks: Include short breaks between sessions to allow attendees to explore.
- Variety: Offer a mix of activities catering to different interests, guaranteeing everyone finds something appealing.
- Feedback: After the fair, gather feedback on timing to improve future events.
With a clear schedule, you’ll create an engaging atmosphere that encourages participation and makes your craft fair memorable for everyone involved. Enjoy the freedom of creativity while keeping things on track!
Materials and Supplies Planning
After establishing a solid schedule for your DIY craft fair, the next step involves meticulous planning of materials and supplies for each activity and workshop. Start by identifying the craft supplies needed for each project. Think about the skills you want to share and choose materials that resonate with participants’ creativity. For example, if you’re hosting a painting workshop, gather paints, brushes, and canvases.
For efficient material sourcing, consider local craft stores or online suppliers, ensuring you get quality items while staying within budget. Create a checklist to track what’s needed, and enlist volunteers to help with set-up. By organizing your materials thoughtfully, you’ll empower attendees to express their creativity freely, making your craft fair a fulfilling experience for everyone involved.
Ensuring Health and Safety Measures
While planning a DIY craft fair can be exciting, ensuring health and safety measures is essential for creating a positive experience for both vendors and attendees. You want to keep everyone safe while allowing creativity to flourish. Here are some key steps to follow:
- Set up sanitization stations at various points throughout the fair to encourage frequent handwashing.
- Implement crowd control strategies, like designated entry and exit points, to manage foot traffic effectively.
- Require vendors to maintain clean, organized booths, minimizing clutter and ensuring safety.
- Provide clear signage reminding attendees of health protocols to promote awareness.
Providing Amenities for Vendors and Visitors
Since a successful craft fair hinges on the satisfaction of both vendors and visitors, providing essential amenities can greatly enhance the overall experience. Start by addressing vendor needs; make certain they have access to electricity for displays or tools, and provide tables and chairs for comfort during long hours. It’s also wise to offer a shaded area where they can take breaks without losing sight of their booths.
For visitor comfort, consider setting up ample seating areas and shade options to escape the sun. Providing clean, accessible restrooms is a must. Additionally, think about offering food and drink stations to keep everyone energized and happy. Parking space should be clearly marked, making it easy for guests to find a spot. By focusing on these amenities, you’ll create an inviting atmosphere that encourages people to linger, shop, and enjoy the craft fair experience to its fullest. A well-designed gazebo can serve as a perfect outdoor living space for hosting craft fairs and enhancing the overall ambiance.
Capturing the Moments: Photography and Social Media
Creating an unforgettable craft fair experience goes beyond just the amenities; it’s also about capturing the vibrant atmosphere and the unique creations on display. To truly showcase your event, consider these photography tips and social media strategies:
- Use natural light: Position your booth in well-lit areas to enhance colors and textures.
- Engage with participants: Capture candid moments of visitors interacting with vendors, adding authenticity to your photos.
- Create a unique hashtag: Encourage attendees to share their experiences online, creating community and engagement.
- Highlight diversity: Showcase a variety of crafts and artists, emphasizing the talent and creativity within your fair.
Frequently Asked Questions
How Do I Handle Unexpected Weather Conditions During the Fair?
Did you know that 30% of outdoor events face unexpected weather? Create a weather contingency plan to guarantee vendor safety. Set up cover areas and have supplies ready, so everyone enjoys the fair, rain or shine.
What Permits Do I Need for Hosting a Craft Fair?
You’ll need to check local regulations for permits, especially if you’re including food vendors. Don’t forget to take into account parking arrangements, too, to guarantee everyone has easy access and can enjoy the fair without hassle.
Can I Charge Vendors a Fee to Participate?
Imagine a thriving marketplace where creativity blooms. Yes, you can charge vendors a fee to participate. Consider your pricing strategy carefully; it should reflect value while ensuring vendors feel empowered to showcase their unique crafts.
How Can I Ensure Vendor Diversity at My Event?
To guarantee vendor diversity at your event, focus on thoughtful vendor selection and proactive community outreach. Connect with various local groups, and promote inclusivity, inviting artisans from different backgrounds to showcase their unique talents and perspectives.
What Should I Do if a Vendor Cancels Last Minute?
If a vendor cancels last minute, don’t panic. You’ve got vendor replacement strategies ready. Reach out to your backup contacts and adjust last minute logistics. Flexibility can turn a setback into an exciting opportunity for creativity!