To plan a DIY home decor class under your gazebo, start by choosing a date when the weather’s nice, ideally on a weekend. Select a theme that inspires creativity, like rustic charm or modern minimalism. Gather all necessary supplies beforehand to guarantee a smooth class. Set up cozy seating, ambient lighting, and designated activity zones to enhance engagement. A relaxed atmosphere is key for creativity. Keep exploring for tips on fostering an inviting and fun environment.
Choosing the Right Date and Time
When should you host your DIY home decor class? Timing’s everything, especially when it comes to creating an inviting atmosphere. Start by considering the weather; you’ll want to choose a day when the sun’s shining and the breeze is gentle, so everyone feels comfortable under your gazebo. Spring and early fall are often ideal, offering mild temperatures and stunning natural backdrops.
Next, think about participant availability. Weekends usually work best, as people often have more free time to express their creativity. You might even consider an evening session during the warmer months, when the day’s heat fades and the stars begin to twinkle.
Selecting a Theme for Your DIY Project
How do you choose a theme that resonates with your participants and sparks their creativity? Start by considering the vibe you want to create. Rustic charm invites warmth and nostalgia, perfect for those who love cozy, handmade touches. Think weathered wood, soft fabrics, and earthy tones that evoke a sense of home.
On the other hand, modern minimalism offers a sleek, fresh approach. Here, less is more—clean lines, neutral palettes, and functional designs allow participants to express their style without overwhelming clutter.
Ask yourself what your group might feel most inspired by. You could even combine elements from both themes, crafting a space that balances rustic warmth with modern simplicity. This fusion can be a delightful exploration, encouraging everyone to embrace their unique creativity while transforming your gazebo into a haven of artistic expression. Adding a design feature like built-in seating can enhance the overall experience and comfort of your DIY home decor class.
Gathering Necessary Supplies and Materials
Before you start crafting your masterpiece, it’s vital to gather all the supplies and tools you’ll need. Think of creating an essential tools checklist to guarantee you’re fully equipped, and explore local shops or online sources for the best materials. This preparation will set the stage for a smooth and enjoyable DIY experience.
Essential Tools Checklist
Creating beautiful home decor starts with a well-equipped toolkit, guaranteeing you have everything at your fingertips for your DIY projects. A well-organized collection of tools not only enhances your creativity but also guarantees essential safety while you work. Here’s a checklist of must-have tools for your class:
- Measuring Tape: Precision is key in any decor project.
- Utility Knife: Perfect for cutting materials with ease.
- Safety Goggles: Protect your eyes from debris during crafting.
Prioritize tools organization by arranging them in a portable toolbox or a dedicated cart. This way, you can focus on creating stunning pieces without the hassle of searching for supplies. Enjoy the freedom to craft and decorate your space!
Material Sourcing Tips
While starting on your DIY home decor journey, knowing where to find the right materials can make all the difference. Explore your local suppliers, like craft stores and hardware shops, where you can discover unique items that add character to your projects. Don’t underestimate the power of thrift stores; they often have hidden gems waiting to be transformed. For those hard-to-find supplies, online resources offer a vast selection, allowing you to shop from the comfort of your home. Websites like Etsy or specialized DIY retailers can inspire your creativity. Remember to check reviews and compare prices to guarantee you’re getting the best deal. With the right materials in hand, your DIY dreams can truly come to life under your gazebo!
Setting Up Your Gazebo for the Class
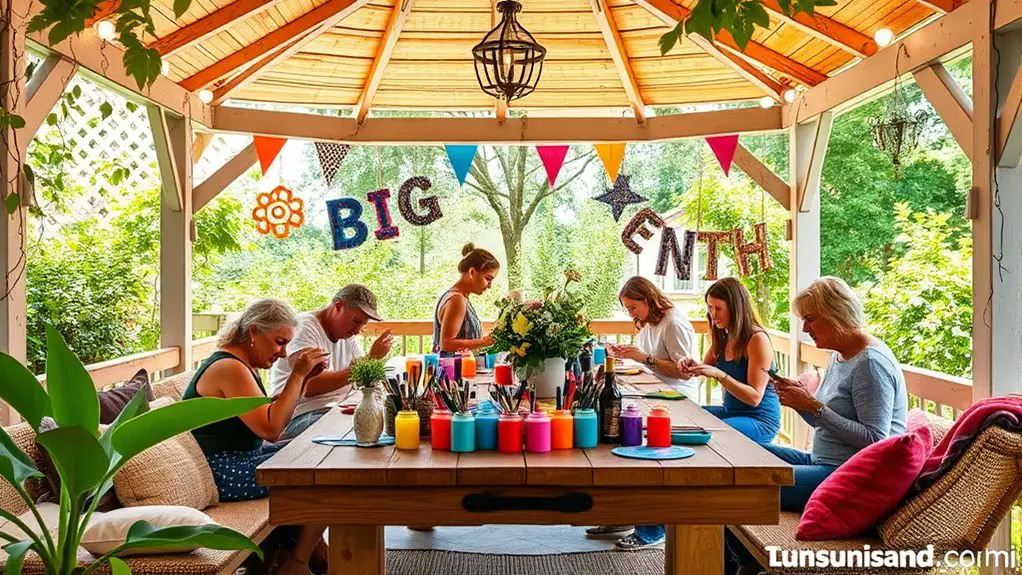
As you prepare to transform your gazebo into an inviting space for the DIY home decor class, consider how the arrangement can foster creativity and comfort. Start by creating cozy seating arrangements that encourage interaction and collaboration among participants. Opt for a mix of chairs and cushions that allow for flexibility and relaxation.
Next, incorporate decorative lighting to set the mood. String lights or lanterns can add warmth, making the space feel magical, especially as the sun sets.
To guarantee a smooth flow, keep these essentials in mind:
- Position tables for easy access to supplies and materials.
- Create zones for different activities, like crafting and discussion.
- Add personal touches like fresh flowers or themed decor to inspire creativity.
Additionally, ensure that your setup provides sufficient shade to protect participants from harmful UV rays, which can still penetrate through the gazebo’s canopy.
With these elements in place, your gazebo will be the perfect backdrop for a memorable DIY experience!
Promoting Your DIY Home Decor Class
With your gazebo beautifully set up for the DIY home decor class, it’s time to attract participants who are enthusiastic to release their creativity. Start by harnessing the power of social media. Create eye-catching posts showcasing your class’s vibrant atmosphere and the unique projects participants will create. Use platforms like Instagram and Facebook to share inspiring visuals and engage your audience with fun polls or sneak peeks.
Next, consider forming local partnerships. Collaborate with nearby businesses, like craft stores or cafes, to cross-promote your event. They can display flyers or share your class details with their customers, expanding your reach. You might even host a small demo at their location to drum up interest. Additionally, promoting your class in areas with high outdoor living space appeal can attract more participants who appreciate the value of such settings.
Tips for Leading the Class Effectively
To lead your DIY home decor class successfully, it’s essential to prepare your materials in advance, ensuring everything’s ready for your participants. Keeping them engaged throughout the session will spark their creativity and make the experience more enjoyable. Remember, encouraging personal expression not only fosters confidence but also transforms the class into a vibrant hub of ideas and inspiration.
Prepare Your Materials
Preparing your materials is essential for a successful DIY home decor class. When you have everything organized and ready, you create an inviting atmosphere that allows creativity to flow. Here are some tips for effective material organization and supply management:
- Gather Supplies: Collect all necessary tools and materials ahead of time. This includes paint, brushes, fabric, and any decorative elements you plan to use.
- Label Everything: Use clear labels for each item and group similar supplies together. This will save time and make it easier for participants to find what they need.
- Create Stations: Set up designated areas for different tasks. This encourages movement and keeps everyone engaged with their projects.
Engage Participants Actively
How can you create a dynamic and engaging atmosphere in your DIY home decor class? Start by incorporating interactive activities that get everyone involved. Encourage participants to share their ideas and preferences, making them feel like co-creators rather than just attendees. Use icebreakers to spark conversations; these can be simple questions about favorite decor styles or personal projects. As you guide them through the process, ask open-ended questions to stimulate discussion and invite feedback. Offer hands-on demonstrations while allowing participants to try techniques themselves. This participant engagement keeps the energy high and fosters a sense of community. Remember, the more they interact, the more invested they’ll feel in their creations, leading to a memorable experience for all.
Encourage Creative Expression
Building on the lively atmosphere you’ve created, encouraging creative expression is key to making your DIY home decor class a hit. Allowing participants to embrace their artistic freedom fosters a sense of ownership and joy in their projects. Here are some tips to guide you:
- Create a Relaxed Environment: Let everyone know there’s no right or wrong way to create. This openness promotes self-expression.
- Provide Diverse Materials: Offer various supplies and colors to inspire unique designs, allowing participants to explore their creativity.
- Celebrate Individuality: Acknowledge each person’s unique style and encourage sharing ideas. This builds a supportive community, where creativity thrives.
With these strategies, you’ll elevate the experience and let everyone shine in their artistic endeavors!
Creating a Relaxing Atmosphere for Creativity
While the right tools and materials are essential for any DIY project, the atmosphere in which you create can greatly influence your inspiration and productivity. To cultivate a relaxing space under your gazebo, consider incorporating ambient lighting. Soft fairy lights or lanterns can cast a warm glow, inviting creativity. Pair this with soothing music—perhaps acoustic or nature sounds—to further enhance your environment. Adding comfortable seating with soft cushions can also enhance relaxation and foster creativity.
Here’s a quick guide to setting the perfect atmosphere:
| Element | Suggestions |
|---|---|
| Lighting | Fairy lights, lanterns |
| Music | Acoustic, nature sounds |
| Seating | Cushioned chairs, blankets |
| Aromatherapy | Essential oils, scented candles |
Frequently Asked Questions
What Is the Ideal Number of Participants for the Class?
The ideal number of participants for your class is around eight to twelve. This size fosters participant engagement, enhances class dynamics, and creates a supportive atmosphere where everyone feels free to express their creativity.
Can I Charge a Fee for the DIY Class?
Think of charging a fee as planting seeds for growth. Your pricing strategy should reflect class materials’ costs while ensuring participants see value. With the right approach, you’ll cultivate interest and creativity in your class.
What Age Group Is Best Suited for This Class?
For your DIY class, consider targeting teenagers and adults. Teenagers bring creativity and enthusiasm, while adults offer experience and a desire for self-expression. Together, they’ll create a vibrant, dynamic atmosphere that encourages collaboration and inspiration.
How Long Should the Class Duration Be?
When considering class duration, aim for two to three hours. This gives you ample time for activity planning, allowing participants to explore their creativity without feeling rushed. Remember, freedom to create makes it memorable!
What if It Rains on the Class Day?
Did you know that nearly 40% of outdoor events get disrupted by rain? If it rains, consider cozy indoor activities or a tented gazebo setup. Rainy day alternatives can still make your DIY class unforgettable.