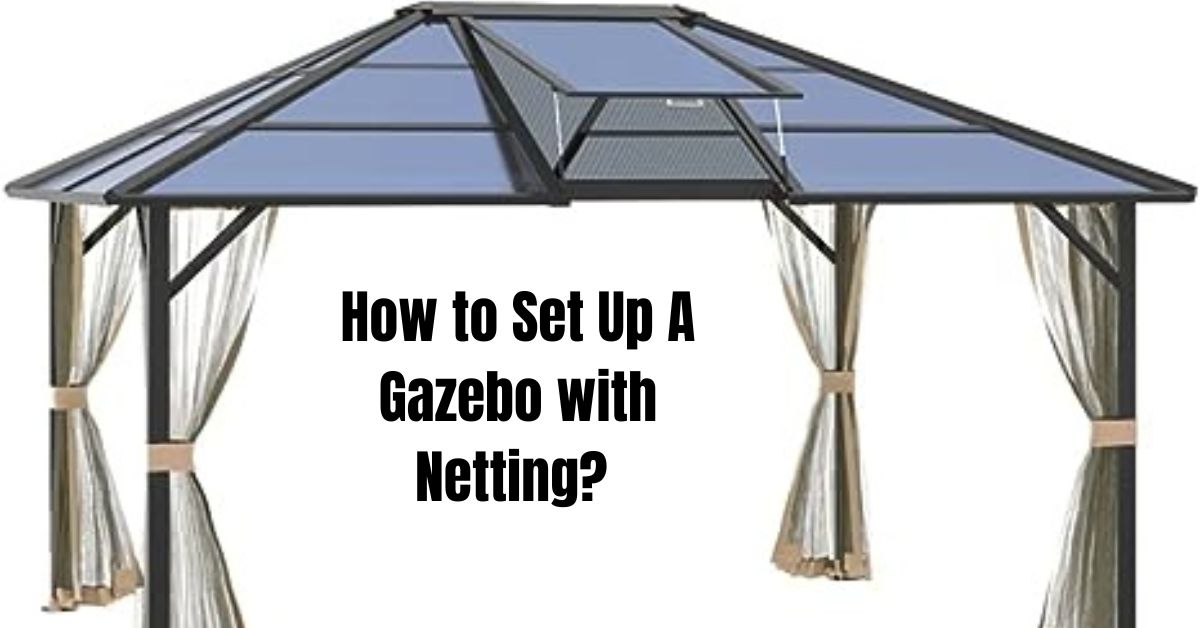
It’s summer, and that means we’re spending more time outside. If you’re planning a backyard barbecue or a day at the pool, a gazebo with netting can be a great way to stay protected from insects and enjoy privacy.
But, if you don’t install the netting correctly, you might find yourself with unwanted guests like bugs and other pests. This article will help you set up your gazebo netting properly, so you can enjoy your time outside without any annoying insects.
With our step-by-step guide, you can keep your outdoor space comfortable and pest-free and focus on enjoying your time with family and friends.
How to Set Up a Gazebo with Netting: Setting up a gazebo with netting is a simple process that involves finding a flat location, unpacking the gazebo and netting, assembling the frame, attaching the netting, and securing the gazebo to the ground.
Tips to Consider Before Assembling Your Netted Gazebo
Reading all the instructions before assembling your gazebo is a good idea. Make sure to go through each step carefully to avoid missing anything important. This will help ensure that your gazebo is assembled correctly and that you can enjoy your time outside without any issues.
Choose a Flat Surface
Choosing a flat surface is the first step in setting up a gazebo with netting. Look for a level area that is free from any obstructions, such as trees or power lines. Uneven surfaces can make it difficult to assemble the gazebo and may cause stability issues once it’s set up.
Additionally, clear the area of any debris, such as rocks, sticks, or branches. Once you have found a suitable location, measure and mark the area to ensure the gazebo fits properly. With a level and clear surface, you can confidently assemble your gazebo.
Check for All Required Parts
Before assembling your gazebo, it’s important to check all the parts that come with it. If you notice any parts are missing, it’s best to contact customer service before beginning the assembly process. This will help ensure you have all the necessary pieces and can assemble your gazebo without complications.
Gather Required Tools
Here’s a list of tools and items you may need when setting up your gazebo with netting: scissors, liquid soap or WD40 lubricant, a step ladder, a Phillips screwdriver, safety goggles, working gloves, and a hex key. These tools and items will help assemble your gazebo and make the process smoother and more efficient.
Organise Gazebo Parts in a Designated Area
When setting up your gazebo with netting, it is essential to understand all the parts and how they fit together. Each component is numbered, and laying out all the parts in a staging area is important to avoid losing any parts during assembly.
It’s also a good idea to have a diagram or picture of the pavilion to refer to as you assemble it. This will help ensure that the parts are placed in the correct position. If you are unsure about how to put a specific part together, consult the instructions that came with your gazebo.
Having a visual aid can be very helpful in ensuring that your gazebo is put together correctly.
Tips for Staying Safe
Here are some important safety tips when setting up your gazebo with netting. Always dispose of plastic bags safely and keep them out of reach of children. Keep your kids and pets away from the assembly area to prevent accidents. Wear safety goggles, gloves, and shoes when installing the netting.
Be careful not to touch power lines with the aluminum profiles. Avoid setting up the netting in strong winds or rain. Follow the manufacturer’s instructions to prevent injury if you use power tools or a ladder.
Once you have all the necessary materials and safety measures, you can begin setting up the gazebo netting.
Included Parts
To set up your gazebo netting, you will need some specific parts, including left and right curtain rails, curtain hooks, self-tapping screws, privacy curtains, and netting curtains.
Step-by-Step Guide to Assemble a Netted Gazebo

Here are the steps for assembling a gazebo with netting: first, attach the curtain rails.
Next, slide in the curtain hooks. Then, secure the rail in place, and finally, hang the curtains.
I will provide a full guide on how to do each of these steps below.
Instructions to Slide Curtain Hooks on Rails
You need to slide the curtain hooks into the rail channels to hang the curtains. The curtain hooks are usually included in the gazebo package. Simply insert one curtain hook at a time into the rail channel, starting from one end of the rail. Repeat this process until all the hooks are in place on both rails.
Ensure that the hooks are evenly spaced and facing the correct direction so that the curtains will hang properly. Once all the hooks are in place, you can move on to the next step of securing the rail in place.
Guide to Attach Curtain Rails
First, ensuring that the rails are evenly spaced and securely in place is important. You can mark the screw positions according to the rail holes. To do this, hold the rail in place from the inside of the gazebo and mark the spot where the screws will go using a pencil or pen.
This step helps ensure the rails are correctly positioned, and the netting is properly installed.
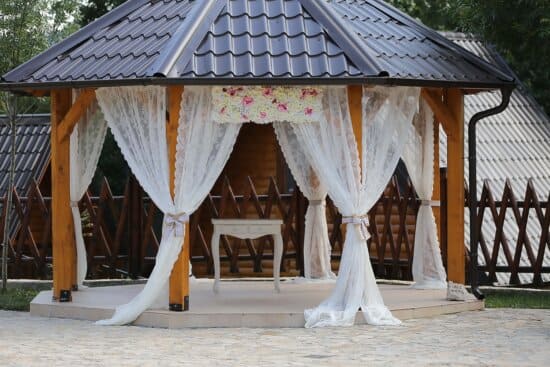
Instructions to Hang Curtains
To hang your privacy curtains on the gazebo, you should start by attaching the top of the curtains through the hooks in the outer rail channel. Then, attach the netting curtains to the inner rail channel.
Additionally, you can use the provided straps to tie down the curtains and create different designs and patterns.
Guide to Secure Rails in Place
To complete the curtain rails assembly, you should secure the rails to the gazebo frame. To do this, start at one end of the rail and use the screws to attach it firmly to the pavilion. Use an electric screwdriver to make the process easier and ensure the screws are tightened firmly.
Repeat this process with the remaining rails, screwing them into the gazebo frame one by one.
Guide to Add Mosquito Netting to Your Gazebo
During summer, mosquitoes can be pesky pests that can disrupt outdoor relaxation. Whether you’re on the porch or in a lovely gazebo, mosquito bites can be quite irritating. You can keep these insects away by installing mosquito netting around your gazebo.
However, the installation process depends on the type of netting you purchase.
Use Unformatted Yards of Mosquito Netting
To hang mosquito netting around your gazebo, you can follow these steps:
- Put hook-and-loop tape along the inside edge of the gazebo roof. Secure the tape with staples along the track’s edge.
- Put the other side of the hook-and-loop tape on top of the mosquito netting.
- Make the hook-and-loop tape stronger by sewing a straight stitch along the top and bottom edges.
- Hang the mosquito netting by connecting the two parts of the hook-and-loop tape.
Add any additional accessories, such as lights or a fan
To enhance your gazebo experience, you can add accessories like lights or a fan. This can create a more comfortable atmosphere and improve the overall ambiance. Adding lights can help you enjoy your gazebo at night, and you can choose from various lighting options, such as string lights, lanterns, or even solar-powered lights.
Installing a fan can also provide a refreshing breeze, making your time in the gazebo more comfortable during hot summer days. Whatever accessory you choose to add, make sure to follow the manufacturer’s instructions and take necessary safety precautions while installing them.
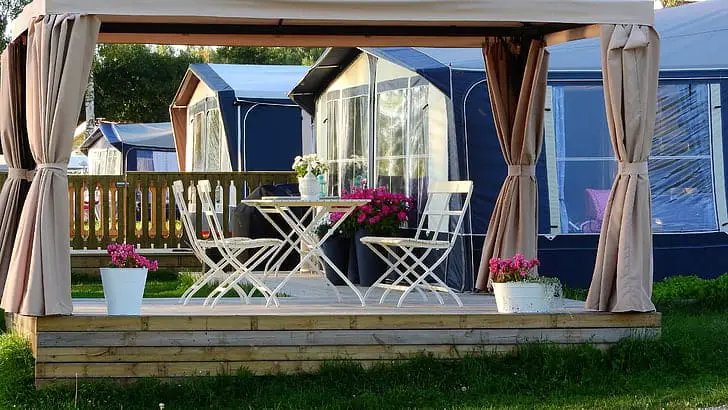
Arrange furniture and decor inside the gazebo
Arranging furniture and decor inside a gazebo can be a fun and exciting task. First, consider the purpose of the gazebo and what activities you plan to do inside. Do you want to create a cozy reading nook or a space for entertaining guests? Once you have a plan, start by measuring the space and choosing furniture that fits comfortably inside.
Consider the style of the pavilion and choose decors that complement it, such as rugs, curtains, and wall art. You can also add lighting to enhance the ambiance and make the space more inviting.
Remember to arrange the furniture to allow easy movement and access to all areas of the gazebo. With a little creativity and effort, you can create a beautiful and functional space inside your gazebo.
Relax and enjoy the outdoors while staying protected from insects
Relaxing and enjoying the outdoors is a great way to spend time with family and friends. However, insects can often be a nuisance and spoil the fun. To stay protected from insects, you can take a few simple steps.
First, wear clothing that covers your skin and use insect repellent with DEET. You can also use citronella candles or mosquito coils to keep bugs away. Another option is to use a screened-in porch or patio, which can protect from insects while still allowing you to enjoy the outdoors.
Additionally, you can use a mosquito net over a hammock or other outdoor furniture to create a bug-free zone. These tips allow you to relax and enjoy the outdoors while staying protected from pesky insects.
FAQs For How to Set Up A Gazebo with Netting
Q:1 How do you put screens and curtains on a gazebo?
Here are some simplified instructions on how to set up your curtains:
- Get all the things you need to hang your curtains.
- If the hooks that hold the curtains are not there yet, attach them to the curtain track.
- Hang the curtains on the hooks.
- Decide if you want to keep the curtains open or closed and secure them in place.
Q:2 Can you leave a fabric gazebo up in the winter?
If you have a fabric gazebo, it’s not strong enough to handle very cold weather. However, keeping your fabric gazebo up all year is okay if you live in a warm area. You just need to clean the roof a few times a year to remove dirt, leaves, and other things that might collect on it.
Q:3 How do you set up a basic gazebo?
- Choose the location where you want to put the gazebo, and make sure the ground is flat and level.
- Follow the instructions that came with your gazebo to assemble the frame. This usually involves fitting the poles and connectors together.
- Once the frame is assembled, drape the canopy over the top of the frame.
- Use the fasteners that came with the gazebo to attach the canopy securely to the frame.
- If your gazebo comes with sides, attach them to the frame.
- Finally, anchor the gazebo to the ground using stakes or weights to keep it from blowing away.
Q:4 What is the best base for a gazebo?
You can build a gazebo on concrete, paving slabs, or decking. Whatever type of base you use, it needs to be flat, level, and square. Concrete is the strongest base for a gazebo, but if you already have a paved or decked area in your garden, you can put the gazebo on that instead.
Q:5 How long do fabric gazebos last?
If you don’t do anything to protect it, a canopy will usually only last for 2 to 3 years. If the canopy is made from poor-quality fabric, it lasts only 6 months to a year. The sun, rain, wind, and snow can weaken the fabric over time.
Conclusion
Setting up a gazebo with netting is a simple and practical solution for enjoying the outdoors without being bothered by insects. Attaching the netting to the gazebo frame with ties or clips allows you to create a comfortable, airy space that keeps bugs out.
It’s important to keep the netting clean and dry to prevent damage, and it can be easily removed for storage when not in use.
You can learn how to attach netting to your gazebo by following the steps above. This will help you enjoy your outdoor space without being bothered by bugs. It’s important to follow the instructions carefully and use all the parts that come with the netting for a secure installation.
You can use this guide to attach netting to any type of gazebo, but check the manufacturer’s instructions first. You can have a bug-free gazebo with a few easy steps and enjoy your time outside without pests.
After reading this comprehensive guide, we hope you will know how to set up a Gazebo with Netting. If you have any questions, feel free to comment below.