Using a gazebo for outdoor product photography can elevate your shots while protecting your items from the elements. Choose a lightweight, weather-resistant gazebo for easy setup and stability. Position it to capture natural light, especially during golden hour, to enhance your product’s colors. Use diffusers and reflectors to control shadows and highlights, creating a balanced look. Style your scene with thoughtful props for added impact. If you want to master your setup, there’s so much more to explore.
Selecting the Right Gazebo for Your Shoot
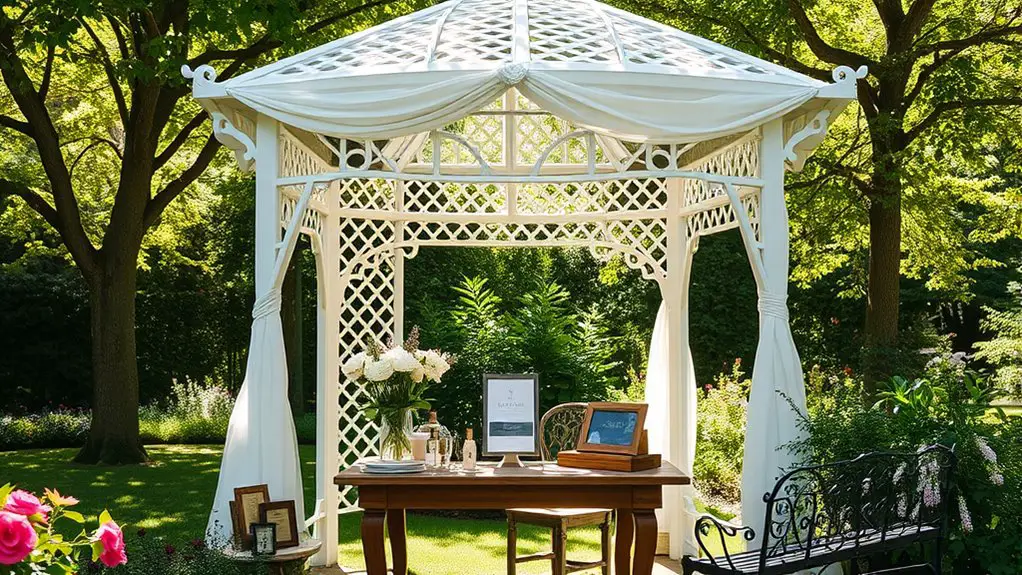
When you’re planning an outdoor product shoot, selecting the right gazebo can make all the difference in achieving the perfect ambiance and lighting. Look for portable designs that you can easily set up and take down, giving you the freedom to change locations as needed. Lightweight materials and compact structures guarantee you won’t be weighed down when on the move.
Weather resistance is vital, too. Opt for gazebos made from durable fabrics that can withstand sun, rain, or wind, so you can focus on capturing stunning shots without worrying about the elements. A well-chosen gazebo not only provides shelter for your products but also enhances your shoot’s aesthetic, creating a cohesive look that draws attention. Remember, the right gazebo complements your vision, allowing creativity to flow freely while making sure your equipment stays safe and your shots shine. Additionally, consider models like the ECOTOUGE Outdoor 10×10 gazebo that offer double vented tops and larger shadow areas for improved air circulation and comfort during your shoot.
Positioning Your Gazebo for Optimal Light
To capture the best product shots, you need to position your gazebo with the sun’s direction in mind. Adjusting for shadows can make a significant difference in your images, ensuring your products shine without unwanted distractions. Elevating your setup can also provide a fresh perspective, adding depth and interest to your photography.
Consider Sunlight Direction
How can you guarantee your product shines in the best light? The direction of sunlight can dramatically alter your shot, so it’s essential to position your gazebo wisely. Aim to capture those golden hours—early morning or late afternoon—when the sunlight angles are soft and flattering.
| Time of Day | Sunlight Angle |
|---|---|
| Early Morning | Low & Warm |
| Late Morning | High & Bright |
| Early Afternoon | Harsh & Direct |
| Late Afternoon | Soft & Golden |
| Sunset | Warm & Dramatic |
Adjust for Shadows
Capturing the perfect shot involves more than just the right sunlight; it’s also about managing shadows. When setting up your gazebo, think about how you can make shadow adjustments to create a balanced look. Position your gazebo strategically to block harsh sunlight, reducing unwanted shadows that can detract from your product. Experiment with different angles and orientations to find the best light manipulation for your shot. You might find that moving the gazebo even a few feet can dramatically change the shadow dynamics. Remember, the key is to guarantee your product remains the focal point, illuminated beautifully without distracting shadows. With a little finesse, you can turn your outdoor space into a stunning photography studio.
Elevate for Perspective
Positioning your gazebo correctly can make all the difference in achieving that perfect shot. To capture stunning product photos, consider making height adjustments to your gazebo. Elevating it can provide a unique perspective, allowing you to explore angle variations that showcase your products in fresh ways. For instance, a slightly higher position can create dramatic shadows or highlight textures beautifully under natural light.
Experiment with the gazebo’s placement; try moving it to different locations throughout the day to find the ideal lighting conditions. Don’t forget to adjust its height, too—this flexibility can dramatically alter the mood of your shot. By combining these techniques, you’ll release your creativity and capture images that truly resonate with your audience’s desire for freedom and authenticity.
Utilizing Natural Light to Enhance Product Features
Natural light can be a photographer’s best ally when showcasing product features outdoors. It brings out colors and textures, giving your products a vibrant look that artificial lighting often struggles to replicate. To effectively utilize natural light, consider these tips:
Natural light enhances product colors and textures, creating a vibrant look that artificial lighting often can’t achieve.
- Golden Hour Magic: Shoot during the golden hour—shortly after sunrise or before sunset—for soft, warm light that enhances details.
- Positioning: Place your products strategically within the gazebo to capture the best angles of natural light, ensuring they’re well-lit without harsh shadows.
- Reflective Surfaces: Use reflective materials, like white boards or even the gazebo’s surfaces, to bounce light onto your products, highlighting their features beautifully.
Controlling Shadows and Highlights With Diffusers
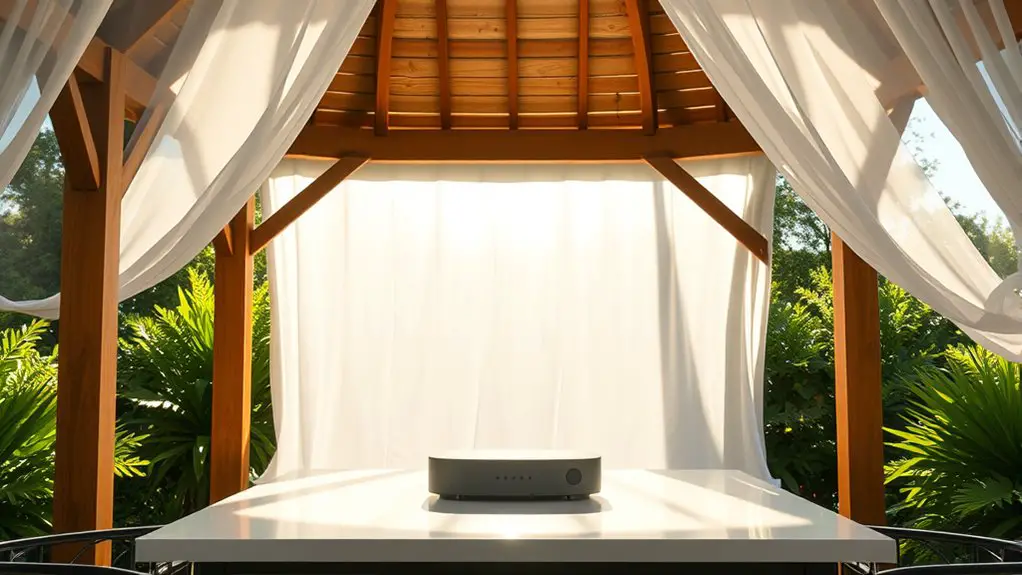
While natural light can beautifully illuminate your products, managing shadows and highlights is key to achieving that perfect shot. Diffusers are your best friends in this endeavor, softening harsh sunlight and creating a more balanced effect. By placing a diffuser between the sun and your product, you can enhance shadow management, ensuring that details aren’t lost in deep shadows or overly bright highlights.
Choose lightweight, portable diffusers for easy setup in the gazebo. Experiment with different materials, like sheer fabric or specialized diffusion panels, to see which offers the best highlight control for your specific items.
Incorporating Reflectors for Balanced Lighting
To achieve that perfect, balanced lighting in your product shots, you’ll want to contemplate using reflectors. Choosing the right type—be it silver, gold, or white—can dramatically enhance the look of your images. Positioning them correctly will help redirect light to eliminate harsh shadows and create a more polished finish.
Selecting Appropriate Reflector Types
Choosing the right type of reflector is essential for achieving balanced lighting in outdoor product photography, especially when you’re working under a gazebo. The right reflector can help you manipulate natural light to highlight your products beautifully. Here are three key considerations:
- Reflector Materials: Opt for materials like silver or gold, as they can enhance warmth or coolness, depending on your product’s needs.
- Reflector Sizes: Larger reflectors are great for softening shadows, while smaller ones can provide a focused beam of light for specific details.
- Portability: Choose lightweight, collapsible options for easy transport, allowing you the freedom to adjust your setup on the go.
With the right reflector, you’ll elevate your outdoor product photography to new heights!
Positioning for Optimal Light
Once you’ve selected the right reflector types, the next step is positioning them effectively to capture the best light. Start by placing your reflectors at angles that bounce sunlight towards your product, enhancing its features without creating harsh shadows. Experiment with different placements to see how the light changes your composition techniques.
Don’t forget about background selection; a neutral backdrop can help your product pop while reflectors can soften any unwanted distractions. Positioning your reflectors strategically not only balances your lighting but also adds depth and dimension to your shots. Keep moving around, adjusting angles as needed, to find that sweet spot where everything harmonizes beautifully, allowing you to express your creative vision freely.
Choosing the Best Time of Day for Outdoor Photography
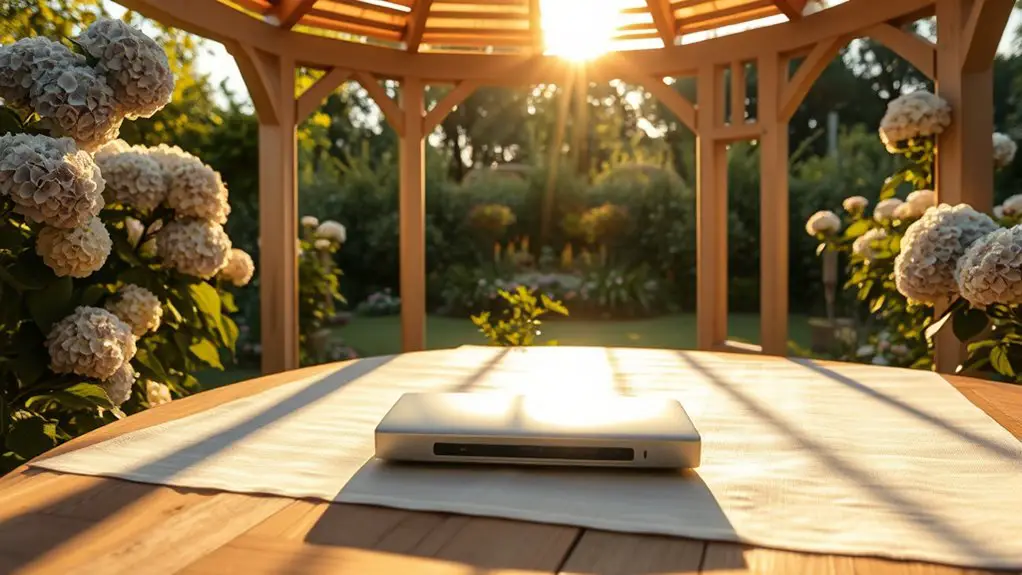
While you might be keen to set up your gazebo for product photography at any time, the quality of light plays an essential role in determining the success of your shots. Choosing the best time of day can elevate your images, particularly when you consider the enchanting golden hour—those magical moments just after sunrise and before sunset. Here are a few key considerations:
- Golden Hour: Capture soft, warm light that enhances colors and reduces harsh shadows.
- Weather Considerations: Overcast days can provide diffused light, perfect for minimizing glare and achieving a soft look.
- Time of Day: The angle of the sun changes throughout the day, so plan your shoot when the light complements your product’s features.
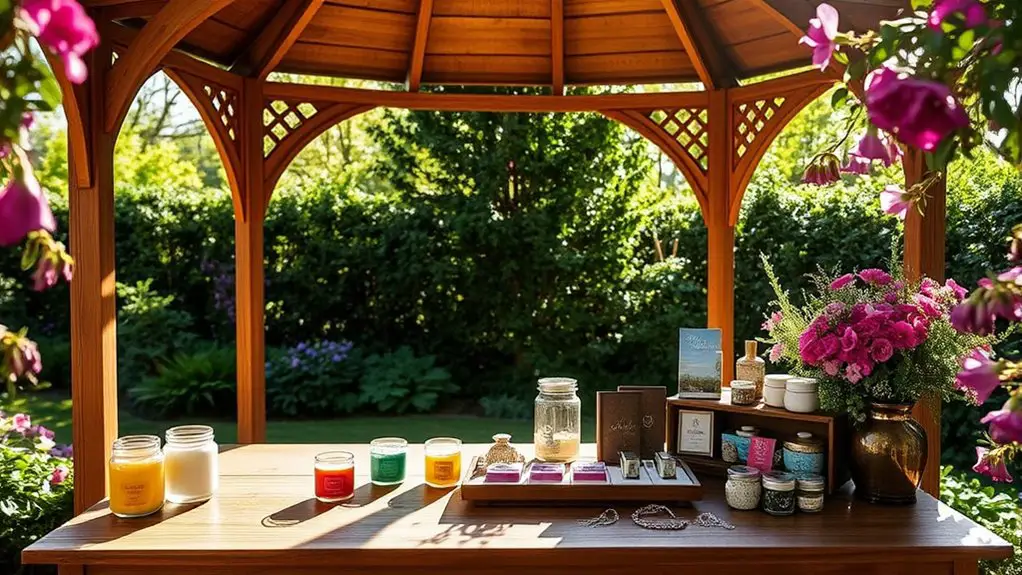
Styling Your Products for Maximum Impact
With the right lighting in place, the next key element in elevating your outdoor product photography is styling your products for maximum impact. Start by considering color coordination; select a palette that complements your products while harmonizing with the natural surroundings of your gazebo. This creates a cohesive aesthetic that draws the eye and enhances your brand’s message.
Next, think about your background choices. A simple, uncluttered backdrop can make your products pop, while textured surfaces like woven fabrics or natural elements can add depth and interest. Don’t be afraid to experiment! Layering props or incorporating greenery can elevate your composition, adding a touch of life and storytelling to your images. Additionally, consider using outdoor lighting options to highlight your products and create a warm ambiance that invites customers in.
Ultimately, the goal is to create an inviting scene that resonates with your audience’s desires for freedom and connection. Keep it fresh, fun, and aligned with your brand’s essence, and watch your product photos shine!
Ensuring Stability and Safety During Outdoor Shoots
Ensuring stability and safety during outdoor shoots is essential, especially when you’re working with delicate products or expensive equipment. A gazebo can provide a great setup, but it’s vital to implement some effective stability techniques and safety measures to protect your work.
- Secure Your Gazebo: Use stakes or weights to anchor your gazebo firmly to the ground, preventing any sudden movements from wind gusts.
- Check the Surroundings: Assess the area for any potential hazards, like uneven ground or overhanging branches, which could pose a risk during your shoot.
- Stabilize Your Equipment: Use tripods or sandbags to secure your camera and lighting equipment, ensuring they won’t topple over during your session. Additionally, consider employing anchoring techniques to further enhance the stability of your gazebo setup.
Post-Processing Tips for Gazebo Photography Images
As you sift through your gazebo photography images, you’ll quickly realize that post-processing can elevate your shots to new heights. Start with color correction techniques to enhance the vibrancy of your products. Adjust saturation and contrast to bring out their true colors, ensuring they pop against the gazebo’s backdrop. Don’t hesitate to experiment with white balance settings; this can drastically improve the overall mood of your images.
Next, focus on image cropping strategies. Carefully trim unnecessary elements to draw attention to your products, creating a more compelling composition. This not only enhances visual interest but also instills a sense of freedom in your viewer’s gaze. Remember, a clean crop can transform a good image into a fantastic one.
Finally, consider applying sharpening filters to add crispness and detail. With these post-processing tips, your gazebo photography will shine, capturing the essence of your products beautifully.
Frequently Asked Questions
Can I Use a Gazebo for Indoor Product Photography?
You can’t use a gazebo for indoor product photography. However, consider utilizing indoor lighting and various backdrop options to create stunning visuals. Experiment with different setups to achieve the perfect ambiance and showcase your products beautifully.
What Materials Are Best for a Durable Gazebo?
For a durable gazebo, you’ll want aluminum frames for strength and lightweight portability, paired with waterproof covers to protect against the elements. This combination guarantees your outdoor space remains functional and stylish, no matter the weather.
How Do I Secure My Gazebo in Windy Conditions?
You’d think a gazebo is a fortress, but in windy conditions, it needs your protection. Use effective anchor techniques for maximum wind resistance; securing it will let you enjoy freedom without worrying about flying structures!
Are There Portable Gazebo Options for Traveling Photographers?
Yes, there’re portable options designed for traveling photographers. Look for lightweight, easy-to-setup models that fold compactly. These travel tips will help you capture stunning shots anywhere without sacrificing convenience or mobility. Enjoy your adventures!
What Accessories Enhance a Gazebo for Photography?
Imagine capturing stunning images with the right accessories. Enhance your gazebo with versatile lighting options and vibrant backdrop choices; they’ll elevate your photography game, giving you the freedom to create beautiful, professional-looking shots anywhere.