Hosting a DIY craft workshop in your gazebo can spark creativity and fun. Start by choosing projects that fit your skill level and the materials you have. Clean the space, arrange comfortable seating, and create ambiance with lighting. Gather supplies like glue, papers, and decorative items. Invite friends and encourage collaboration with team challenges. Provide support during projects, and set up a showcase for finished creations. There’s more to explore for a successful and enjoyable event.
Choosing the Right Craft Project
How do you decide which craft project to tackle in your gazebo? Start by considering your skill level and the materials you have on hand. If you’re a beginner, simple craft project ideas like painting flower pots or making friendship bracelets can spark your creativity without overwhelming you. As your confidence grows, you might explore more intricate projects, such as macramé wall hangings or DIY birdhouses.
Think about the space and atmosphere you want to create. Do you envision a cozy, colorful retreat or a sleek, modern workspace? This can influence your project choice. Additionally, consider the season—seasonal crafts can add a festive touch to your gazebo.
Ultimately, the best project is one that excites you and allows for creative freedom. Grab your supplies, let your imagination flow, and transform your gazebo into a vibrant craft sanctuary!
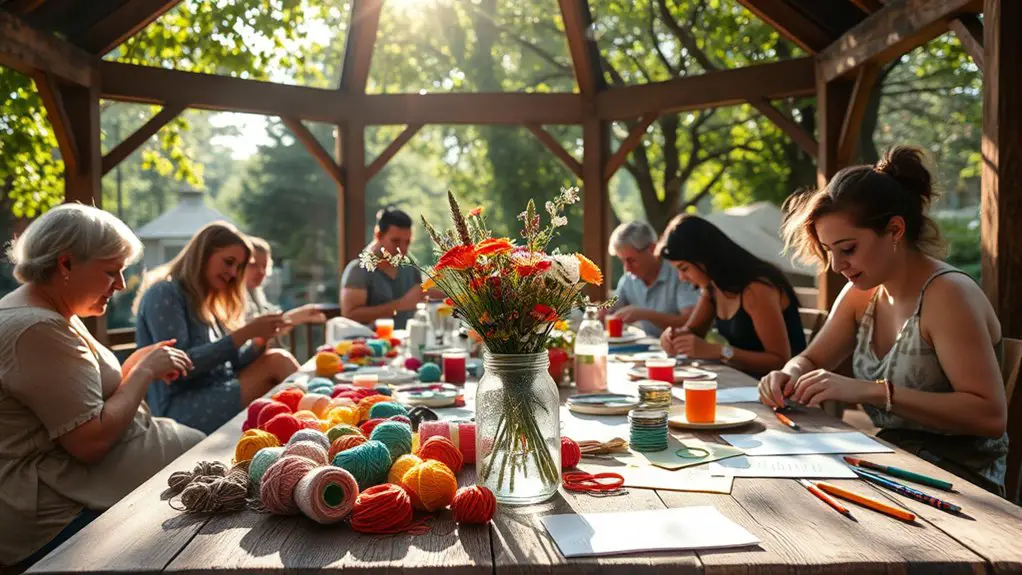
Preparing Your Gazebo Space
A well-prepared gazebo space can make all the difference in your crafting experience. To create an inviting atmosphere with a functional gazebo layout, consider these essential steps:
- Clean the Space: Remove any debris or clutter to guarantee a clear working area.
- Arrange Seating: Set up comfortable seating that encourages creativity and collaboration; think about flexible arrangements to accommodate different group sizes.
- Lighting: Utilize natural light as much as possible, but also add string lights or lanterns to enhance the outdoor ambiance as the sun sets.
- Decorate: Personalize your workspace with plants, colorful fabrics, or themed decorations that inspire creativity and make the space feel welcoming. Additionally, incorporating outdoor lighting options can create a warm and inviting atmosphere for your workshop.
Gathering Essential Supplies
To kick off your DIY craft workshop, you’ll need to gather an extensive checklist of craft materials tailored to your projects. Don’t forget the essential tools and equipment that will make your creative process smoother. Once you have everything, organizing your workspace will set the stage for a productive and enjoyable crafting experience.
Craft Materials Checklist
Gathering your craft materials is the first step toward a successful DIY workshop in your gazebo, and having a checklist can make this process smoother. To guarantee you cover all necessary craft material types while keeping budget considerations in mind, here’s a simple checklist:
- Adhesives: Glue sticks, craft glue, or double-sided tape for various projects.
- Papers: Construction paper, cardstock, or scrapbook paper in assorted colors.
- Decorative Items: Ribbons, beads, or stickers to add flair to your creations.
- Paints and Brushes: Acrylic paints or watercolors, along with brushes for artistic expression.
With this checklist, you’ll be well-prepared to release your creativity and enjoy your workshop in the freedom of your gazebo!
Tools and Equipment
While crafting in your gazebo, having the right tools and equipment can make all the difference in bringing your creative visions to life. Start by gathering essential hand tools like scissors, glue guns, and paintbrushes, which will empower your crafting journey. Don’t forget to include measuring tools and cutting mats for precision!
Safety equipment is just as vital—make sure to have gloves, goggles, and a first-aid kit handy. These items not only protect you but also let you focus on your creativity without worry.
Setup and Organization
As you prepare your gazebo for a DIY craft workshop, it’s essential to create an organized setup that enhances your creative flow. A well-arranged craft space can make all the difference, allowing you and your guests to focus on creativity rather than chaos. Here’s a list of important supplies to gather:
- Tables and chairs: Guarantee there’s enough seating and surface area for everyone.
- Storage bins: Use these for organizing materials like paints, brushes, and papers.
- Lighting: Good lighting is critical for detailed work; consider string lights or lanterns.
- Trash bins: Keep the space tidy and encourage easy clean-up during and after the workshop.
With these supplies, your workshop flow will be smooth and enjoyable!
Inviting Your Guests
To guarantee your DIY craft workshop is a hit, it’s vital to thoughtfully invite your guests, creating excitement and anticipation around the event. Start by curating your guest list—think about friends, family, and fellow craft enthusiasts who’ll appreciate the fun. Next, focus on your invitation design. Whether you opt for digital invites or handmade cards, make sure it reflects the workshop’s theme and vibe. Use vibrant colors and playful fonts to draw attention and convey the creative spirit of the gathering.
Don’t forget to include essential details like the date, time, and location. A personal touch can go a long way, so consider adding a small note about what attendees can expect to create. Encourage them to bring their own supplies if they’d like to personalize their projects. With the right invitations, you’ll set the tone for a memorable and inspiring experience that celebrates creativity and connection!
Setting Up for Success
To set your DIY craft workshop up for success, start by selecting the perfect location within your gazebo that offers both comfort and inspiration. Next, create an essential supplies checklist to guarantee you have everything you need to keep the creativity flowing. Additionally, ensure the gazebo is set up safely and correctly, following preparation and safety for gazebo setup to create a worry-free environment. With these steps in place, you’ll be ready to transform your space into a crafting haven.
Choosing the Right Location
Finding the right location for your DIY craft workshop is essential to creating an inviting and productive atmosphere. Your gazebo can be a perfect spot, but consider these key factors:
- Weather considerations: Guarantee your gazebo offers shade or protection from rain, keeping participants comfortable and engaged.
- Accessibility factors: Make sure the location is easy for everyone to reach, including those with mobility challenges.
- Space: Choose a layout that allows for movement and interaction among participants, fostering creativity.
- Ambiance: Opt for a setting with natural light and a pleasant view, inspiring creativity and relaxation.
Essential Supplies Checklist
Once you’ve settled on the perfect gazebo location, it’s time to gather the supplies that will make your DIY craft workshop a success. Start with a detailed checklist to streamline your supply sourcing. Essentials might include crafting tools, paints, brushes, and an array of materials like paper, fabric, and beads. Don’t forget protective gear like aprons and gloves!
Consider seating arrangements and tables for comfort. Think about refreshments, too—snacks and drinks keep energy high.
For budget planning, set a cap on your spending. Look for sales or bulk discounts to save on materials. By organizing your supplies and finances, you’ll create an inviting atmosphere that encourages creativity and freedom, letting your participants truly enjoy the crafting experience.
Engaging Your Participants
How can you make your DIY craft workshop truly memorable for participants? Engaging them is key! Start by fostering a welcoming environment where creativity flows freely. Here are four ways to enhance their experience:
- Icebreaker Activities: Kick off with fun icebreaker activities that encourage interaction and help everyone feel comfortable. Think of quirky questions or quick team challenges to break the ice.
- Hands-On Guidance: Offer personalized support as participants navigate their projects. This builds confidence and fosters a sense of community.
- Participant Feedback: Regularly ask for participant feedback during the workshop. This shows you value their opinions and helps tailor the experience to their needs.
- Collaborative Projects: Encourage group projects that promote teamwork and allow participants to share ideas, making the crafting experience even more enriching. Additionally, consider hosting the workshop in a gazebo, as it provides increased outdoor comfort and a serene environment for creativity to flourish.
Showcasing Finished Creations
After nurturing creativity and collaboration, it’s time to celebrate the fruits of your participants’ labor by showcasing their finished creations. Set up a designated area in your gazebo for craft showcases, where each participant can display their work. Use simple tables or hanging displays to highlight their unique pieces, allowing everyone to admire the diversity of talents.
Encourage participants to share their stories behind each creation, transforming this into a vibrant community moment. You might even consider creating a “Participant Highlights” board, where photos and brief descriptions of their crafts can inspire others.
This isn’t just about showcasing—they’ll feel a sense of pride and accomplishment. As they mingle and discuss techniques, you’ll foster a supportive atmosphere that celebrates individuality. So, grab your camera to capture these moments, and let your gazebo become a gallery of creativity and connection!
Frequently Asked Questions
What Is the Best Time of Year for a DIY Craft Workshop?
The best time for a DIY craft workshop is spring, when the weather’s mild and inviting. You can explore seasonal crafts, harnessing nature’s vibrant colors, and inspire creativity in an open, invigorating environment.
How Can I Promote My Craft Workshop Effectively?
You might think promoting’s too challenging, but it isn’t! Utilize social media for wide reach and form local partnerships to tap into community networks. Engaging visuals and authentic connections can elevate your workshop’s visibility and appeal.
What Should I Do in Case of Bad Weather?
In case of bad weather, always have a backup location ready. Communicate your weather contingency plan to participants, ensuring they’re informed. This way, you’ll keep the creative spirit alive, regardless of nature’s whims!
Can I Charge Participants a Fee for the Workshop?
Absolutely, you can charge a fee for your workshop. Consider pricing strategies that include materials costs, ensuring participants feel the value in the experience and supplies provided. It’s all about creating an enjoyable, memorable event!
How Do I Handle Varying Skill Levels Among Participants?
To handle varying skill levels, start with a skill assessment. Then, provide diverse project options catering to different abilities. This way, everyone can enjoy the experience and feel accomplished, regardless of their crafting expertise.