Hosting a flower arranging class under your gazebo can be a delightful experience. Start by choosing vibrant, seasonal blooms that reflect your personal style. Set up comfy seating and add string lights for ambiance as daylight fades. Gather essential tools like floral shears and a variety of vases to inspire creativity. Encourage connections with icebreakers and collaborative arrangements. With thoughtful planning, your class can create lasting memories together, and there’s so much more to explore for a successful event.
Choosing the Perfect Flowers for Your Class
When you’re choosing the perfect flowers for your class, what factors should you consider? First, think about color theory. Different colors evoke distinct emotions and can set the tone for your arrangements. For instance, warm colors like reds and yellows can create excitement, while cool colors like blues and greens offer tranquility.
Next, consider seasonal blooms. Using flowers in season not only guarantees freshness but also helps you stay within budget. Seasonal flowers often have vibrant colors and unique textures, making them perfect for creative arrangements.
Combine these aspects to create a visually stunning palette that reflects your style and vision. Don’t forget to include a mix of shapes and sizes, allowing students to explore their creativity. Finally, think about the availability of these flowers in your area, as this will impact your class’s overall experience. Embrace the freedom to experiment and enjoy the journey of flower arranging!
Setting Up Your Gazebo for an Inviting Atmosphere
To create an inviting atmosphere in your gazebo, start by considering the layout and decor that will make the space feel warm and welcoming. First, think about your seating arrangements. Comfortable chairs or benches encourage conversation and creativity.
Next, enhance the ambiance with lighting. String lights or lanterns can create a magical glow as the sun sets, making your class feel special. Here’s a simple table to help you visualize your setup:
| Element | Description |
|---|---|
| Seating Arrangements | Cozy chairs in a circle |
| Ambiance Lighting | Soft string lights overhead |
| Decor | Fresh flowers and tablecloths |
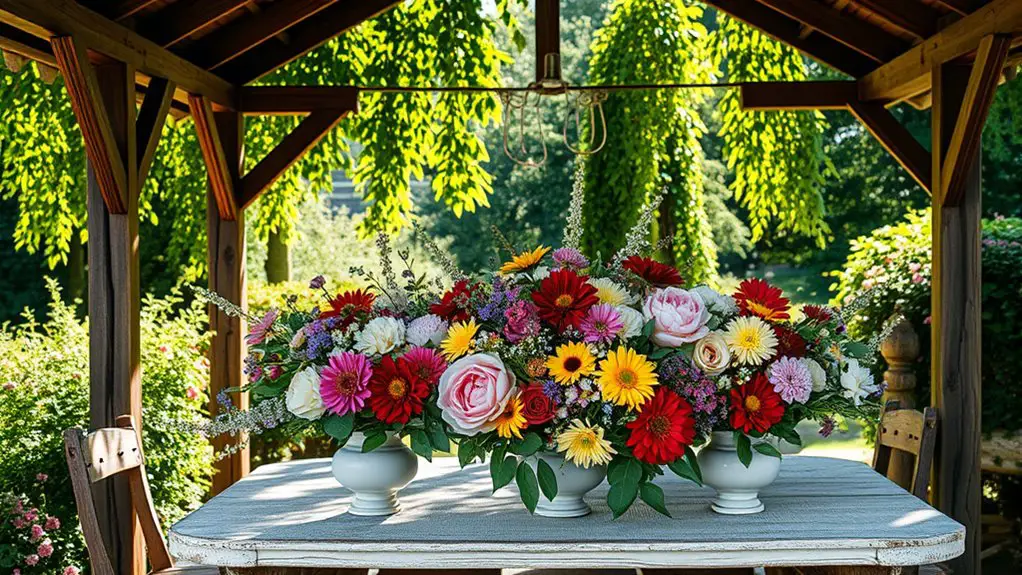
| Centerpiece | A large, vibrant floral display |
| Accessories | Cushions and blankets for comfort |
Additionally, incorporating outdoor lighting options will further enhance the atmosphere, ensuring a cozy and inviting space for your flower arranging class.
Essential Tools and Supplies for Flower Arranging
As you settle into your beautifully arranged gazebo, it’s time to gather the right tools and supplies for your flower arranging class. Start with a sturdy pair of floral shears; they’ll help you snip stems effortlessly, accommodating various flower types. A selection of vases in different sizes and shapes will allow for diverse arrangement styles, from minimalist to extravagant.
Don’t forget to stock up on floral foam or chicken wire for secure placements, as well as wire cutters for any structural adjustments needed. Having a bucket of fresh water on hand will keep your blooms hydrated while you work.
Lastly, consider bringing ribbons and decorative materials to add a personal touch to your arrangements. With these essential tools and supplies, you’ll empower your participants to explore their creativity and craft stunning floral displays under the open sky.
Step-by-Step Guide to Leading the Class
While leading your flower arranging class, it’s essential to create a welcoming atmosphere that encourages creativity and engagement. Start by introducing yourself and sharing your passion for various flower types, from vibrant sunflowers to delicate roses. Next, provide a brief overview of different arrangement styles, like the classic bouquet or modern, asymmetrical designs.
As participants gather their supplies, guide them through selecting their flowers, emphasizing color harmony and texture. Encourage them to experiment and express their unique style. Demonstrate basic techniques, such as cutting stems at an angle and using supportive greenery to enhance their arrangements.
Throughout the class, circulate among your students, offering personalized tips and encouragement. Remind them that there’s no right or wrong way in artistry—freedom is key! Finally, conclude with a showcase of their creations, allowing each participant to share their inspiration and delight in their floral masterpieces.
Tips for Creating Lasting Memories and Connections
Creating lasting memories and connections during your flower arranging class can transform a simple gathering into a cherished experience. To foster a warm atmosphere, incorporate engaging memory making activities and connection building exercises that encourage participants to bond.
Transform your flower arranging class into a memorable experience by fostering connections and creating lasting memories among participants.
- Icebreaker games: Start with fun introductions to help everyone feel comfortable.
- Collaborative arrangements: Pair up participants to create a shared flower arrangement, fostering teamwork and conversation.
- Personal stories: Encourage attendees to share their favorite flower-related memories, sparking deeper connections.
- Take-home mementos: Provide each participant with a small arrangement or a keepsake, giving them something tangible to remember the day.
Frequently Asked Questions
What Is the Best Time of Year to Host a Flower Arranging Class?
The best time to host a flower arranging class is spring. You’ll find vibrant spring blooms and seasonal flowers, inspiring creativity. It’s the perfect season for participants to explore their artistic side amidst nature’s beauty.
How Many Participants Can Comfortably Fit Under My Gazebo?
Imagine a bustling flower palace! Depending on your gazebo dimensions, you could comfortably fit around six to eight participants, ensuring everyone enjoys their creative process without feeling cramped. Prioritize participant comfort for an unforgettable experience!
Can I Host the Class if It Rains?
Sure, you can host the class on a rainy day! Just have an alternative venue ready, like a cozy indoor space. Embrace the change; it might even inspire unique arrangements with different lighting and atmosphere!
Are There Age Restrictions for Participants in the Class?
Imagine a garden where blooming flowers thrive, each unique in age and beauty. Similarly, age suitability for participants varies. While experience enriches the class, all ages can find joy in flower arranging’s colorful journey.
How Can I Promote My Flower Arranging Class Effectively?
To promote your flower arranging class effectively, leverage social media platforms to share vibrant visuals. Form local partnerships with florists and cafes, creating cross-promotions that attract diverse audiences enthusiastic for creative experiences. Engage, inspire, and flourish together!