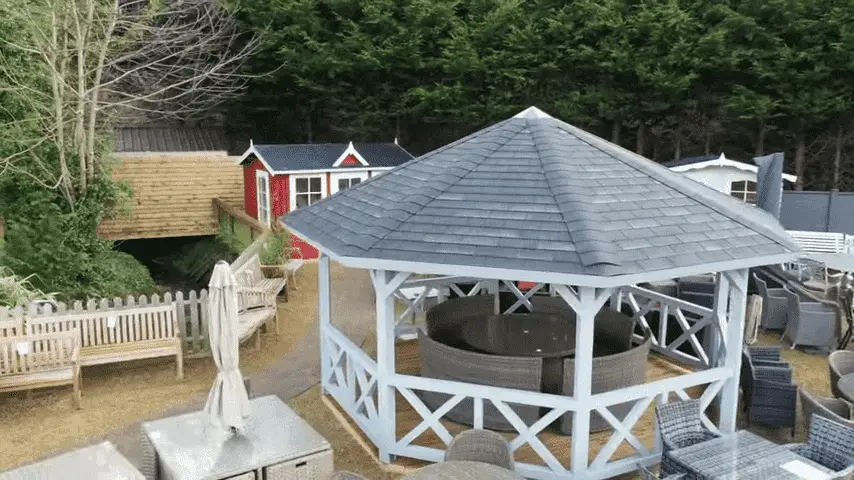
When it comes to adding a touch of natural beauty to a gazebo, nothing quite beats the classic look of cedar shingles. Cedar shingles are a popular roofing material for outdoor structures like gazebos due to their durability, resistance to insects and rot, and their natural beauty that blends well with the environment.
Installing cedar shingles on a gazebo is a relatively straightforward process, but it requires careful preparation and attention to detail to ensure a long-lasting and attractive result. In this outline, we will go over the steps involved in installing cedar shingles on a gazebo.
How to install cedar shingles on a gazebo? Cedar shingles may be just the thing. Not only are they durable and resistant to rot and insects, but they also provide a classic look that blends well with the environment. Installing cedar shingles on a gazebo is a straightforward process that requires careful preparation and attention to detail. Follow our step-by-step guide to getting started.
Explanation of Cedar Shingles
Cedar shingles are a type of roofing and siding material made from the heartwood of cedar trees. They are thin, wedge-shaped pieces of wood that are typically used for their natural durability and resistance to decay, rot, and insects. Cedar shingles are often used on homes and other buildings to provide a natural, rustic look that blends in with the environment.
They are also lightweight and easy to work with, making them a popular choice among builders and homeowners alike. Additionally, cedar shingles are known for their insulating properties, which can help to regulate temperature and reduce energy costs.
Overall, cedar shingles are a versatile and sustainable building material that can provide both aesthetic appeal and functional benefits.
The Purpose of Installing Cedar Shingles on a Gazebo
The purpose of installing cedar shingles on a gazebo is to provide a long-lasting, durable, and aesthetically pleasing roofing and siding material. Cedar shingles are known for their natural resistance to decay, rot, and insects, which makes them an ideal choice for outdoor structures such as gazebos.
Additionally, cedar shingles provide excellent insulation, which can help regulate temperature and reduce energy costs.
Installing cedar shingles on a gazebo can also enhance the visual appeal of the structure, providing a natural and rustic look that blends in with the environment.
Overall, the purpose of installing cedar shingles on a gazebo is to create a functional and beautiful structure that will withstand the test of time.
How To Install Cedar Shingles On A Gazebo-7 Easy steps
here’s a step-by-step guide on how to install cedar shingles on a gazebo
- Materials and Tools Needed
- Preparing the Surface
- Installing the Starter Course for Cedar Shingle
- Installing the First Row of Cedar Shingles
- Installing Subsequent Rows
- Installing Cedar Shingles Around Obstacles on a Roof
- Finishing Steps for Cedar Shingle Roof Installation
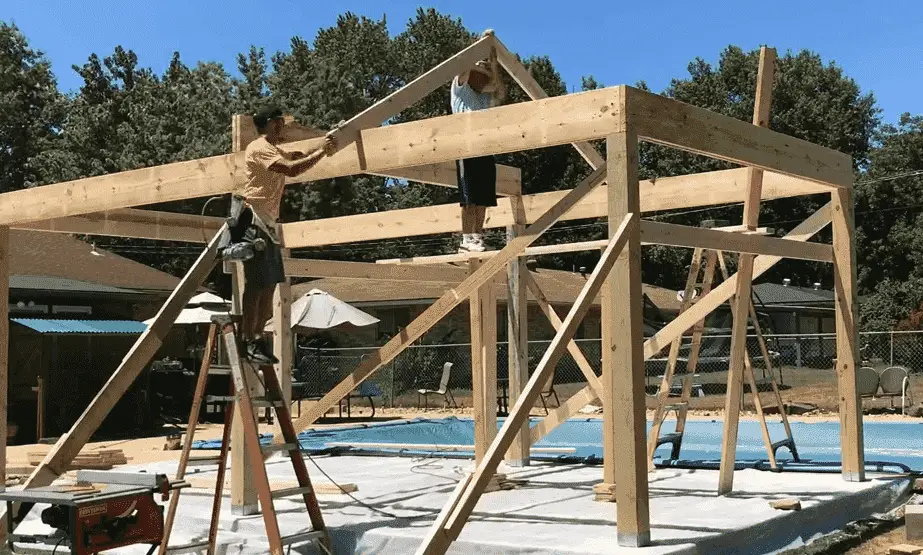
1. Materials and Tools Needed
Gathering the materials is an essential step in the process of installing cedar shingles on a gazebo. The materials needed for the installation include cedar shingles, roofing felt, roofing nails, a hammer, a chalk line, a utility knife, a saw, and a ladder.
It is important to ensure that the cedar shingles are of good quality and that there are enough shingles to cover the entire surface of the gazebo. Roofing felt is necessary to provide an additional layer of protection and insulation for the gazebo.
The hammer, nails, chalk line, and utility knife are essential tools for cutting and nailing the shingles in place. A saw may be necessary for cutting the shingles to the appropriate size. Lastly, a sturdy ladder is necessary for accessing the roof of the gazebo.
It is important to ensure that all necessary materials and tools are gathered before beginning the installation process to ensure a smooth and efficient installation.
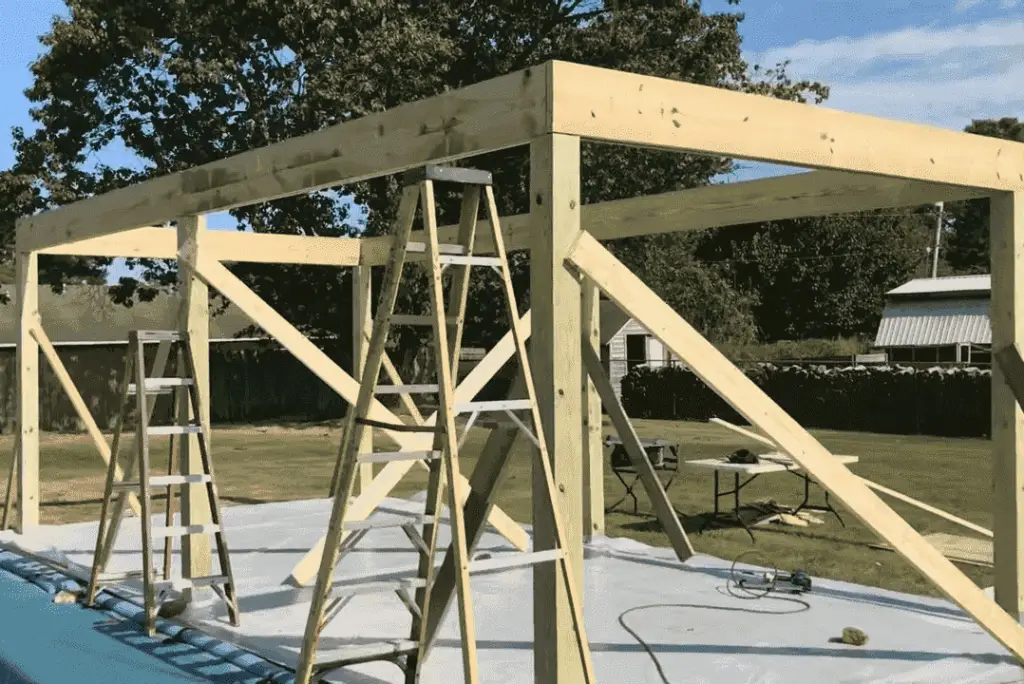
2. Preparing the Surface
Preparing the surface is a crucial step in the process of installing cedar shingles on a gazebo. Before beginning the installation, it is essential to ensure that the surface of the gazebo is clean, smooth, and free from any debris.
Any nails, screws, or other protrusions should be removed, and any damaged or rotten wood should be replaced. The surface should then be sanded and cleaned thoroughly to remove any dirt, grime, or loose particles.
This will ensure that the cedar shingles will adhere properly to the surface and provide a stable base for the installation.
Once the surface is prepared, it is important to measure and mark it to ensure that the shingles are installed evenly and properly.
Taking the time to properly prepare the surface will ensure a successful and long-lasting installation of cedar shingles on the gazebo.
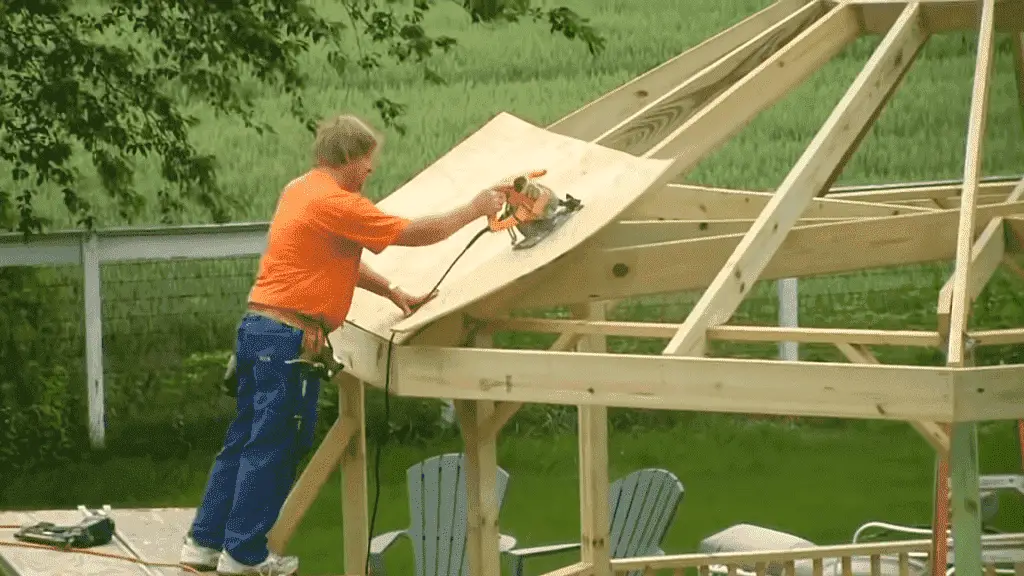
3. Installing the Starter Course for Cedar Shingle
Installing the starter course is the first step in the actual installation of cedar shingles on a gazebo. The starter course is a row of shingles that is installed at the bottom of the roof to provide a level base for the rest of the shingles.
It is important to ensure that the starter course is installed correctly, as it will set the tone for the rest of the installation. The starter course should be installed flush with the edge of the roof, and the shingles should be nailed securely in place using roofing nails.
It is important to maintain a consistent overlap between each shingle and to ensure that the shingles are installed straight and level.
Once the starter course is installed, the rest of the shingles can be installed in rows above it, using the same techniques and attention to detail to ensure a smooth and even installation.
4. Installing the First Row of Cedar Shingles on a Gazebo Roof
After the starter course is installed, the first row of cedar shingles can be installed on the gazebo roof. The first row should be installed directly above the starter course, with each shingle overlapping the one below it by about 1 ½ inches.
This overlap will help to ensure that water does not seep through the shingles and into the roof below. Each shingle should be nailed in place using roofing nails, with the nails positioned just below the top edge of the shingle.
It is important to ensure that the shingles are installed straight and level, using a chalk line or other guide to maintain consistency. Care should also be taken to avoid any gaps or overlaps in the shingles, as this can lead to leaks and other problems.
With the first row of shingles installed, the rest of the installation can proceed in a similar manner, with each row overlapping the one below it and being secured with roofing nails.
5. Installing Subsequent Rows
After the first row of cedar shingles is installed on the gazebo roof, subsequent rows can be installed in a similar manner. Each row should be installed directly above the previous row, with the shingles overlapping the ones below by about 1 ½ inches.
It is important to maintain consistency in the overlap and to ensure that each shingle is installed straight and level. The shingles should be nailed in place using roofing nails, with the nails positioned just below the top edge of the shingle. Care should be taken to avoid any gaps or overlaps in the shingles, as this can lead to leaks and other problems.
As the installation progresses, it is important to periodically step back and inspect the work to ensure that the shingles are being installed evenly and that the overall appearance is consistent.
With each row installed, the gazebo roof will begin to take shape and the finished product will be a beautiful and durable cedar shingle roof.
6. Installing Cedar Shingles Around Obstacles on a Roof
When installing cedar shingles on a roof, it is important to take into account any obstacles, such as chimneys, vents, or skylights, that may require special cuts and installation techniques. In order to ensure a proper fit, shingles may need to be trimmed or shaped to fit around these obstacles.
It is important to measure and mark the shingles accurately before cutting, and to use a saw with a fine-toothed blade to make precise cuts. Once the shingles have been cut to size, they should be test-fit around the obstacle before being nailed into place.
Care should be taken to ensure that the shingles are properly aligned and that there are no gaps or overlaps in the surrounding shingles.
With the right tools and techniques, cutting and installing shingles around obstacles can be done with ease and precision, resulting in a finished roof that is both functional and aesthetically pleasing.
7. Finishing Steps for Cedar Shingle Roof Installation
After all of the cedar shingles have been installed on the roof, there are a few final steps that must be taken to finish the job. First, any exposed nail heads should be covered with roofing cement or a dab of silicone sealant to prevent water from penetrating the roof.
Next, any necessary flashing should be installed around chimneys, vents, and other protrusions to create a watertight seal. Finally, the ridge cap should be installed along the peak of the roof to provide a finished look and to protect against wind and water infiltration.
The ridge cap is typically made from a special type of shingle that is cut and folded to fit over the peak of the roof, with the edges overlapping the shingles on either side.
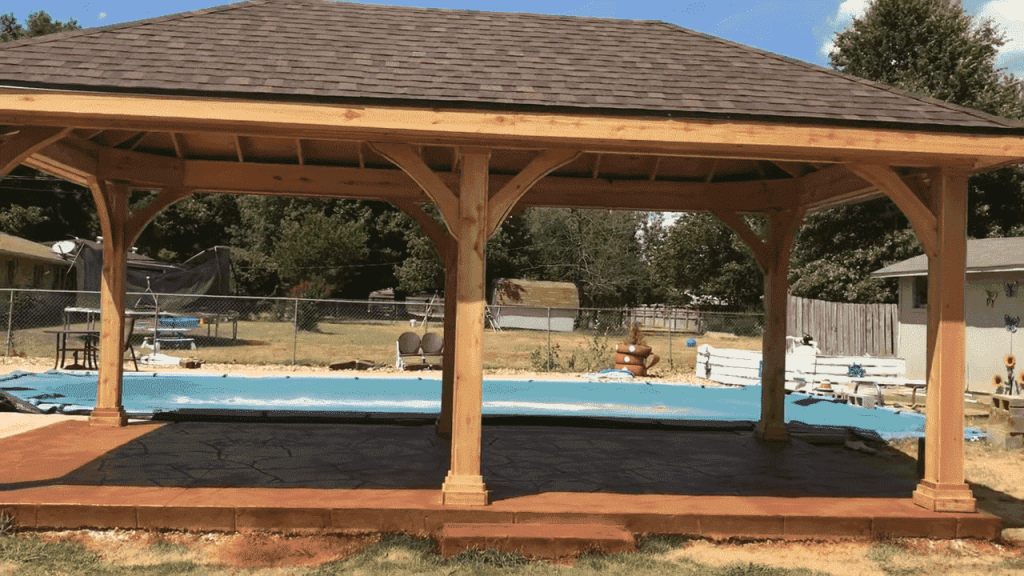
With these final steps completed, the cedar shingle roof will be fully installed and ready to provide many years of durable and attractive protection for the gazebo or other structures.
FAQs
Q.1 What do you put under cedar shingles?
Felt underlayments are layers that go under cedar shingles on a roof to protect against water and debris. They can be made from man-made materials like fiberglass or natural materials like wood cellulose. A protective layer of asphalt is added to make it even more resistant to water and debris. This type of underlayment is a common choice for cedar shingle roofs.
Q.2 Do you need felt under cedar shingles?
To make a cedar shingle roof last as long as possible, it needs to be able to “breathe”. This means that air needs to flow through it. To help with this, an underlayer is recommended for all shingle roofs, whether for a home or a business.
Q.3 What is the difference between cedar and cedar shingles?
Cedar shakes are made by splitting wood, while shingles are cut with a saw on both sides and tapered. Shakes are thicker than shingles. Cedar shakes are generally stronger and last longer than shingles because they are made from high-quality wood and are thicker.
Q.4 What is the best roof for a gazebo?
Most gazebos use asphalt shingles as they are commonly used and can be matched to your home’s roof. If you want an environmentally friendly and easy-to-install option that looks like slate, rubber slate is a good choice. For a more classic look, cedar shake shingles complete the timeless and elegant appearance of a gazebo.
Q.5 How do you secure roof shingles?
To install your roof shingles, you can use a hammer to put in nails. Put one nail about 2 inches from each end of the shingle, and then put another nail about an inch above each cutout. The next row of shingles should be put on top of the nails so that they cover them by 1 inch vertically.
Conclusion
In conclusion, cedar shingles are a popular and versatile roofing material for outdoor structures such as gazebos. They are durable, resistant to decay and insects, and provide a natural and rustic look that blends well with the environment.
The process of installing cedar shingles on a gazebo involves careful preparation, a gathering of necessary materials and tools, and installation of the starter course, the first row of shingles, and subsequent rows.
It is essential to maintain a consistent overlap and ensure that the shingles are installed straight and level. Proper installation of cedar shingles on a gazebo will provide a long-lasting, durable, and aesthetically pleasing roofing and siding material that will enhance the visual appeal of the structure and provide excellent insulation to help regulate temperature and reduce energy costs.
Following this comprehensive guide, we hope you will have a better understanding of how to install cedar shingles on a gazebo. If you have any questions, feel free to comment below!