To install a solar-powered ceiling fan in your gazebo, start by selecting an efficient fan and the right solar panel. Gather tools like a screwdriver, drill, and ladder. Verify your gazebo can support the fan’s weight and clear the area for installation. Mount the fan bracket securely, then position the solar panel on a south-facing surface. Connect the wiring as per the manual and test the system. Keep going to discover maintenance tips for lasting performance!
Choosing the Right Solar-Powered Ceiling Fan
When you’re choosing the right solar-powered ceiling fan, it’s important to take into account a few key factors to assure you get the best fit for your space. First, consider the fan efficiency; a higher efficiency rating means more air circulation with less energy consumption. Look for fans that utilize advanced motor technology, as these can maximize airflow while minimizing battery drain.
Next, assess the solar capacity. Confirm the fan’s solar panel can generate enough power for your needs, especially if your gazebo is shaded or has limited sunlight. A fan with a larger solar panel usually offers better performance, even on cloudy days.
Lastly, think about the size and style of the fan. It should complement your gazebo’s aesthetics while providing adequate cooling. By focusing on these elements, you’ll not only enhance your outdoor experience but also embrace a sustainable lifestyle. Additionally, ensure the fan is rated for damp locations to guarantee its durability in varying weather conditions.
Gathering the Necessary Tools and Materials
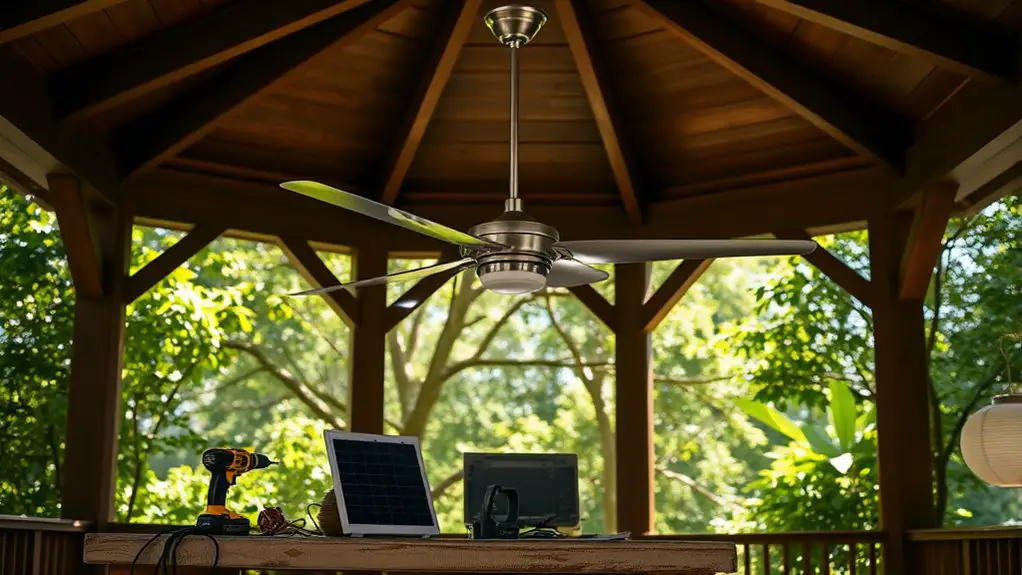
Before diving into the installation process of your solar-powered ceiling fan, it’s essential to gather all the necessary tools and materials. Start by selecting the right tools: a screwdriver, a drill, a ladder, and possibly a wrench for tightening bolts. Don’t forget safety precautions—wear gloves and goggles to protect yourself during the installation.
You’ll also need materials like mounting brackets, screws, and wire connectors, which often come with the fan. If your fan requires a solar panel, make sure you have the mounting hardware for that as well. It’s wise to lay everything out before starting, so you can easily access what you need. Check your fan’s manual for any specific requirements, as tool selection may vary. Having everything on hand will not only streamline the process but also let you embrace the freedom of working efficiently without unnecessary interruptions. Enjoy your breeze!
Preparing Your Gazebo for Installation
Before you start installing your solar-powered ceiling fan, you need to assess the structural integrity of your gazebo to guarantee it can support the fan’s weight. Next, clear the installation area of any debris or obstacles for a smooth setup process. Finally, gather all the necessary tools to make the installation as efficient as possible. Additionally, ensure that your gazebo is constructed from durable materials that can withstand the fan’s operation over time.
Assess Structural Integrity
Evaluating the structural integrity of your gazebo is essential for a successful solar-powered ceiling fan installation. Before you proceed, conduct a thorough structural assessment to guarantee your gazebo can handle the fan’s load capacity. Here are some key areas to check:
- Wood or Metal Condition: Look for rot, rust, or cracks in the materials.
- Support Beams: Confirm they’re sturdy and free from damage.
- Roof Stability: Check if the roof can hold additional weight.
- Fasteners and Joints: Inspect for any wear and tear that may compromise stability.
Clear Installation Area
Once you’ve assessed the structural integrity of your gazebo, it’s time to prepare the installation area for your solar-powered ceiling fan. Start by making sure the space is clear of any debris that could obstruct your work. Safety precautions are vital; wear gloves and eye protection while clearing the area.
Here’s a quick checklist to help you stay organized:
| Task | Description | Status |
|---|---|---|
| Clear Debris | Remove leaves, dust, and clutter | Not Started |
| Inspect Ceiling | Check for any damage | Not Started |
| Mark Installation | Identify mounting points | Not Started |
| Clean Surface | Wipe down the ceiling area | Not Started |
| Gather Safety Gear | Confirm you have gloves and goggles | Not Started |
With everything cleared, you’re ready for the next steps!
Gather Necessary Tools
As you prepare to install your solar-powered ceiling fan, gathering the right tools is crucial for a smooth process. Having the correct tool types on hand not only streamlines your efforts but also enhances installation safety. Here’s what you’ll need:
- A screwdriver (both flathead and Phillips)
- A drill with drill bits
- A ladder for easy access
- Wire connectors and electrical tape
With these tools, you’re set to tackle the installation confidently. Make certain everything’s in good condition before you start. This preparation not only saves you time but also guarantees you can work efficiently, allowing you to enjoy your new fan in no time. Embrace your freedom to create a comfortable outdoor space!
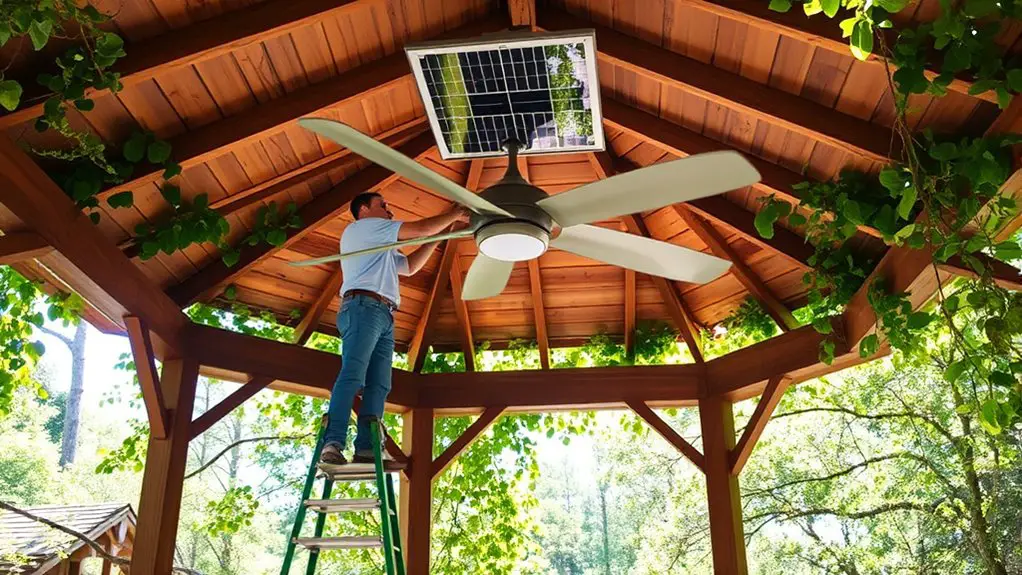
Mounting the Ceiling Fan Bracket
Mounting the ceiling fan bracket is an essential step in guaranteeing your fan operates safely and efficiently. Start by locating a ceiling joist in your gazebo for a sturdy attachment. Use a stud finder to pinpoint the joist, then mark your drilling spots. Proper installation prevents safety hazards, such as the TV falling and ensures a successful setup.
Here’s a handy table with installation tips for your fan bracket:
| Step | Action | Notes |
|---|---|---|
| 1. Choose Location | Find ceiling joist | Confirm it’s centered |
| 2. Drill Holes | Use a power drill | Match bracket holes |
| 3. Install Bracket | Secure with screws | Follow manufacturer’s specs |
| 4. Check Stability | Tug gently | Verify it’s securely mounted |
| 5. Clean Up | Remove debris | Keep workspace tidy |
Following these installation tips will help you secure the fan bracket properly, giving you the freedom to enjoy your new solar-powered ceiling fan without worry.
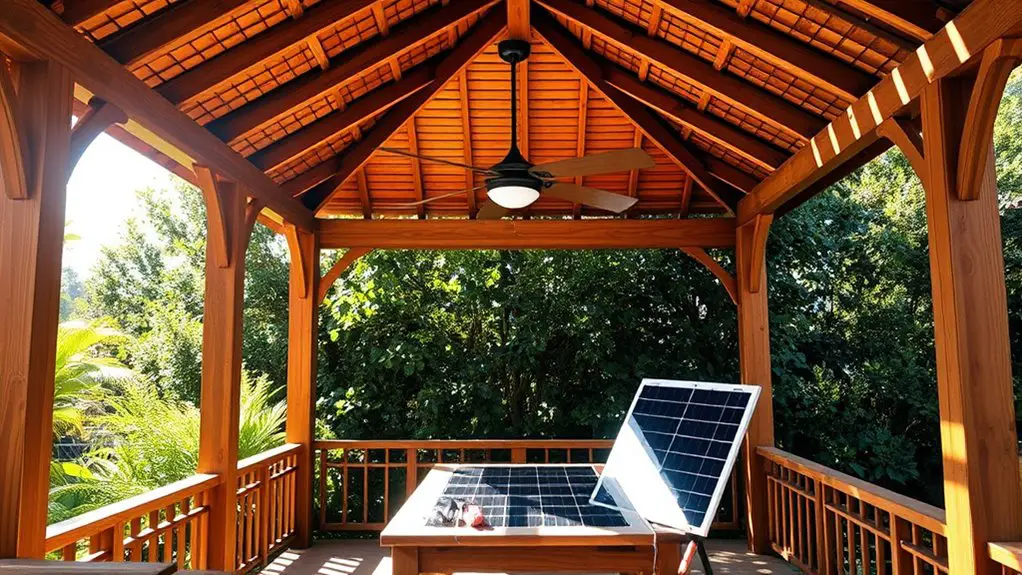
Installing the Solar Panel
Installing the solar panel is an essential step that directly impacts the efficiency of your solar-powered ceiling fan. To guarantee you get the most out of your system, consider the following installation tips:
- Choose the right solar panel types: Monocrystalline panels are more efficient, while polycrystalline panels are budget-friendly.
- Position for maximum sunlight: Install the panel on a south-facing surface, free from obstructions like trees or buildings.
- Secure the mounting brackets: Use durable screws and brackets to hold the panel firmly, preventing any movement during windy conditions.
- Connect to a charge controller: This protects your battery from overcharging and guarantees a longer lifespan. Additionally, selecting a panel with high energy efficiency can significantly enhance the performance of your solar system.
Connecting the Fan to the Solar Power Supply
Once you’ve securely installed the solar panel, the next step is to connect the fan to the solar power supply. Start by ensuring your fan is solar compatible, as not all ceiling fans can run on solar energy. Check the specifications to confirm.
Now, gather your tools and wiring connections. You’ll typically find two wires: positive and negative. Connect the positive wire from the solar panel to the positive wire of the fan, and do the same for the negative wires. Make sure to use wire nuts or connectors to secure these connections tightly.
If your setup includes a charge controller, connect the fan to that instead of directly to the solar panel, as it helps regulate power flow. Finally, double-check all connections for stability. With everything properly connected, you’re ready to enjoy your new, eco-friendly fan in your gazebo!
Testing the Fan and Solar System
Before you can fully enjoy the benefits of your solar-powered ceiling fan, it’s essential to test both the fan and the solar system to verify everything is functioning correctly. Start by checking the following aspects to confirm ideal fan performance and solar efficiency:
- Solar panel positioning: Verify it’s receiving maximum sunlight without obstructions.
- Wiring connections: Inspect all connections for any signs of wear or loose fittings.
- Fan speed settings: Test each speed to confirm the fan responds appropriately.
- Battery charge: If your system includes a battery, check its charge level after a sunny day.
Once you’ve completed these checks, run the fan for a few hours to monitor its performance. If everything runs smoothly, you’re ready to enjoy a rejuvenating breeze in your gazebo, all powered by the sun!
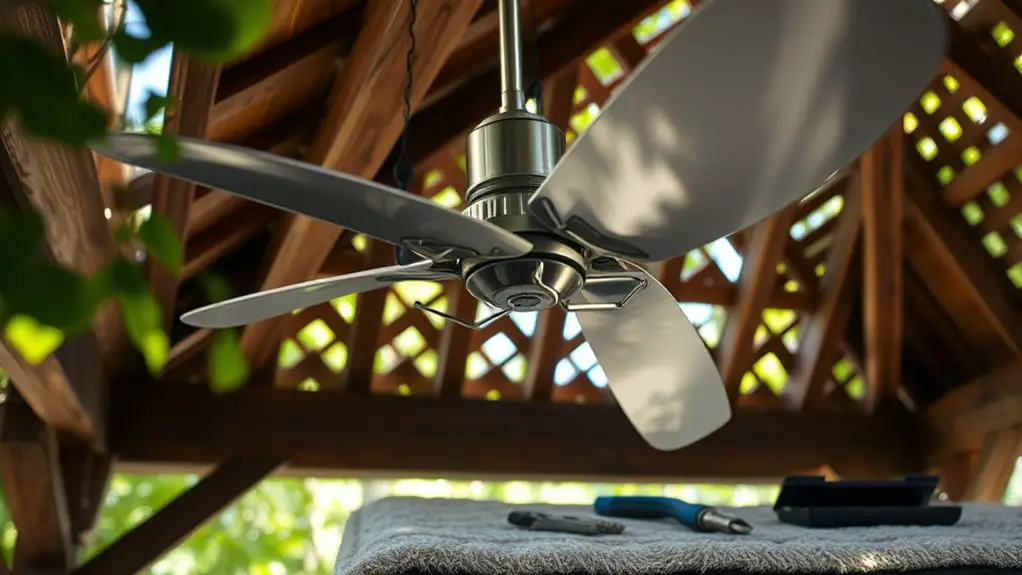
Maintaining Your Solar-Powered Ceiling Fan
After confirming your solar-powered ceiling fan is functioning properly, it’s important to keep it in good shape for long-term performance. Regular fan maintenance helps prevent issues and guarantees you’re enjoying that invigorating breeze. Additionally, regular cleaning of the gazebo and its surroundings can enhance the overall ambiance and efficiency of your ceiling fan.
| Task | Frequency | Tips |
|---|---|---|
| Clean Blades | Monthly | Use a damp cloth to remove dust and debris. |
| Check Solar Panels | Bi-Monthly | Confirm they’re free from obstructions like leaves or dirt. |
| Inspect Wiring | Annually | Look for wear and tear; replace any damaged parts. |
| Test Remote Control | Every Season | Replace batteries as needed for seamless operation. |
Frequently Asked Questions
Can I Use a Solar Fan in a Shaded Gazebo?
Imagine a gentle breeze dancing through your shaded gazebo. Yes, you can use a solar fan, but its efficiency might falter in deeper shade. Consider your gazebo design to optimize sunlight exposure for better performance.
How Long Does a Solar Ceiling Fan Last?
A solar ceiling fan’s lifespan typically ranges from 10 to 15 years. To maximize longevity, follow maintenance tips like regular cleaning and ensuring the solar panel’s unobstructed, allowing you to enjoy your space freely for years.
What Is the Average Cost of a Solar-Powered Ceiling Fan?
The average cost of a solar-powered ceiling fan ranges from $150 to $500. When considering cost comparison, remember you’ll save on electricity bills, making it a practical, long-term investment for your freedom-loving lifestyle.
Are Solar Ceiling Fans Effective in Cloudy Weather?
Ever wonder if solar ceiling fans can keep you cool even when the sun’s shy? They do rely on solar energy, but their effectiveness can diminish in cloudy weather, impacting performance. You’ll still enjoy breezy moments!
Can I Install a Solar Fan Without Professional Help?
Yes, you can install a solar fan without professional help. With a DIY installation, just focus on proper solar panel placement for ideal sunlight exposure. Follow instructions carefully, and you’ll enjoy breezy independence in no time!