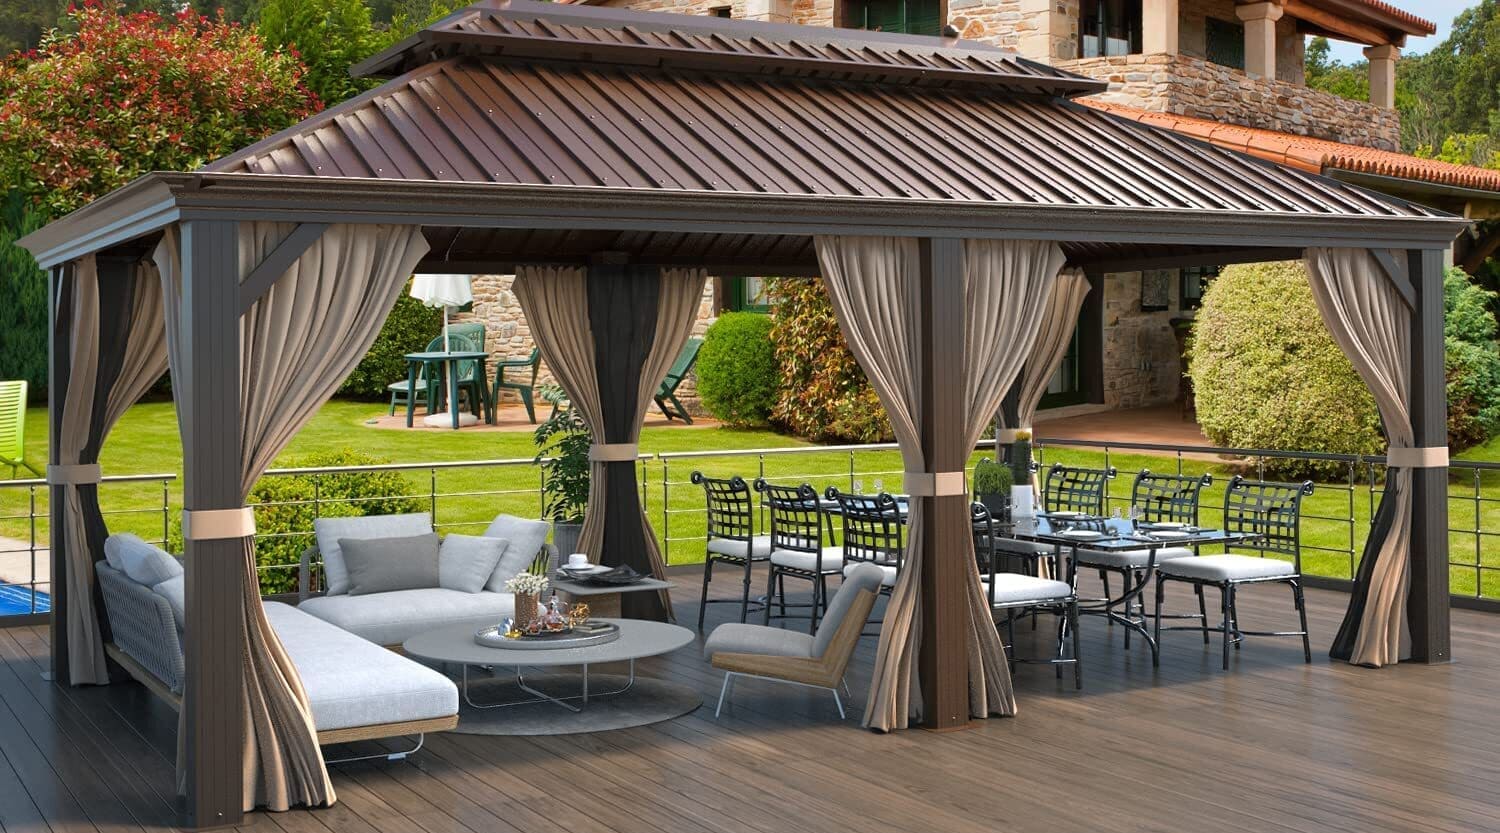
A metal gazebo can be a great addition to your outdoor living space, providing shade and a comfortable spot to relax. However, with a solid roof, it can become an even more functional space, protecting you from the sun, wind, and rain. If you have a metal gazebo and want to add a solid roof, it may seem like a challenging task, but it can be a rewarding DIY project.
In this article, we will guide you through the steps to put a solid roof on a metal gazebo. With the right tools, materials, and instructions, you can create a beautiful and durable roof that will enhance your outdoor living experience.
how to put a solid roof on a metal gazebo: Adding a solid roof to your metal gazebo can be a straightforward DIY project. In this outline, we will provide step-by-step instructions on how to put a solid roof on a metal gazebo. By following these steps, you can create a beautiful and functional space to enjoy the outdoors, while protecting yourself from the elements.
How to put a solid roof on a metal gazebo?
Putting a solid roof on a metal gazebo is an excellent way to add more shelter and protection from the elements. The process requires some basic carpentry skills and tools, but it’s relatively easy to do with some patience and effort.
Here’s a step-by-step guide to help you install a solid roof on your metal gazebo: First, measure the dimensions of your gazebo and purchase the necessary materials.
Next, assemble the roof frame and install it onto the gazebo. Then, attach plywood or other solid panels to the frame using screws or bolts. Finally, cover the roof with shingles or other roofing material, and add finishing touches such as gutters and downspouts. With these steps, you can create a sturdy and attractive roof that will provide years of protection and enjoyment.
Gather Materials and Tools

Before beginning the process of putting a solid roof on a metal gazebo, it is important to gather all the necessary materials and tools.
Materials:
- Solid roof panels
- Screws
- Screwdriver
- Roofing felt
- Roofing adhesive
Tools:
- Ladder
- Measuring tape
- Level
- Power drill
- Saw (if necessary)
- Hammer
By ensuring you have all the necessary materials and tools, you can complete the project smoothly and efficiently.
Preparing the Gazebo Frame for Solid Roof Installation
Before installing a solid roof on a metal gazebo, it’s important to prepare the gazebo frame for the installation. First, make sure that the frame is stable and in good condition. Inspect it for any signs of damage or wear and tear, and make any necessary repairs before proceeding.
Next, remove any existing roofing materials from the gazebo, including any old shingles, tiles, or panels. This will provide a clean and even surface for the new roof to be installed.
Finally, measure the dimensions of the gazebo to determine the amount of roofing material needed. With the frame prepared and the necessary materials and tools gathered, you can move on to installing the solid roof on the metal gazebo.
Removing the Existing Canopy or Roof
Before installing a solid roof on a metal gazebo, it’s essential to remove any existing canopy or roof. If there is a canopy or a roof already installed, it should be removed carefully to avoid damaging the gazebo’s frame.
This can be done by loosening any bolts or screws that attach the canopy or roof to the frame and gently lifting it off. Make sure to place the canopy or roof in a safe and secure location where it won’t get damaged.
Removing the existing canopy or roof will allow you to start with a clean slate and provide a smooth and even surface for the new solid roof to be installed.
Thoroughly Cleaning the Frame
Once the existing canopy or roof has been removed from the metal gazebo frame, it’s important to thoroughly clean the frame to ensure that the new solid roof can be installed properly. Use a soft-bristled brush or a cloth to remove any dirt, dust, or debris from the frame.
Make sure to pay special attention to the joints and corners where debris can accumulate. For stubborn dirt or grime, use a mild soap solution and rinse it off with clean water. It’s important to allow the frame to dry completely before proceeding with the installation of the new solid roof.
By cleaning the frame beforehand, you’ll ensure that the new roof will be properly installed and will last for years to come.
Inspecting and Repairing the Metal Gazebo Frame
Before installing a new solid roof on a metal gazebo, it’s important to inspect the frame for any damages and make necessary repairs. Check the joints, screws, and bolts for any signs of wear or damage.
If there are any loose or damaged screws or bolts, tighten or replace them accordingly. Inspect the joints for any signs of corrosion, rust, or cracks. If there are any damaged or corroded joints, replace them before proceeding with the installation of the new roof.
It’s also important to inspect the frame for any sharp edges or protrusions that could damage the new roof. By inspecting the frame and making necessary repairs, you’ll ensure that the new roof is properly installed and will last for a long time.
How to Measure and Cut Roof Panels for Your Metal Gazebo

To measure and cut the roof panels for your metal gazebo, follow these steps:
Measure the dimensions of your gazebo roof: Use a measuring tape to determine the length and width of your gazebo roof.
Choose your roofing material: Solid roof panels are a popular choice for metal gazebos. Choose a material that is suitable for your climate and matches the style of your gazebo.
Cut the roof panels to size: Using a saw or shears, cut the roof panels to fit the dimensions of your gazebo roof. It’s important to make precise cuts to ensure the panels fit securely on the frame.
Ensure the panels overlap: To prevent water from seeping through the gaps between the panels, ensure that each panel overlaps with the one next to it. Use a measuring tape to mark the overlap distance, and cut accordingly.
Use a ladder and safety gear: When cutting the roof panels and installing them on the gazebo, use a sturdy ladder and wear appropriate safety gear, such as gloves and eye protection.
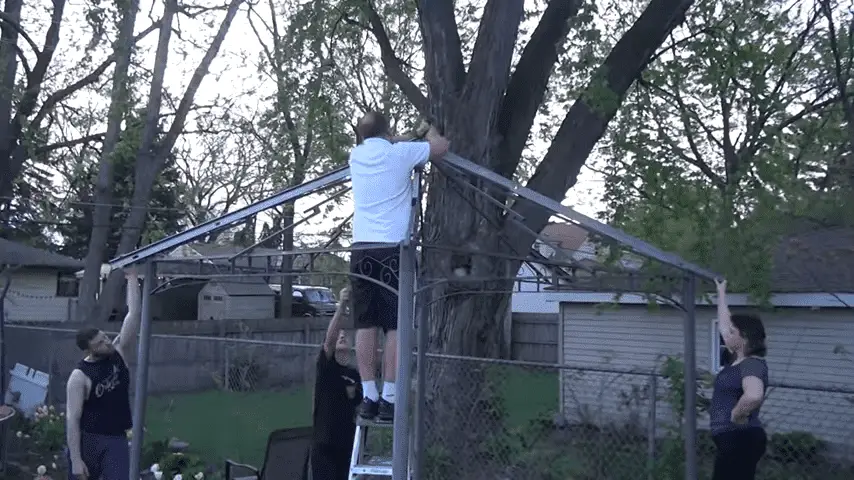
Install the first roof panel
Installing the first roof panel is a crucial step in putting a solid roof on a metal gazebo. To start, you need to attach the panel to one end of the roof frame using screws and a screwdriver.
Ensure that the panel is aligned with the frame and overlaps with the edge of the roof. A level can be used to check that the panel is flat and even.
Once you have confirmed that the panel is level, secure it in place by screwing it to the frame every few inches along the edges and in the center. However, be careful not to over-tighten the screws, as this can cause the panel to warp or buckle.
Once the first panel is securely in place, you can move on to installing the rest of the panels using the same method.
Attach it to one end of the roof frame using screws and a screwdriver
Attaching the first roof panel is a critical step in putting a solid roof on a metal gazebo. To do this, you will need to use screws and a screwdriver to secure the panel to one end of the roof frame.
It is important to ensure that the panel is aligned with the frame and overlaps with the edge of the roof. Use a level to ensure that the panel is flat and even before screwing it to the frame. You should also take care not to over-tighten the screws, as this can cause the panel to warp or buckle.
Once the first panel is securely in place, you can move on to installing the rest of the panels using the same technique.
Make sure the panel is aligned with the frame and overlaps with the edge of the roof
After attaching the first roof panel to the end of the roof frame, it is important to ensure that the panel is properly aligned with the frame and overlaps with the edge of the roof.
This will help prevent any gaps or leaks from forming between the panels and the frame. Using a measuring tape, check that the panel is centered on the roof frame and that the overlap is consistent with the other panels that will be installed.
It is important to take your time with this step as any misalignment can cause problems later on.
Use a level to ensure the panel is flat and even
After attaching the first roof panel to the frame and overlapping with the edge of the roof, use a level to ensure that the panel is flat and even. A level is an essential tool to determine if the panel is horizontal or not.
Place the level on top of the panel and check if it indicates that the panel is level. If it isn’t level, you will need to adjust the panel’s position by either adding or removing shims until it becomes level.
Once the panel is level, you can proceed to attach it to the frame using screws and a screwdriver, securing it in place. Ensuring the first panel is flat and level will serve as a solid foundation for the remaining panels, and it is essential to take time and ensure it is correctly positioned.
Secure the panel in place by screwing it to the frame
Once you have attached the first roof panel to one end of the roof frame, the next step is to secure it in place by screwing it to the frame. This will help ensure that the panel remains stable and secure.
To do this, you will need to use screws and a screwdriver to attach the panel to the frame. It is important to make sure that you screw the panel to the frame every few inches along the edges and in the center to ensure that it is firmly attached.
However, be careful not to over-tighten the screws, as this can cause the panel to warp or buckle. By following these steps, you can ensure that the first panel is securely attached to the roof frame and will provide a stable foundation for the rest of the roof panels.
Move on to installing the rest of the panels
After securely attaching the first roof panel to the metal gazebo frame, it’s time to move on to the next panel. Repeat the same process, ensuring that each panel is aligned with the previous one and overlaps with the edge of the roof.
Using a level to ensure that each panel is flat and even will also help to create a cohesive and uniform appearance. Once each panel is in place, secure it to the frame using screws every few inches along the edges and in the center, taking care not to over-tighten and cause the panel to warp or buckle.
By installing the remaining panels in the same manner as the first, you’ll soon have a solid roof that provides shade and shelter for your outdoor space.
Installing Metal Gazebo Roof Panels
After the first roof panel is installed, you can proceed to install the remaining roof panels in the same manner. Begin by attaching the second panel to the frame and aligning it with the first panel, making sure it overlaps with the edge of the roof.
Use a level to ensure that the panel is flat and even before securing it in place with screws every few inches along the edges and in the center. Continue installing the rest of the panels until the entire roof is covered.
Take care to ensure that each panel is level and aligned with the previous one to ensure a secure and stable roof. Once all the panels are installed, your metal gazebo will have a solid roof that provides protection from the elements.
Proper Installation of Roof Panels for a Sturdy and Reliable Roof
Once you have successfully installed the first panel of your roof, it is important to ensure that the remaining panels are installed in the same manner to ensure that your roof is well-constructed and provides reliable protection.
Each panel should be securely fastened to the underlying structure, and proper alignment must be maintained throughout the installation process to prevent gaps or leaks.
To achieve this, it is recommended that you follow the manufacturer’s instructions for the roofing material being used and use the appropriate fasteners.
Additionally, it is important to check the panels periodically during installation to make sure they are aligned and level, and to make any necessary adjustments.
Proper installation of your roof panels will not only ensure that your roof is sturdy and safe but also will prolong its lifespan and protect your home or building for many years to come.
Sealing Gaps in a Solid Roof Installation on a Metal Gazebo
make the heading of his paragraph. “Sealing any gaps between the panels with silicone sealant is an important step in ensuring that the new solid roof on a metal gazebo is watertight and durable.
After the roof panels are securely attached to the frame, inspect them for any gaps or spaces where water could seep in during rain or wind. Apply silicone sealant to any gaps, spaces, or joints to prevent water from entering and to ensure that the roof is waterproof.
Use a silicone sealant that is specifically designed for metal roofing and that can withstand extreme weather conditions. Allow the sealant to dry and cure completely before exposing the roof to any weather elements.
By properly sealing any gaps, you’ll protect your metal gazebo from water damage and extend the life of the new solid roof.
Adding Accessories and Features
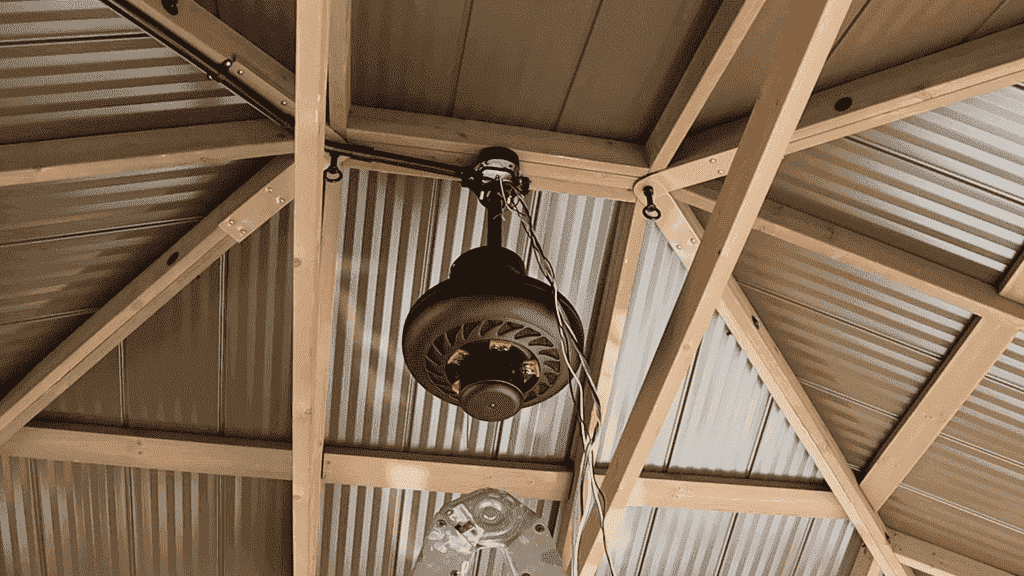
After completing the installation of a new solid roof on a metal gazebo, you may want to consider adding additional accessories or features to enhance the functionality and aesthetics of your gazebo.
These may include accessories such as lighting fixtures, ceiling fans, or decorative elements such as curtains or plants. Before installing any additional features, make sure that they are compatible with the metal gazebo and the new roof installation.
Follow the manufacturer’s instructions carefully and use the appropriate tools and equipment for the installation. Make sure that any electrical work is done by a qualified electrician to ensure safety.
By adding accessories or features, you’ll create a more comfortable and inviting space that you can enjoy for years to come.
Inspecting Your Metal Gazebo Roof for Signs of Wear and Tear
After installing a new roof on your metal gazebo, it’s important to inspect it regularly for any signs of wear and tear.
One of the most critical aspects to check is whether the screws or panels are securely fastened. Loose screws can cause the roof to sag, while loose panels can result in leaks or even structural damage.
To inspect the roof, climb up onto the gazebo and carefully examine each screw and panel. Tighten any screws that are loose using a screwdriver or wrench. If you find any loose or damaged panels, remove them and replace them with new ones.
Regular inspections and maintenance will ensure that your metal gazebo roof remains in good condition and provide protection from the elements for years to come.
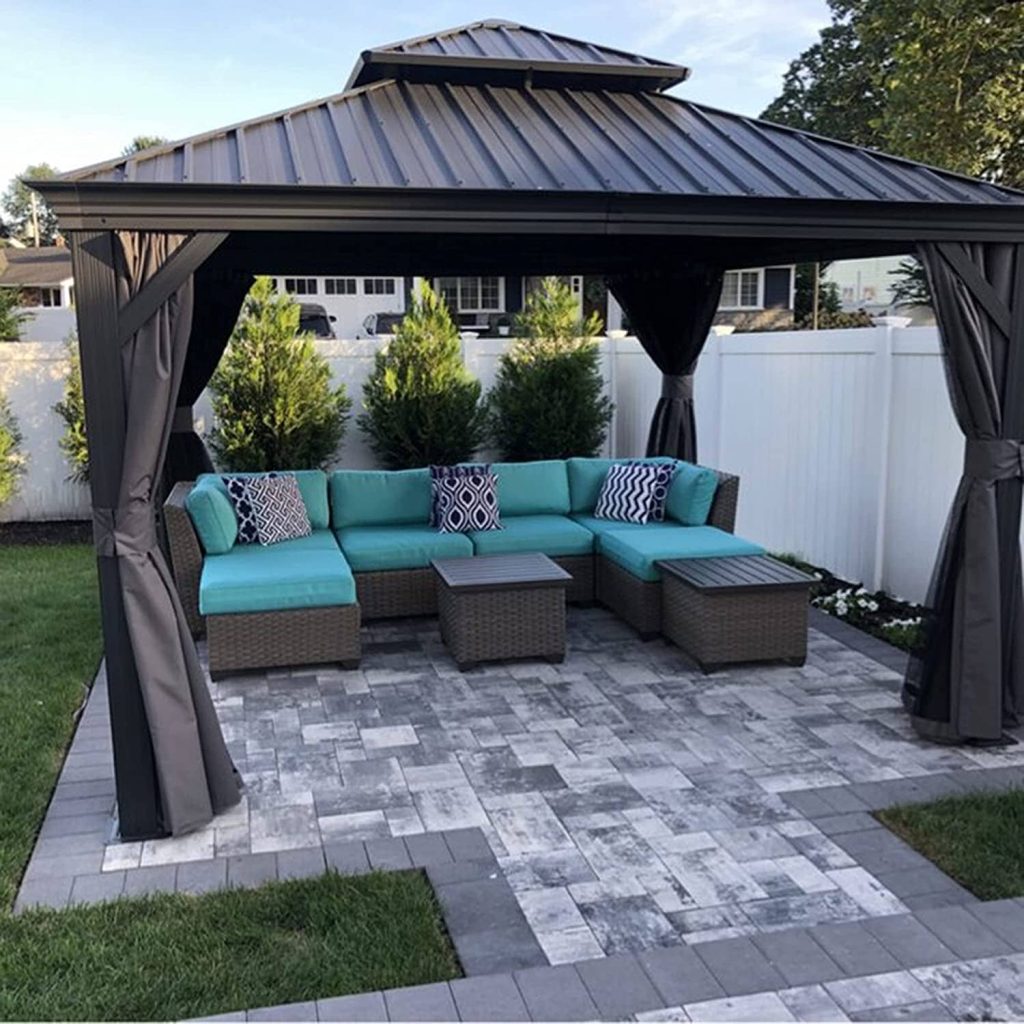
Benefits of a Solid Roof on a Metal Gazebo
Here are some benefits of having a solid roof on a metal gazebo:
Protection from the elements: A solid roof on a metal gazebo can provide protection from the sun, wind, and rain, allowing you to use the space in different weather conditions.
Increased privacy: A solid roof can create a more private and enclosed space, allowing you to enjoy your outdoor living space without feeling exposed.
Improved durability: A solid roof can improve the durability of your metal gazebo, protecting it from the elements and reducing wear and tear.
Enhanced aesthetics: A solid roof can enhance the appearance of your metal gazebo, adding a touch of elegance and sophistication to your outdoor living space.
FAQs
Q.1 What roof can you put on a gazebo?
Most people use asphalt shingles for their gazebos because they are common and can match the color of their house roof. If you want something that looks like slate but is cheaper and easy to install, you can use rubber slate. Cedar shake shingles are another option that gives a gazebo a classic and beautiful look.
Q.2 What is the cheapest way to roof a gazebo?
One simple and inexpensive way to cover your gazebo is by using a big piece of waterproof fabric that you can place over the roof. You can staple the edges of the material to the outside of the gazebo’s ridge.
Q.3 What is the best way to waterproof a gazebo?
To waterproof your gazebo, you will need a special type of paint called Fabsil Tent Waterproofer. You will also need a can of spray paint to prevent rust. It’s a good idea to wear gloves, but it’s up to you. If your gazebo is tall, you may need a ladder to reach all the areas you need to cover.
Conclusion
In conclusion, adding a solid roof to your metal gazebo can be a simple and rewarding DIY project. The process involves gathering the necessary materials and tools, preparing the gazebo frame, removing the existing canopy or roof, cleaning and repairing the frame, measuring and cutting the roof panels, assembling the roof frame, attaching the solid panels to the frame, and covering the roof with shingles or other roofing materials.
By following these steps, you can create a sturdy and attractive roof that will provide years of protection and enjoyment in your outdoor living space. Remember to prioritize safety when working at heights, and if you are unsure about any step in the process, consult a professional for assistance.
We hope that this comprehensive guide has provided you with a clear understanding of how to put a solid roof on a metal gazebo. If you have any questions or concerns, please don’t hesitate to leave a comment below. We’ll be happy to assist you in any way we can.