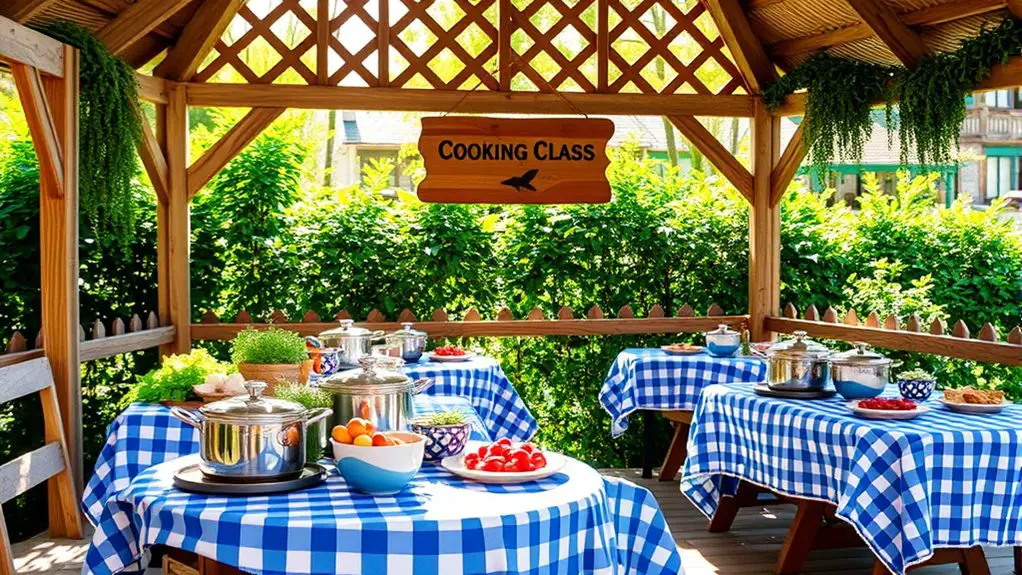
To set up your gazebo for a cooking class, start by selecting a location that offers ample sunlight and wind protection. Equip the space with a portable stove, essential cooking tools, and a sturdy table. Arrange workstations for smooth movement and guarantee seating is comfortable and flexible. Create an inviting atmosphere with ambient lighting and colorful decor. Remember to prioritize safety with fire protocols and food handling. There’s so much more to reflect upon for the ultimate setup!
Choosing the Right Location for Your Gazebo
When setting up a gazebo for your cooking class, the location you choose can make all the difference. Think about location factors like sunlight, wind, and accessibility. You want a spot that’s shaded enough to keep your guests comfortable, yet bright enough for them to see what they’re cooking. Avoid windy areas to prevent your culinary creations from blowing away!
Next, consider gazebo size. A larger gazebo allows for more participants and cooking stations, but make sure it fits well within the chosen space. You don’t want it to overwhelm the area or feel cramped.
Look for a location with easy access to utilities, like water and power, which can enhance your cooking experience. Additionally, ensure that the gazebo is placed on flat, sturdy ground to provide stability and support during your cooking activities. And if you’re aiming for a scenic backdrop, choose a spot that inspires creativity. With the right location and gazebo size, your cooking class can flow seamlessly, allowing everyone to enjoy the freedom of culinary exploration.
Essential Equipment and Tools for Cooking Classes
To create a successful cooking class in your gazebo, having the right equipment and tools is crucial for an engaging experience. Start with an equipment checklist that includes a portable stove or grill, essential tools like cutting boards, knives, mixing bowls, and measuring cups. Don’t forget utensils such as spatulas, whisks, and tongs, which are indispensable for various cooking techniques.
You’ll also need a sturdy table for prep work and a comfortable seating arrangement for your participants. Consider including a blender or food processor if you’ll be making smoothies or sauces.
Lastly, make sure you have proper cooling and heating equipment to keep ingredients fresh and safe. With the right tools at your fingertips, you’ll empower your students to explore their culinary creativity freely, making your cooking class a memorable experience.
Designing the Layout for Maximum Efficiency
When designing your gazebo layout, consider the arrangement of workstations to maximize efficiency during class. Guarantee that each station is strategically placed to create a smooth flow of movement, allowing participants to shift easily from one task to another. This thoughtful setup not only enhances productivity but also fosters a collaborative atmosphere. Additionally, incorporating features like built-in grills can further streamline the cooking process and elevate the overall experience for participants.
Workstation Arrangement
Creating an efficient workstation layout is key to a successful cooking class in your gazebo. To maximize productivity, divide your space into distinct workstation zones. Each zone should focus on specific tasks, ensuring smooth shifts between activities. Consider the following arrangement for ideal equipment placement:
| Zone | Equipment | Purpose |
|---|---|---|
| Prep Zone | Cutting boards, knives | Ingredient preparation |
| Cooking Zone | Stove, pots, pans | Cooking and sautéing |
| Plating Zone | Plates, utensils | Final dish presentation |
Flow of Movement
A well-planned flow of movement in your cooking class can greatly enhance the overall experience. To achieve this, consider movement dynamics when designing your layout. Position your workstations in a circular or U-shape to encourage easy access and communication among participants. This setup promotes space optimization, allowing everyone to move freely without feeling cramped.
Create designated areas for prep, cooking, and plating, ensuring that each zone is clearly marked and accessible. Keep tools and ingredients within arm’s reach to minimize unnecessary trips. By anticipating the flow of movement, you’ll foster an environment where creativity thrives, and participants can focus on their culinary skills. Ultimately, a seamless layout invites a sense of freedom and joy in the cooking process.
Creating a Comfortable and Inviting Atmosphere
While hosting a cooking class in a gazebo can be a delightful experience, ensuring it feels both comfortable and inviting is essential for fostering creativity and engagement. Start by choosing the right seating arrangements; consider using flexible options like folding chairs or benches that encourage interaction.
Next, focus on lighting options. Soft, warm lights can create a cozy ambiance, while string lights or lanterns add a magical touch. Here’s a quick guide to help you set the mood:
| Element | Suggestions |
|---|---|
| Seating | Folding chairs, benches |
| Lighting | String lights, lanterns |
| Decor | Fresh flowers, colorful tablecloths |
Adding personal touches, like fresh flowers or vibrant tablecloths, can also enhance the atmosphere. Furthermore, incorporating outdoor fabrics can add color and texture to your setup, making it even more inviting. Remember, a welcoming environment encourages participants to release their creativity and enjoy the culinary adventure ahead!
Safety Considerations for Outdoor Cooking
When it comes to outdoor cooking, safety should always be your top priority. You’ll want to familiarize yourself with fire safety protocols, guarantee proper food handling, and stay prepared for any weather changes. By keeping these considerations in mind, you can create a safe and enjoyable cooking experience for everyone involved.
Fire Safety Protocols
Ensuring fire safety protocols is essential for a successful outdoor cooking class, as even a small spark can lead to unexpected hazards. First, make sure fire extinguisher accessibility is prioritized; place extinguishers within easy reach, so you can act quickly if needed. Familiarize yourself and your participants with their locations. Next, establish a clear emergency evacuation plan. Designate a safe meeting spot away from the gazebo and instruct everyone on how to get there swiftly. Keep combustible materials away from heat sources, and always have a first aid kit on hand. By taking these precautions, you’ll create a fun, relaxed atmosphere while ensuring that your class remains safe and enjoyable for everyone involved.
Food Handling Guidelines
To make your outdoor cooking class both enjoyable and safe, it is crucial to follow strict food handling guidelines. Prioritizing food safety and hygiene practices guarantees everyone has a great time without health concerns. Here are some key points to keep in mind:
- Always wash your hands before handling food and after touching raw ingredients.
- Keep raw and cooked foods separate to avoid cross-contamination.
- Use clean utensils and cutting boards for different food types.
- Maintain food temperatures: keep hot foods hot and cold foods cold.
Weather Preparedness Tips
While outdoor cooking can be a delightful experience, it’s essential to be prepared for unpredictable weather conditions that could impact your class. Always check the weather forecast ahead of time, and keep an eye on updates as your class approaches. It’s wise to have a backup plan, like moving to a sheltered area if rain threatens. Pack emergency supplies, including tarps, extra utensils, and a first aid kit, to guarantee safety and convenience. Additionally, consider having a portable heater or fans to manage temperature fluctuations. Encourage participants to dress in layers and bring rain gear just in case. By staying prepared, you’ll create a relaxed and enjoyable atmosphere, allowing everyone to focus on the joy of cooking outdoors.
Enhancing the Experience With Decorations and Ambiance
Creating the right atmosphere for your cooking class can elevate the entire experience, making it not just about learning but also about enjoying the moment. By incorporating thematic decorations and ambient lighting, you can craft an inviting space that inspires creativity and connection. Here are some ideas to enhance your gazebo:
Elevate your cooking class by creating an inviting atmosphere that inspires creativity and connection.
- Table Settings: Use colorful tablecloths and plates that reflect your class theme.
- Lighting: String fairy lights or lanterns to create a warm, cozy glow as the sun sets.
- Herb Centerpieces: Place fresh herbs in small pots on each table for a fragrant and functional touch.
- Music Playlist: Curate a playlist that matches the vibe, whether it’s upbeat or soothing, to keep spirits high. Additionally, consider adding plants and flowers to enhance the natural beauty of the gazebo and create a relaxing atmosphere.
With these details in place, you’ll transform your cooking class into a memorable culinary adventure everyone will cherish.
Frequently Asked Questions
How Many Participants Can Fit Comfortably in the Gazebo?
The number of participants fitting comfortably in a gazebo depends on its dimensions. Generally, for ideal participant comfort, aim for around 6 to 10 people, allowing enough space for movement and interaction without feeling cramped.
What Weather Conditions Should I Consider for Outdoor Cooking?
When planning outdoor cooking, consider temperature fluctuations and humidity levels. Too much heat or moisture can impact food safety and cooking efficiency. Choose a day with moderate conditions for a more enjoyable, stress-free experience.
Can I Use a Portable Grill in the Gazebo?
Using a portable grill in your gazebo can be tempting, but you’ve got to prioritize safety. Guarantee proper ventilation to avoid smoke buildup and check for fire hazards to enjoy a worry-free cooking experience.
What Types of Food Are Best for Outdoor Cooking Classes?
For outdoor cooking classes, focus on seasonal ingredients like fresh veggies and meats. Explore grilling techniques such as skewering or direct heat, allowing you to create vibrant dishes that truly celebrate the flavors of the season.
How Do I Clean up After the Cooking Class?
After the class, gather all cleaning supplies like sponges and trash bags. Sort waste disposal carefully—recycle what you can and compost food scraps. This’ll guarantee a tidy space, letting you enjoy the freedom of cooking outdoors again.