When you’re faced with frozen or cracked plastic walls, it’s essential to approach the replacement process methodically. Start by thoroughly evaluating the damage, as this sets the stage for effective repair. You’ll need the right tools and materials to guarantee a durable finish. Understanding how to select the best replacement options and execute the installation correctly can save you time and future headaches. Let’s explore these steps in detail to guarantee a successful outcome.
Assessing the Damage
Before you plunge into replacing frozen or cracked plastic walls, it’s essential to assess the damage thoroughly. Start with a visual inspection; check for cracks, warping, or discoloration that could indicate structural issues. Take note of any areas where water has penetrated, as this can lead to further deterioration. Conduct a damage evaluation by gently tapping or pressing on the affected areas to identify weaknesses. Document your findings to prioritize repair tasks effectively. By understanding the extent of the damage, you can make informed decisions about the necessary steps for replacement, ensuring a solid foundation for your project moving forward.
Choosing the Right Replacement Material
After evaluating the damage to your plastic walls, the next step is selecting the right replacement material. You’ll want to contemplate various material types, like polycarbonate or acrylic, each offering unique benefits. Think about durability factors, such as UV resistance and impact strength, which are essential for longevity. Polycarbonate is known for its toughness, while acrylic provides excellent clarity. Weigh the environmental conditions your walls will face; extreme temperatures or moisture can affect performance. By choosing the right material, you guarantee your replacement walls not only withstand challenges but also maintain their aesthetic appeal for years to come.
Preparing for Replacement
Before you start replacing those plastic walls, you need to assess the extent of the damage to determine the best approach. You’ll also want to gather all necessary tools, such as a utility knife, measuring tape, and adhesive, to guarantee a smooth process. Proper preparation will save you time and effort when it comes to the actual replacement.
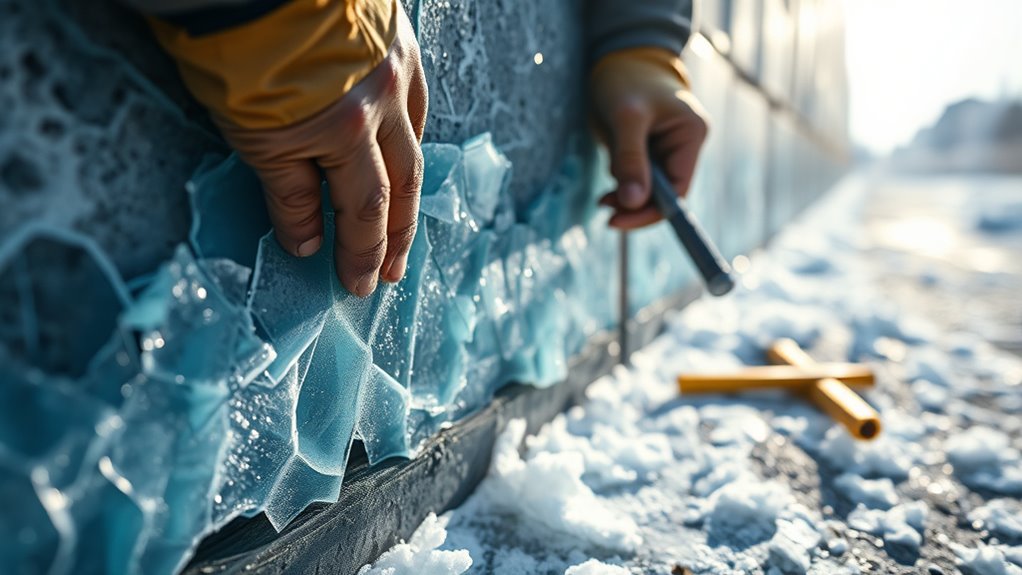
Assessing Damage Extent
How can you effectively determine the extent of damage to your plastic walls before initiating the replacement process? Start by inspecting for visible damage indicators, such as cracks, warping, or discoloration. Use a moisture meter to check for hidden moisture that could indicate deeper issues. Assess the structural integrity by gently flexing the walls; if they bend easily, it’s a sign of significant deterioration. Consider applying temporary repair techniques, like adhesive patches, to stabilize the area while you evaluate. This assessment will guide your decision-making, ensuring you replace only what’s necessary and maintain a sturdy, reliable structure.
Gathering Necessary Tools
To successfully replace your plastic walls, you’ll need a specific set of tools to confirm the process goes smoothly. First, gather essential tool types like a utility knife, screwdriver, and measuring tape. You’ll also want a heat gun for softening stubborn materials and safety gear for protection. Before starting, verify proper tool maintenance by checking for sharpness and functionality. Clean any debris from your tools to prevent damage during the replacement. Having these tools on hand not only streamlines the project but also empowers you to tackle it confidently, confirming freedom in your DIY endeavors.
Removing the Old Walls
Before you begin removing the old walls, you need to assess their condition to determine the best approach. Gather the necessary tools, such as a utility knife, pry bar, and safety goggles, along with materials for disposal. This preparation will guarantee a smoother removal process and help prevent potential damage to surrounding structures.
Assessing Wall Condition
As you prepare to remove the old walls, it is vital to thoroughly assess their condition to determine the extent of damage and identify any underlying issues. Start with visual inspection techniques; look for cracks, warping, or signs of moisture. Pay close attention to corners and joints, as these areas often reveal structural weaknesses. Next, conduct a wall moisture analysis using a moisture meter, which will help you detect hidden dampness that could compromise the new installation. Document your findings, as this information is important for planning your replacement and ensuring a successful, long-lasting outcome.
Tools and Materials Needed
Once you’ve assessed the condition of the old walls and documented any issues, gathering the right tools and materials is the next step in the removal process. You’ll need a utility knife for cutting along seams, a pry bar for loosening panels, and a hammer for gentle removal. Depending on the plastic wall types, consider a heat gun to soften stubborn areas. Stock up on safety gear—gloves and goggles are essential. For replacement techniques, have replacement panels ready, along with adhesive or screws as needed. This preparation guarantees a smooth, efficient removal, paving the way for your new installation.
Installing New Plastic Walls
When you’re ready to install new plastic walls, it’s crucial to guarantee the area is clean and free of debris to achieve a secure fit. Choose the appropriate wall types based on your needs, such as lightweight panels or heavy-duty sheets. Familiarize yourself with various installation techniques, like using adhesive or mechanical fasteners, to ascertain stability. Measure and cut the panels accurately, allowing for expansion gaps. Align the panels properly, securing them to the framing or existing structure. Double-check for levelness and plumb to maintain aesthetics. Finally, seal any joints to prevent moisture intrusion and enhance durability for long-lasting performance.
Maintaining Your New Walls
To guarantee your new plastic walls remain in peak condition, regular maintenance is essential. Start with wall maintenance by inspecting for any signs of wear or damage. Use a soft cloth and mild detergent to clean surfaces; avoid abrasive cleaners that can scratch. For stubborn stains, a mixture of vinegar and water can work wonders. Rinse thoroughly and dry to prevent moisture buildup. Additionally, check for any loose fittings or seals; reapply caulk if necessary. By following these cleaning tips, you’ll extend the life of your walls, ensuring they stay vibrant and functional, giving you the freedom to enjoy your space fully.
Frequently Asked Questions
How Can I Prevent Future Cracks in Plastic Walls?
To prevent future cracks in plastic walls, guarantee proper temperature regulation and choose high-quality materials designed for your environment. Regular inspections and maintenance will also help identify stress points before they lead to significant damage.
What Tools Are Essential for Replacing Plastic Walls?
You’ll need measuring tools like calipers and tape measures for precision, alongside cutting tools such as utility knives and saws for clean edges. With these, you’ll wield the power to transform your space effectively.
Can I Paint Over My New Plastic Walls?
Yes, you can paint over new plastic walls. Guarantee proper wall preparation by cleaning and sanding the surface. Use suitable painting techniques, like primer application, to enhance adhesion and achieve a durable, attractive finish.
Are There Eco-Friendly Options for Plastic Wall Replacements?
Yes, there’re eco-friendly options for plastic wall replacements. Consider sustainable materials like bamboo or recycled composites, and look for biodegradable options that reduce environmental impact while providing durability and aesthetic appeal for your space.
How Do I Dispose of Old Plastic Wall Materials?
When it’s time to bid farewell to your old plastic walls, consider exploring recycling options first. Local facilities often accept such materials. If not, check community guidelines for responsible disposal methods that align with eco-friendly practices.