To add a smart thermostat to your gazebo, start by choosing a compatible model that suits your HVAC system and offers smart features. Next, assess your gazebo’s electrical wiring for safety and adequacy. Prepare for installation by gathering tools and determining the ideal location for the thermostat. After turning off the power, remove the old unit and connect the new one. Finally, connect it to your Wi-Fi, and optimize settings for maximum comfort. More details follow.
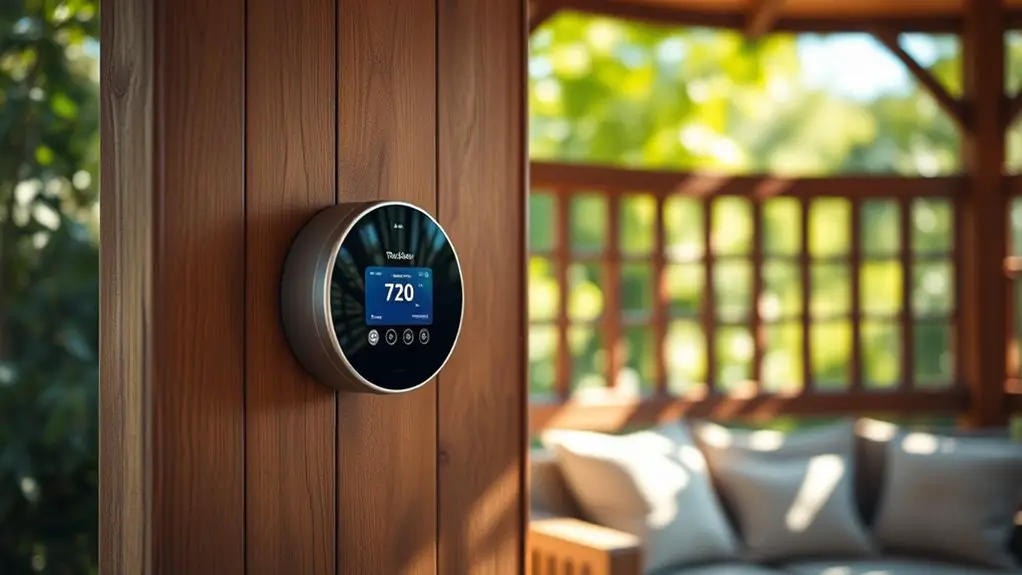
Choosing the Right Smart Thermostat
When selecting the right smart thermostat for your gazebo, what features should you prioritize? First, consider smart features that enhance usability and convenience, such as remote control capabilities and integration with your existing smart home system. These functionalities allow you to adjust the temperature from anywhere, guaranteeing your gazebo remains a comfortable retreat.
Next, focus on energy efficiency. Look for thermostats that utilize algorithms to learn your heating and cooling preferences, optimizing energy consumption automatically. Some models also offer energy-saving modes that can greatly reduce your utility bills.
Additionally, verify the thermostat has a user-friendly interface, making it easy to navigate settings and schedules. Compatibility with diverse HVAC systems is essential too, so confirm it works well with your gazebo’s heating and cooling setup. By prioritizing these features, you’ll create an efficient, comfortable environment that complements your desire for freedom and convenience.
Assessing Your Gazebo’s Electrical System
Before installing a smart thermostat, it’s essential to assess your gazebo’s electrical system. Start by checking the existing wiring to guarantee it meets the necessary standards. Next, evaluate power requirements and inspect the circuit breaker box to confirm adequate capacity for your new device.
Check Existing Wiring
Evaluating your gazebo’s electrical system is vital before installing a smart thermostat. Start by checking the existing wiring for compatibility with your new device. Verify that the wiring meets the required safety standards to avoid hazards. Look for any signs of wear, such as frayed insulation or loose connections, which could compromise both performance and safety. If your current wiring is outdated or incompatible, it may need replacement or upgrading to accommodate the smart thermostat. Remember, using the right gauge and type of wire is important for best functionality. By confirming wiring compatibility and adhering to safety standards, you’ll set a solid foundation for your smart thermostat installation, enhancing your gazebo experience.
Assess Power Requirements
Determining the power requirements of your smart thermostat is essential for guaranteeing ideal performance. Start by checking the manufacturer’s specifications to identify its power consumption, typically expressed in watts. Most smart thermostats are designed for energy efficiency, often consuming less power than traditional models. Confirm your gazebo’s electrical system can provide the necessary voltage and current without overloading. If your thermostat requires a C-wire for constant power, verify that your wiring supports it, or consider alternatives like a power adapter. Properly evaluating these power requirements not only optimizes the thermostat’s functionality but also contributes to your overall energy savings, allowing you to maintain comfort in your gazebo without excessive energy use.
Inspect Circuit Breaker Box
While you prepare to install your smart thermostat, it’s essential to inspect your gazebo’s circuit breaker box to guarantee a safe and reliable electrical supply. A thorough circuit analysis can help you identify potential issues before they arise, assuring breaker safety. Here’s what to check:
- Condition of the breaker box: Look for any signs of rust or damage.
- Proper labeling: Verify each breaker is accurately labeled for easy identification.
- Amperage ratings: Confirm that the breakers can handle the load your thermostat will require.
- Loose connections: Tighten any loose wires to prevent overheating.
- GFCI functionality: Test ground fault circuit interrupters to ensure they’re operational.
Taking these steps will provide peace of mind as you move forward with your installation.
Preparing for Installation
Before you begin installation, you need to assess your gazebo’s electrical requirements to guarantee compatibility with the smart thermostat. Next, select an ideal location for the thermostat that maximizes efficiency and accessibility. Finally, gather all necessary tools to facilitate a smooth installation process.
Assess Electrical Requirements
To guarantee a smooth installation of your smart thermostat in the gazebo, it’s essential to assess the electrical requirements beforehand. Understanding the electrical setup will make sure that you can leverage the smart features effectively while maximizing energy savings.
Consider the following:
- Voltage compatibility: Make sure your thermostat matches the voltage supplied.
- Wiring type: Check if you need a C-wire for continuous power.
- Breaker capacity: Assess if your circuit can handle the added load.
- Location of outlets: Identify nearby outlets for easy access.
- Safety standards: Confirm compliance with local electrical codes.
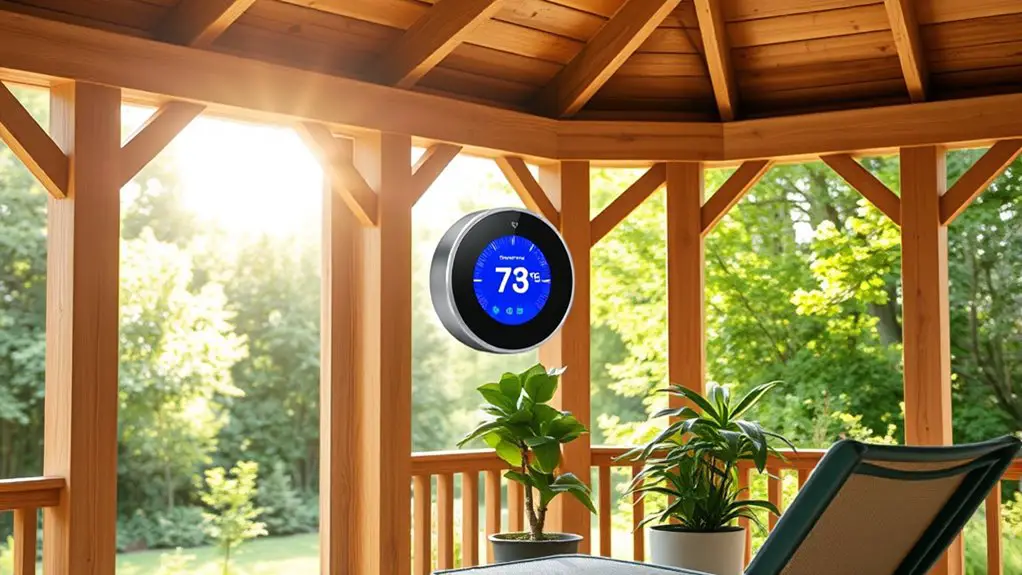
Choose Ideal Location
Choosing the ideal location for your smart thermostat is essential for best performance and convenience. Proper placement can greatly impact its accuracy, so consider environmental factors like sunlight, airflow, and humidity. Avoid areas near vents, windows, or doors, as they can lead to inaccurate readings.
| Factor | Ideal Placement | Avoid Placement |
|---|---|---|
| Sunlight | Shaded areas | Direct sunlight |
| Airflow | Central location | Near vents |
| Humidity | Away from sources | Close to water sources |
Gather Necessary Tools
Gathering the necessary tools is an essential step in installing your smart thermostat effectively. Having the right equipment on hand guarantees a smooth installation process, allowing you to customize your gazebo’s climate with ease. Here’s a list of essential equipment you’ll need:
- Screwdriver set (flat and Phillips)
- Wire stripper and cutter
- Level
- Drill with bits
- Voltage tester
Installing the Smart Thermostat
Installing a smart thermostat in your gazebo can greatly enhance your climate control and energy efficiency. When choosing a smart thermostat, you’ll encounter various smart thermostat types, including Wi-Fi-enabled and programmable options. Here are essential installation tips to guarantee a seamless process:
| Step | Description | Tools Needed |
|---|---|---|
| Turn Off Power | Guarantee safety by turning off power. | Screwdriver, Tester |
| Remove Old Unit | Detach existing thermostat carefully. | Screwdriver |
| Connect Wires | Match wires to corresponding labels. | Wire stripper, Tape |
| Mount New Unit | Securely fasten the new thermostat. | Screwdriver |
| Restore Power | Turn the power back on to test. | Tester |
Follow these steps closely, and you’ll enjoy the freedom of efficient climate management in your gazebo.
Connecting to Your Home Wi-Fi
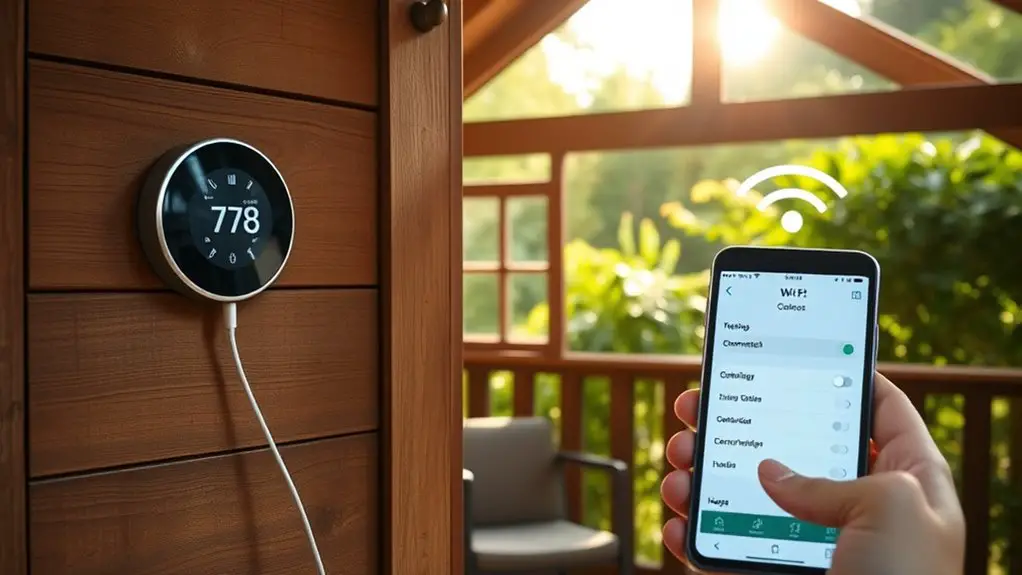
Once you’ve installed your smart thermostat, connecting it to your home Wi-Fi is essential for accessing its full range of features. This connection allows you to control your gazebo’s climate remotely and receive updates. To guarantee a smooth connection, check the following:
- Wi-Fi compatibility: Confirm your thermostat supports your network’s frequency (2.4GHz or 5GHz).
- Signal strength: Position your router for ideal coverage; a weak signal can disrupt connectivity.
- Network credentials: Have your Wi-Fi password ready for a seamless setup.
- Firmware updates: Make sure your thermostat’s software is up-to-date to maximize performance.
- App installation: Download the manufacturer’s app for easy control and monitoring.
Once you’ve verified these aspects, follow the on-screen instructions to connect. Enjoy the freedom that comes with a connected, smart thermostat.
Configuring the Thermostat Settings
After connecting your smart thermostat to your home Wi-Fi, the next step involves configuring its settings to enhance performance for your gazebo. Start by setting temperature schedules that align with your usage patterns. For instance, if you typically use your gazebo in the evenings, program the thermostat to lower the temperature slightly during the day and increase it before you arrive. This guarantees comfort without wasting energy.
Next, activate humidity control features. Maintaining ideal humidity levels is essential for comfort and preventing mold. Adjust the humidity settings based on your local climate, making sure the gazebo remains a pleasant retreat regardless of the weather outside.
Lastly, explore any additional features offered by your thermostat, such as geofencing or energy-saving modes. By fine-tuning these settings, you’ll enjoy a more responsive and efficient climate control system that enhances your gazebo experience.
Enjoying Your Enhanced Gazebo Experience
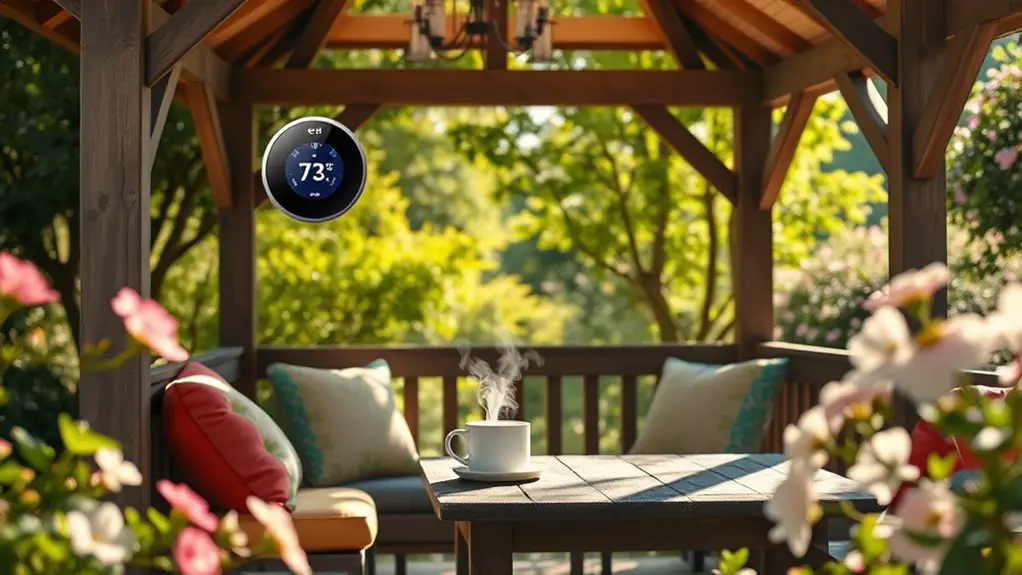
While you might have invested time in setting up your smart thermostat, the real reward comes when you start enjoying the enhanced comfort of your gazebo. With the right settings, you can experience unmatched outdoor comfort, combining relaxation with energy efficiency. Imagine lounging in your gazebo while the smart thermostat maintains the ideal temperature, adapting to changing weather conditions.
Here are a few ways to maximize your experience:
- Bask in the warmth during chilly evenings.
- Enjoy a cool retreat on hot summer days.
- Host gatherings without worrying about temperature fluctuations.
- Monitor energy usage to reduce costs over time.
- Personalize settings for different times of day or activities. Gazebos can also enhance outdoor experiences for pets and family members alike, making your time spent outdoors even more enjoyable.
Frequently Asked Questions
Can I Use a Smart Thermostat in an Uninsulated Gazebo?
Using a smart thermostat in an uninsulated gazebo presents challenges, like temperature fluctuations. While it offers benefits such as energy efficiency and remote control, it may struggle to maintain consistent comfort levels in extreme weather.
What if My Gazebo Doesn’t Have Existing HVAC Systems?
If your gazebo lacks HVAC systems, consider alternative heating solutions like electric heaters or propane units. Additionally, explore gazebo insulation options to enhance energy efficiency, ensuring your space remains comfortable regardless of external temperatures.
Are There Any Specific Brands Recommended for Outdoor Use?
Looking for outdoor models that won’t fail you? Brands like Ecobee and Nest offer robust options for outdoor use. Check brand comparisons to guarantee you select a thermostat that meets your specific needs and preferences.
How Do I Troubleshoot Connectivity Issues With the Thermostat?
To troubleshoot connectivity problems with your thermostat, first perform a reset. Check Wi-Fi signal strength, make certain the thermostat’s firmware is up-to-date, and verify network settings to restore a stable connection for peak performance.
Will a Smart Thermostat Increase My Electricity Bill?
Think of a smart thermostat as a compass guiding your energy efficiency. It optimizes temperature, potentially reducing usage, leading to cost savings. If used wisely, it shouldn’t increase your electricity bill; instead, it can lower it.