To refinish and restore your wooden gazebo, start by evaluating its condition for cracks, wear, and moisture damage. Gather the right tools like sandpaper and wood stain, and clean the surface thoroughly to remove dirt. Sand the wood with progressively finer grits for a smooth finish, then apply a high-quality sealant or stain in even strokes. Regular inspections and maintenance play a key role in preserving its beauty and structure. There’s more to learn about each step for lasting results.
Assessing the Condition of Your Gazebo
Before diving into the refinishing process, it’s crucial to assess the condition of your gazebo. Start with some basic gazebo inspection techniques, like examining the wood closely for any signs of wear. Look for wood damage indicators such as cracks, splintering, or discoloration. These signs can point to deeper issues like rot or pest infestations.
Don’t forget to check the joints and connections, as they’re often vulnerable to moisture. If you notice soft spots when you press down, it’s a clear sign the wood needs attention. Pay special attention to areas that are shaded or frequently wet, as they’re more likely to harbor problems. Regular inspections are essential for early damage detection to ensure that your gazebo remains in great condition.
Taking the time to thoroughly inspect your gazebo will not only save you from costly repairs later but also guarantee your refinishing project brings back the beauty and functionality you desire. It’s about embracing freedom in your outdoor space!
Gathering the Necessary Tools and Materials
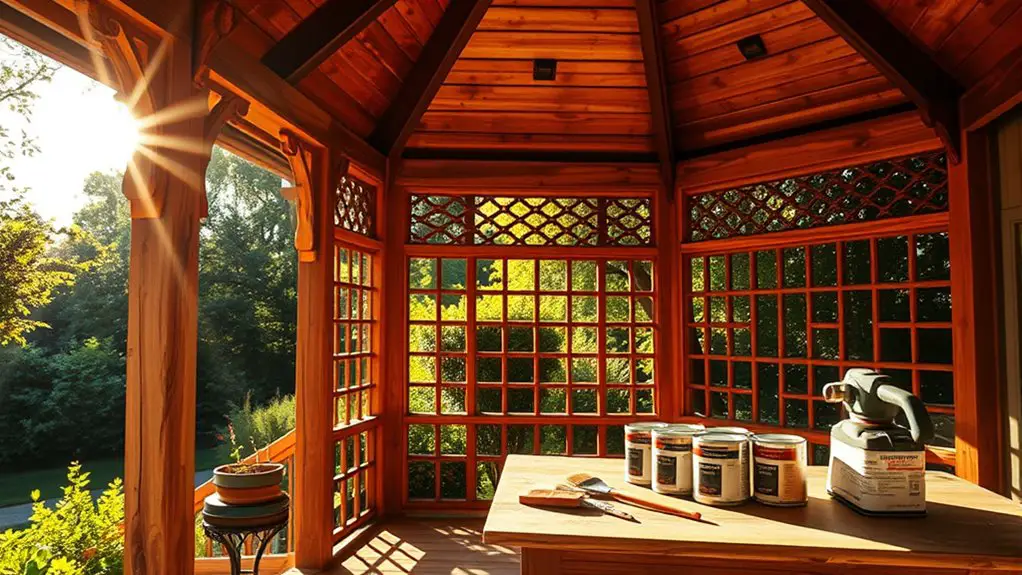
Once you’ve assessed the condition of your gazebo and identified any necessary repairs, it’s time to gather the tools and materials you’ll need for the refinishing process. Start with your tool selection: a power sander, paintbrushes, and a putty knife are essential. You’ll also need safety gear, like goggles and a mask, to protect yourself while working.
Next, focus on material sourcing. Choose a high-quality wood stain or sealant that suits your gazebo’s style and climate. Don’t forget sandpaper and a wood filler for any imperfections you’ve noted. Regular inspections and proper maintenance can significantly enhance the longevity of your gazebo.
If you plan to replace any damaged wood, be sure to select materials that match the existing structure. Take your time in this phase; having the right tools and materials will make your refinishing project smoother, allowing you the freedom to fully enjoy your gazebo once it’s restored to its former glory.
Cleaning the Wooden Surface
As you immerse yourself in the refinishing process, cleaning the wooden surface is an essential step that sets the foundation for a successful finish. Start by removing dirt, dust, and debris using a stiff-bristle brush or a broom. For deeper cleaning, consider using specialized cleaning solutions designed for wood. These products effectively lift grime without damaging the surface.
Mix your chosen cleaning solution according to the manufacturer’s instructions and apply it generously, allowing it to penetrate for a few minutes. This is critical for proper surface preparation. Use a soft cloth or sponge to scrub the wood gently, ensuring you reach all the nooks and crannies. Rinse thoroughly with clean water, making sure no residue remains. After cleaning, let the gazebo dry completely before moving on to the next steps in your refinishing project. A clean surface is essential for ideal adhesion of stains and finishes. Additionally, regular inspections for damages or signs of wear and tear can help maintain the gazebo’s longevity and beauty.
Sanding for a Smooth Finish
Sanding is an essential step in achieving a smooth finish for your wooden gazebo, especially since it helps remove any imperfections left after cleaning. By using the right sanding techniques and tools, you’ll guarantee the wood is ready for the next steps in your refinishing project.
Here are some tips to get you started:
- Choose the right sanding tools, such as an orbital sander or sanding block.
- Begin with a coarse grit sandpaper (around 80-grit) to tackle rough areas.
- Progress to finer grits (120 to 220-grit) for a smoother surface.
- Sand with the grain of the wood to avoid scratches.
- Don’t forget to vacuum or wipe down the surface between sanding to remove dust.
With patience and attention to detail, sanding will elevate your gazebo’s appearance, allowing you to enjoy it for years to come.
Applying Wood Stain or Sealant
When it comes to applying wood stain or sealant, choosing the right product is essential for both protection and aesthetics. You’ll want to focus on proper application techniques to guarantee an even finish, avoiding drips and streaks. Don’t forget to take into account the drying and curing time, as this will impact how well your gazebo withstands the elements.
Choosing the Right Product
Choosing the right product for your gazebo’s finish is essential, since it can markedly impact both the appearance and longevity of the wood. You’ll want to take into account various product types and application methods to achieve the best results.
- Oil-based stains: Offer deeper penetration and durability.
- Water-based stains: Dry faster and have lower odor.
- Sealants: Provide a protective layer against moisture and UV damage.
- Pigmented stains: Enhance color while still allowing wood grain to show.
- Clear finishes: Maintain the natural look but may require more frequent reapplication.
Selecting the right product will not only enhance your gazebo’s beauty but also guarantee it withstands the elements, giving you the freedom to enjoy your outdoor space for years to come.
Proper Application Techniques
To achieve a flawless finish on your wooden gazebo, mastering proper application techniques is key. Start by choosing a high-quality brush that suits your stain or sealant. Use a proper brush technique: dip the brush, then tap off excess, guaranteeing even distribution. Apply your product in long, even strokes, following the wood grain to prevent streaking. It’s essential to work in ideal temperature conditions, ideally between 50°F and 85°F, to confirm the stain or sealant adheres well. Avoid applying in direct sunlight, as it can dry your finish too quickly. Remember to maintain a wet edge to prevent lap marks, allowing for a smooth, uniform application that enhances your gazebo’s natural beauty.
Drying and Curing Time
Although it may be tempting to rush the process, understanding drying and curing times is crucial for achieving a durable finish on your wooden gazebo. Proper drying techniques can prevent issues like peeling or discoloration. Here’s what you need to know about the curing process:
- Allow the stain or sealant to dry completely before applying a second coat.
- Follow manufacturer guidelines for drying times, which can vary by product.
- Keep the gazebo in a well-ventilated area to enhance drying.
- Avoid moisture and extreme temperatures during the curing phase.
- Wait at least 24-48 hours after application before using the gazebo.
Taking the time to guarantee proper drying and curing not only protects your investment but also enhances the beauty of your gazebo.
Repairing Damaged Areas
Before you start refinishing your gazebo, it’s essential to identify any damaged areas that need attention. You’ll want to prepare the right materials for repairs and apply effective techniques to guarantee a smooth surface for staining. Let’s explore how to assess damage, gather supplies, and execute the necessary fixes.
Identify Damage Types
When refinishing a wooden gazebo, identifying the types of damage is essential for successful repairs. Understanding the specific issues will help you tackle them effectively, ensuring your gazebo not only looks great but lasts longer. Here are key damage types to check for:
- Water Damage: Look for discoloration, warping, or soft spots.
- Insect Infestation: Check for holes or sawdust, indicating pests like termites.
- Rot: Inspect joints and corners for decay; this can compromise stability.
- Cracks and Splits: Monitor for any surface fissures that may worsen over time.
- Peeling Paint or Stain: Identify areas where the finish has worn away, exposing wood.
Prepare Repair Materials
After identifying the types of damage on your gazebo, the next step is gathering the right repair materials to address those issues effectively. Start by collecting preparation essentials tailored to the specific repairs you need. Here’s a handy table to help you choose:
| Damage Type | Recommended Repair Materials |
|---|---|
| Cracks in Wood | Wood filler, sandpaper |
| Peeling Paint | Paint scraper, primer, exterior paint |
| Rotting Wood | Replacement wood, wood preservative |
| Loose Joints | Wood glue, screws |
Make certain you have all these repair materials ready before you begin. This preparation will not only streamline your restoration process but also guarantee your gazebo stands strong for years to come.
Apply Repair Techniques
Get ready to plunge into the repair process by addressing the damaged areas of your gazebo with precision. Using effective repair techniques is essential for wood preservation and ensuring your gazebo lasts. Here’s how to tackle those imperfections:
- Inspect for cracks, splits, or rot.
- Clean the damaged area thoroughly.
- Apply wood filler for cracks and gouges.
- Use sandpaper to smooth the filled areas.
- Seal with a wood preservative to protect against moisture and pests.
Regular Maintenance Tips for Longevity
To guarantee your wooden gazebo stands the test of time, consistent maintenance is key. Start with seasonal inspections; check for any signs of wear, rot, or pests. Early detection can save you from costly repairs later on. Make it a habit to clean the structure regularly, removing debris that can trap moisture and lead to decay.
Implement preventative measures, such as applying a high-quality sealant every couple of years. This not only protects the wood from weather elements but also enhances its natural beauty. Trim back any nearby foliage to prevent overgrowth that can dampen your gazebo.
Additionally, verify that your gazebo’s foundation remains stable and free from standing water. By incorporating these practices into your routine, you’ll enjoy the freedom of a beautiful, durable gazebo for years to come. Regular maintenance isn’t just work; it’s investing in your outdoor sanctuary. Furthermore, ensure that wood moisture content is below 20% moisture content before applying any protective sealants to maintain the integrity of the wood.
Frequently Asked Questions
How Often Should I Refinish My Wooden Gazebo?
You should refinish your wooden gazebo every two to three years, depending on your maintenance schedule and local weather conditions. Regular inspections help guarantee it stays protected from moisture and UV damage, preserving its beauty and longevity.
Can I Use a Power Washer for Cleaning?
You can release the power of a power washer for cleaning, but be careful! Use power washer tips to avoid damaging wood. Combine it with gentle cleaning techniques for a thorough, effective clean without compromising your gazebo.
What Type of Wood Is Best for Gazebos?
When choosing wood for your gazebo, cedar’s advantages include natural resistance to decay and insects. Alternatively, pressure-treated options are durable and cost-effective, offering great longevity. Both choices guarantee your outdoor space remains inviting and sturdy.
How Long Does the Refinishing Process Take?
Imagine a painter’s canvas; the refinishing process can take anywhere from a few days to a week. Your refinishing techniques and drying time will greatly influence the overall duration, so plan accordingly for best results.
Is It Safe to Use Regular Paint on Wood?
Using regular paint on wood isn’t ideal; it can trap moisture, leading to rot. Instead, opt for paint types designed for wood preservation, ensuring your project remains protected while allowing the wood to breathe and endure.