To set up your gazebo for outdoor gardening classes, start by choosing a sunny location with stable ground. Arrange comfortable seating that encourages interaction, and use weatherproof materials for shade and protection. Keep your gardening supplies organized in labeled containers for easy access. Enhance the atmosphere with natural elements and ambient music. Don’t forget safety; clear pathways and accessible seating are essential for everyone. There’s so much more to explore to create the perfect setting!
Choosing the Right Location for Your Gazebo
When you’re picking the perfect spot for your gazebo, it’s vital to evaluate both practicality and ambiance. Consider sunlight exposure; a well-lit area encourages plant growth and creates a warm, inviting atmosphere for your gardening classes. You’ll want to position your gazebo where it can soak in the sun’s rays while offering shade for those hot summer days. Next, assess the terrain suitability; a level, stable surface guarantees safety and comfort for your guests. Avoid locations with excessive drainage issues or rocky ground that could hinder your gardening activities. Additionally, it’s important to ensure that the gazebo is placed on flat, sturdy ground to enhance stability and safety for all participants. By thoughtfully selecting a location that balances sunlight and terrain, you’ll create an inspiring space that fosters creativity and freedom, allowing everyone to fully enjoy the gardening experience.
Selecting Comfortable Seating Options
Creating a welcoming atmosphere in your gazebo hinges on selecting the right seating options. You want your guests to feel relaxed and engaged during your outdoor gardening classes. Consider these comfortable choices:
Creating a warm and inviting ambiance in your gazebo is essential for an engaging outdoor gardening class.
- Ergonomic chairs: They support your back and encourage good posture, perfect for long sessions.
- Outdoor cushions: Add these to your chairs or benches for extra comfort and a splash of color.
- Folding chairs: Easy to store and set up, they’re great for accommodating various class sizes.
- Benches with storage: These provide ample seating and a handy spot to stash gardening tools or supplies. Additionally, choosing a flat location for your gazebo setup will enhance the overall experience for your guests.
Providing Adequate Shade and Weather Protection
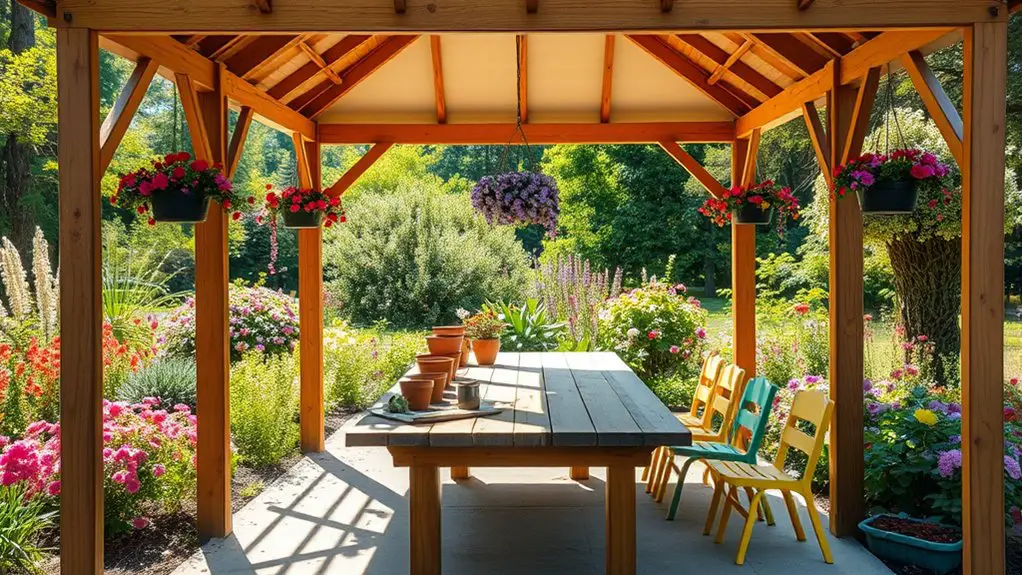
To keep your gardening classes enjoyable, providing adequate shade and weather protection is key. Imagine gathering under beautifully crafted shade structures, where the sun’s rays are softened, allowing you to focus on your passion for gardening. Choose weatherproof materials that can withstand the elements, ensuring everyone stays dry during unexpected showers. Consider installing adjustable awnings or canopies that allow you to control light and ventilation, creating a comfortable atmosphere. Adding potted plants around the gazebo enhances the ambiance while keeping the space inviting. With the right setup, you’ll create a haven for learning, sharing, and growing. So, embrace the freedom of nature while ensuring your participants are protected and comfortable—because gardening should always feel like a joyful escape! Additionally, selecting a gazebo with a hardtop design can provide excellent durability against rain and snow.
Organizing Your Gardening Supplies and Tools
While you might be excited to plunge into your gardening classes, having a well-organized space for your supplies and tools can make all the difference. A clutter-free area not only boosts your creativity but also keeps the flow of your classes smooth. Here’s how to achieve effective supply organization:
- Group similar tools: Keep your gardening tools—like trowels, pruners, and gloves—together for easy access.
- Use labeled containers: Clearly mark boxes or bins for quick identification of seeds, soil, and fertilizers.
- Create a visual display: Hang tools on pegboards for artistic flair and practicality.
- Designate a clean-up time: Encourage participants to tidy up after each session, reinforcing a sense of responsibility.
With these tips, you’ll create an inspiring environment for your gardening journey!
Creating an Engaging Learning Environment
An inviting atmosphere can transform your gardening classes into memorable experiences. Start by arranging your gazebo to encourage interaction; comfy seating and colorful decor can spark creativity. Incorporate hands-on activities like potting plants or creating seed bombs, allowing participants to dig in and learn through experience. Encourage group dynamics by forming small teams, fostering collaboration and making everyone feel included. Use natural elements, like potted herbs or flowers, to stimulate the senses and inspire discussion. Consider adding ambient music or soft lighting to create a relaxed vibe. By prioritizing engagement, you’ll not only teach gardening skills but also nurture a sense of community, leaving your attendees excited to return for more learning adventures under the open sky. Additionally, utilizing a gazebo enhances outdoor comfort and promotes outdoor activities regardless of weather conditions, making it an ideal setting for your classes.
Incorporating Technology for Enhanced Learning
Imagine transforming your gazebo into a hub of interactive learning, where technology meets nature. You can use interactive tools and multimedia presentations to spark curiosity, or even host virtual gardening workshops that connect you with experts around the world. By embracing these innovations, you’ll bring a fresh twist to your gardening classes that keeps everyone engaged and inspired.
Interactive Learning Tools
How can you transform your gardening classes into engaging, interactive experiences? By incorporating interactive learning tools, you’ll captivate your audience and enhance their enjoyment. Here are some ideas to get you started:
- Interactive games that challenge participants’ knowledge of plants and gardening techniques.
- Hands-on demonstrations where attendees can plant seeds or create mini gardens, fostering a sense of accomplishment.
- Mobile apps that allow participants to track their gardening progress and share tips with each other in real-time.
- Live polling or quizzes to gather instant feedback and encourage lively discussions.
Virtual Gardening Workshops
What if you could bring the joys of gardening directly into your home, no matter where you are? Virtual gardening workshops offer you the freedom to learn plant care from the comfort of your couch. You’ll connect with an online community enthusiastic to share tips, tricks, and experiences. Imagine discussing your favorite blooms while sipping your morning coffee!
| Workshop Type | Key Benefits | Engagement Level |
|---|---|---|
| Virtual Plant Care | Learn from experts | High |
| DIY Gardening Tips | Hands-on techniques at home | Moderate |
| Seasonal Workshops | Stay updated with gardening trends | High |
| Community Challenges | Foster friendships and creativity | Very High |
Embrace this tech-savvy approach and watch your gardening skills flourish!
Multimedia Presentation Setup
Setting up an engaging multimedia presentation can transform your gardening classes into dynamic learning experiences. By incorporating the right multimedia equipment and presentation software, you’ll captivate your audience and foster a love for gardening. Here are some essential tips to enhance your setup:
- Visual Aids: Use images and videos of plant growth stages to illustrate concepts vividly.
- Interactive Elements: Integrate quizzes or polls to encourage participation and feedback.
- Live Demonstrations: Stream live gardening sessions, showcasing techniques in real-time.
- Resource Sharing: Provide digital handouts or links to online resources, allowing students to explore further.
With these tools at your disposal, you’ll create an inviting atmosphere that inspires freedom and creativity in your gardening classes.
Ensuring Safety and Accessibility for All Participants
When setting up your gazebo for gardening classes, it’s essential to think about safety and accessibility. You’ll want to create clear pathways for movement, ensuring everyone can navigate easily, and provide accessible seating options for all participants. Don’t forget to establish emergency preparedness measures, so you’re ready for anything that might come your way. Additionally, ensure the gazebo is set up on a stable and level surface to maintain safety for all participants.
Clear Pathways for Movement
Creating clear pathways for movement in your gazebo isn’t just about aesthetics; it’s essential for guaranteeing safety and accessibility for everyone involved. Think about the flow of movement and how participants will navigate through your space. Here are some tips to enhance your pathways:
- Choose Suitable Pathway Materials: Opt for non-slip surfaces like gravel or pavers.
- Keep Pathways Wide: Make sure there’s room for multiple people to move freely.
- Eliminate Obstacles: Remove any clutter that could trip participants.
- Mark Pathways Clearly: Use plants or decorative stones to define routes.
Accessible Seating Options
With clear pathways established, the next step is to guarantee that seating arrangements cater to everyone’s needs. Employing inclusive design not only enhances comfort but also fosters a sense of community. Consider various seating options, ensuring that everyone can participate freely. Here’s a simple guide to help you choose the right arrangements:
| Seating Option | Accessibility Features | Ideal For |
|---|---|---|
| Folding Chairs | Lightweight, easy to move | All participants |
| Benches | Ample space for multiple users | Group discussions |
| Wheelchair-accessible seating | Designed for mobility aids | Individuals with disabilities |
Emergency Preparedness Measures
To guarantee safety and accessibility for all participants, it’s vital to develop a thorough emergency preparedness plan. You want everyone to feel secure and ready for anything that might arise. Make certain you have the essentials on hand:
- Emergency supplies: Stock up on water, flashlights, and non-perishable snacks.
- First aid kit: Keep a well-equipped kit nearby, complete with band-aids, antiseptics, and pain relievers.
- Evacuation routes: Clearly mark exits and make sure they’re easily accessible for all.
- Communication plan: Have a strategy for relaying information quickly in case of an emergency.
Frequently Asked Questions
How Many Participants Can Comfortably Fit Under the Gazebo?
When considering how many participants can fit comfortably under the gazebo, think about participant spacing and seating arrangements. Ideally, you’ll want around six to eight people, ensuring everyone enjoys a relaxed, free-flowing atmosphere.
What Type of Flooring Is Best for a Gazebo Setup?
Who needs a fancy ballroom when you’ve got a gazebo? For flooring, consider wooden versus composite for charm, or stone pavers for durability. Choose wisely; your feet—and your classes—will thank you!
Can I Use My Gazebo for Other Events Besides Gardening Classes?
Your gazebo’s perfect for wedding receptions or art exhibitions, offering a charming, open-air vibe. It creates a unique atmosphere, letting guests bask in nature while enjoying the festivities. Embrace its versatility for unforgettable gatherings!
How Do I Maintain the Gazebo During Different Weather Conditions?
To maintain your gazebo, guarantee it’s weatherproofed against rain and snow. Regularly inspect for wear, clean debris, and apply seasonal maintenance like sealing wood. With proper care, your gazebo will thrive through all seasons, offering you freedom.
What Decorations Can Enhance the Gazebo’s Atmosphere for Classes?
To transform your gazebo into a haven, drape fairy lights like stars above, place decorative plants to breathe life, hang colorful banners to celebrate creativity, and use themed tablecloths that inspire freedom and connection.