When you install sauna-safe walls, prioritize insulation, select appropriate materials, and guarantee proper ventilation. These steps are essential for maintaining ideal temperatures during winter. Choosing moisture-resistant woods and sealing joints effectively will enhance energy efficiency and durability. Understanding these factors will not only improve your sauna experience but also protect your investment. Let’s explore how to prepare your sauna for installation and the techniques that will maximize heat retention.
Understanding the Importance of Sauna-Safe Walls
When you’re considering building or renovating a sauna, understanding the importance of sauna-safe walls is essential. These walls are vital for ensuring safety while maintaining peak thermal efficiency. The right sauna wall materials, such as cedar or hemlock, resist moisture and heat without warping or degrading. This durability enhances the sauna’s performance, allowing you to enjoy consistent temperatures and a comfortable environment. Additionally, effective insulation within these walls minimizes heat loss, which not only improves energy efficiency but also contributes to a more enjoyable experience. By prioritizing sauna-safe walls, you’re investing in both safety and comfort, ensuring your sauna remains a sanctuary for relaxation and well-being for years to come.
Choosing the Right Materials for Your Sauna
When choosing materials for your sauna, it’s essential to understand the different types of insulation available and their properties. You’ll want to prioritize moisture-resistant options to prevent damage and guarantee longevity. Making informed selections at this stage will greatly impact your sauna’s performance and durability.
Insulation Types Overview
Although selecting the right insulation materials for your sauna might seem straightforward, it plays an essential role in maintaining temperature and energy efficiency. In this insulation materials overview, you’ll find several options, each with unique properties. Fiberglass insulation offers a solid balance of cost and thermal resistance, making it a popular choice. Alternatively, mineral wool provides excellent fire resistance, enhancing safety. Rigid foam boards boast high R-values, ensuring superior thermal resistance comparison against other materials. Reflective insulation can also be considered, particularly for its ability to reflect heat back into the sauna. Ultimately, your choice should align with your sauna’s design and your energy conservation goals, ensuring a comfortable and efficient experience during winter use.
Moisture-Resistant Options
To guarantee longevity and safety in your sauna, selecting moisture-resistant materials is essential, as high humidity levels can lead to mold growth and structural damage. Start by incorporating moisture barriers, such as vapor retarders, to prevent moisture penetration. These barriers should be installed behind your wall materials to effectively block water vapor. For the walls themselves, consider using cedar or hemlock, both known for their natural resistance to moisture. Additionally, applying specialized wall coatings can enhance protection against humidity. These coatings help seal the wood, further reducing the risk of mold and decay. Always prioritize these materials in your sauna construction, ensuring a safe and enjoyable environment that meets your freedom-seeking lifestyle.
Preparing Your Sauna for Installation
Before you begin installation, it’s vital to assess the current condition of your sauna. Check for any structural issues or moisture damage that could affect the installation process. Additionally, gather all necessary tools to guarantee a smooth and efficient setup.
Assessing Sauna Condition
When evaluating your sauna’s condition, it is essential to thoroughly inspect both the interior and exterior elements to guarantee a successful installation of Sauna-Safe walls. Start with a sauna inspection checklist to make sure you don’t overlook any critical areas. Check for moisture damage, mold, or rot on wooden surfaces, as these can compromise wall integrity. Conduct a wall damage assessment to identify cracks, warping, or any structural issues that could affect the new installation. Pay attention to the seals and joints, making certain they’re in good condition to prevent heat loss. If you find any significant damage, address those issues before proceeding. This careful assessment is important for achieving a durable and effective sauna environment during winter.
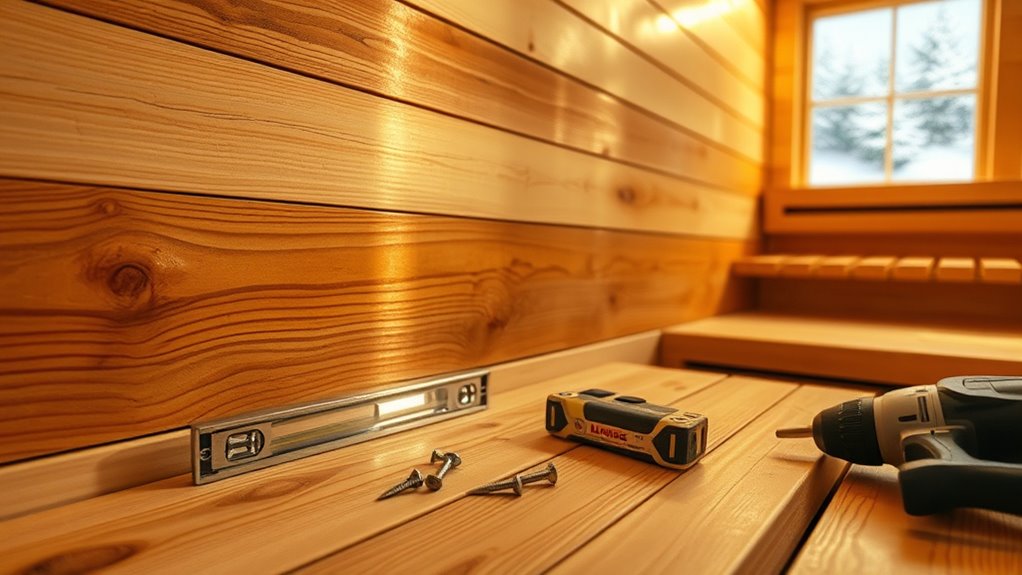
Gathering Necessary Tools
Gathering the right tools is essential for a successful installation of Sauna-Safe walls. Start with proper tool selection: you’ll need a level, measuring tape, saw, and a drill. Confirm you have all necessary fasteners and brackets for secure attachment. Don’t overlook safety equipment; wearing gloves and safety goggles will protect you during the installation process. Additionally, consider using a dust mask if you’re working with materials that create particles. A sturdy workbench can make your job easier, providing stability while cutting or assembling components. By preparing these tools and safety gear ahead of time, you’ll streamline the installation process, allowing for a safer, more efficient experience as you transform your sauna into a winter-ready retreat.
Step-by-Step Guide to Installing Sauna-Safe Walls
Installing sauna-safe walls requires careful planning and execution to guarantee safety and durability. To effectively implement sauna wall designs, follow these steps:
- Choose Materials: Select heat-resistant wood, like cedar or spruce, ensuring it meets sauna-safe standards.
- Measure and Cut: Accurately measure wall dimensions and cut your materials to fit snugly, promoting ideal heat retention techniques.
- Installation: Securely attach the panels to the framing, allowing for proper ventilation and expansion gaps.
- Finishing Touches: Seal joints with heat-resistant caulk and inspect for any gaps to enhance durability.
Insulation Techniques for Maximum Heat Retention
To maximize heat retention in your sauna, employing effective insulation techniques is vital. Start by selecting high-quality insulation materials with a low thermal conductivity, such as fiberglass or foam boards, to reduce heat loss. Ascertain your walls are constructed to minimize thermal bridging, which occurs when heat escapes through structural components. You can achieve this by using staggered stud construction or adding insulation blocks around studs. Additionally, consider installing a vapor barrier to prevent moisture penetration, which can compromise insulation effectiveness. Pay attention to the ceiling and floor as well; they’re critical areas where heat can escape. By implementing these techniques, you’ll create a sauna environment that’s comfortable, energy-efficient, and ready for winter use.
Ensuring Proper Ventilation in Your Sauna
While it might seem counterintuitive, guaranteeing proper ventilation in your sauna is essential for maintaining a safe and comfortable environment. Effective air circulation enhances your sauna experience and prevents the buildup of harmful gases. Here are four key components to take into account when implementing ventilation systems:
- Intake Vents: Position these near the floor to draw in cooler air.
- Exhaust Vents: Place these higher up to release hot, stale air.
- Adjustable Dampers: Use them to control airflow and temperature.
- Regular Checks: Inspect your ventilation system to guarantee peak performance.
Maintenance Tips for Sauna-Safe Walls
Although sauna-safe walls are designed to withstand high temperatures and humidity, regular maintenance is essential to guarantee their longevity and effectiveness. Here’s a simple maintenance schedule to follow:
| Task | Frequency | Purpose |
|---|---|---|
| Inspect for damage | Monthly | Identify issues early |
| Clean surfaces | Bi-weekly | Remove moisture and buildup |
| Check for leaks | Seasonally | Prevent water damage |
| Refinish wood | Every 1-2 years | Protect and enhance wall longevity |
Enhancing Your Sauna Experience With Additional Features
Enhancing your sauna experience can elevate relaxation and wellness to new heights. Consider integrating these additional features to improve your sauna ambiance and wall aesthetics:
Enhancing your sauna with mood lighting, aromatherapy, and natural elements creates a serene oasis for relaxation and wellness.
- Mood Lighting: Install adjustable LED lights to create a soothing atmosphere that complements your relaxation routine.
- Aromatherapy Dispenser: Infuse essential oils into the air for a calming scent that enhances your overall experience.
- Sound System: Integrate a waterproof sound system for music or guided meditations, allowing you to immerse yourself fully.
- Natural Elements: Incorporate wood accents or stone features on your walls to harmonize the design with nature, enhancing both aesthetics and tranquility.
These enhancements not only elevate your sauna experience but also contribute to a serene, inviting environment where you can truly unwind.
Frequently Asked Questions
Can I Install Sauna-Safe Walls Myself, or Hire a Professional?
You can certainly tackle DIY installation, but hiring a professional offers benefits like expertise and efficiency. Weigh your skills and time against the advantages a professional brings to guarantee ideal results for your sauna.
How Long Does It Take to Install Sauna-Safe Walls?
It typically takes you about one to two days to install sauna-safe walls, depending on your experience and the wall materials used. Proper preparation and tools can streamline the installation time considerably, enhancing your freedom to enjoy.
What Are the Costs Associated With Sauna-Safe Wall Installation?
Sauna-safe wall installation costs vary based on material options and labor. You’ll need to contemplate budget considerations, as high-quality materials can greatly impact expenses. Research different options to find what best suits your financial situation.
Are There Specific Tools Required for Installation?
You’ll need specific tools like a saw, drill, and measuring tape for installation. Understanding installation techniques is essential for fitting wall materials properly, ensuring durability and effectiveness in your sauna setup for winter use.
Can Sauna-Safe Walls Be Painted or Stained?
Yes, you can paint or stain sauna-safe walls. Use heat-resistant paint types or natural stain options to guarantee durability. Choosing the right finish allows you to express your style while maintaining the walls’ integrity and functionality.