To set up your gazebo for a beginner’s cooking class, choose an accessible spot with good shade and ventilation. Gather essential equipment like cutting boards, pots, and a reliable heat source. Design the space by creating distinct zones for prep, cooking, and serving. Make certain to organize ingredients and tools for easy access. Confirm proper lighting and maintain safety with a fire extinguisher and a first aid kit. Discover more tips to enhance your class experience.
Choosing the Right Location for Your Gazebo
When you’re setting up a gazebo for your cooking class, choosing the right location is essential to secure a pleasant experience for everyone involved. Start with site selection; look for a spot that’s easily accessible and provides enough room for participants to move around comfortably. Check for space availability to confirm your gazebo fits well without feeling cramped. Consider factors like shade and wind direction—no one wants their culinary creations disrupted by a gust! Also, think about nearby amenities like restrooms and parking; these can enhance your class’s overall convenience. By thoughtfully selecting the right location, you’re setting the stage for an enjoyable and memorable cooking experience that allows everyone to focus on the joy of cooking. Additionally, ensuring the location provides adequate sun and shade exposure can help create a comfortable cooking environment throughout the day.
Essential Equipment and Supplies
To guarantee your cooking class runs smoothly, you’ll need to gather essential equipment and supplies that make the experience enjoyable and efficient. Start by collecting basic cooking utensils, such as knives, cutting boards, pots, and pans. These tools are fundamental for any cooking task and can inspire creativity. Don’t forget about ingredient storage; having airtight containers helps keep your ingredients fresh and organized. Consider portable tables and chairs to create a comfortable workspace for your participants. Finally, ensure you have a reliable heat source, whether it’s a portable stove or grill. With the right equipment in place, you’ll empower your students to explore their culinary skills in a fun and relaxed atmosphere, embracing the freedom of cooking. Additionally, ensure that your setup includes proper ventilation to maintain a safe and comfortable cooking environment for all.
Designing the Cooking Space
When designing your cooking space, think about the layout and organization to guarantee a smooth flow during the class. You’ll want to strategically place essential cooking equipment within easy reach to keep things efficient and enjoyable. A well-planned space can make all the difference in creating a fun and productive cooking environment. Additionally, consider setting up a gazebo with netting for bug prevention to ensure a comfortable outdoor cooking experience.
Layout and Organization
As you design the cooking space in your gazebo, it’s important to contemplate both functionality and flow. Effective layout strategies can enhance the cooking experience, while space optimization guarantees everyone has room to move and create. Here are some tips to help you organize the space:
- Create distinct zones for prep, cooking, and serving.
- Arrange tables in a U-shape to encourage interaction and collaboration.
- Utilize vertical storage solutions to free up counter space.
- Incorporate portable surfaces for flexibility and easy cleanup.
Essential Cooking Equipment
With your cooking space organized into distinct zones, the next step is to equip it with the right tools to enhance the culinary experience. Start by gathering essential cooking utensils like spatulas, knives, and cutting boards. These tools will help you and your students navigate the cooking process smoothly. Don’t forget to include measuring tools such as cups, spoons, and a kitchen scale. Accurate measurements can make or break a dish, so having these on hand is vital. A well-stocked cooking space promotes creativity and guarantees everyone feels confident while cooking. By providing the right equipment, you’re setting the stage for a fun, engaging class where everyone can explore their culinary talents freely!
Setting Up Workstations
When setting up workstations for your cooking class, it’s vital to have an essential equipment checklist handy. This guarantees that each area is well-stocked and ready for action. You’ll also want to think about the best layout design to keep everything organized and efficient.
Essential Equipment Checklist
To guarantee your cooking class runs smoothly, having the right equipment at each workstation is essential. This not only enhances the learning experience but also allows participants to focus on mastering cooking techniques and ingredient preparation without any distractions. Here’s a quick checklist to help you set up:
- Cutting boards: Confirm each station has a clean surface for chopping and prepping ingredients.
- Knives: Provide sharp, appropriate-sized knives for safe and efficient cutting.
- Mixing bowls: These come in handy for combining ingredients and easy transport.
- Utensils: Include spoons, spatulas, and measuring cups for precise cooking tasks.
With these essentials, your class will be ready for a fun and educational cooking adventure!
Optimal Layout Design
How can you create an efficient and inviting layout for your cooking class workstations? Start by arranging your tables in a way that promotes ideal flow. Position them in a U-shape or a circle, allowing easy movement between stations without crowding. Make sure each workstation has enough space for participants to work comfortably, enhancing space efficiency. Group similar tasks together, like chopping or mixing, to streamline the cooking process. Don’t forget to include a central area for shared tools and ingredients, fostering collaboration. Finally, incorporate some seating nearby for breaks, keeping the atmosphere relaxed. By focusing on flow and efficiency, you’ll create an enjoyable environment that encourages creativity and learning in your cooking class.
Ensuring Proper Lighting
While the ambiance of your cooking class matters, ensuring proper lighting is essential for both safety and functionality. You want your guests to feel comfortable while they cook, and the right lighting plays a huge role in that. Utilize natural lighting during the day to brighten your space, but don’t forget to incorporate ambient lighting for those evening classes.
Proper lighting is crucial for comfort and safety in your cooking class, enhancing both ambiance and functionality.
- String lights for a warm glow
- Lanterns for added charm
- Task lighting over cooking stations
- Dimmer switches for adjustable brightness
Creating a Comfortable Atmosphere
Creating a comfortable atmosphere is essential for ensuring your cooking class is enjoyable and inviting. You want your participants to feel relaxed and engaged. Start with comfortable seating, allowing everyone to settle in and interact freely. Pair that with ambient lighting to create a warm, welcoming vibe.
| Element | Importance |
|---|---|
| Comfortable Seating | Enhances relaxation and focus |
| Ambient Lighting | Sets the mood and encourages creativity |
Consider adding soft cushions or blankets for extra comfort. Also, using string lights or lanterns can provide just the right touch of warmth without being harsh. A cozy atmosphere not only fosters creativity but also makes the cooking experience memorable. Incorporating soft lighting can significantly enhance the overall ambiance of your gazebo setup.
Organizing Ingredients and Tools
When it comes to organizing your cooking class, having the right tools and ingredients at your fingertips makes all the difference. You’ll want to think about how to arrange everything for easy access, ensuring a smooth flow during the lesson. By considering your class layout and ingredient organization strategies, you can create an efficient and enjoyable cooking experience.
Essential Cooking Tools
Having the right cooking tools is essential for a successful class, as they can make the cooking process smoother and more enjoyable. You’ll want to gather a selection of cooking utensils and kitchen gadgets that will enable you and your participants to create delicious dishes effortlessly. Here are some must-haves:
- Chef’s knife: A versatile tool for chopping and slicing.
- Cutting board: Keeps your workspace organized and safe.
- Mixing bowls: Perfect for combining ingredients and prepping.
- Measuring cups and spoons: Guarantee accuracy in your recipes.
Having these essential tools ready will not only boost confidence but also enhance the overall cooking experience in your gazebo. So, gear up and let the culinary adventure begin!
Ingredient Organization Strategies
An organized workspace can make all the difference in a cooking class, especially when you’re outdoors in a gazebo. To set yourself up for success, start with ingredient storage. Use clear containers or baskets for easy access and visibility. Group similar items together, like spices or vegetables, to streamline your cooking process.
Next, focus on ingredient labeling. Labeling not only helps you find what you need quickly but also teaches your students about organization. Consider using waterproof labels to withstand outdoor elements.
Don’t forget about your cooking tools; keep them in a designated area nearby. With everything organized, you’ll enjoy a more relaxed and efficient cooking experience, allowing creativity to flow freely in your class.
Class Layout Considerations
As you plan your class layout, consider how the arrangement of ingredients and tools can enhance the cooking experience. A well-organized space fosters class interaction and boosts student engagement, allowing everyone to feel at ease and inspired.
- Central workspace: Create a large, accessible table for hands-on activities.
- Ingredient stations: Set up designated areas for each ingredient to minimize chaos.
- Tool zones: Group tools by usage, making them easy to find and return.
- Seating arrangement: Position chairs to encourage discussion and collaboration.
Safety Considerations
While setting up a gazebo for your cooking class, it’s crucial to prioritize safety to guarantee a smooth and enjoyable experience. Start by confirming fire safety measures are in place, especially if you’re using grills or open flames. Always have a fire extinguisher nearby, and know how to use it. Additionally, a first aid kit should be accessible for any minor injuries.
Ensure that your gazebo complies with local regulations to prevent any legal issues during your event.
| Safety Measure | Description | Importance |
|---|---|---|
| Fire Extinguisher | Keep it within arm’s reach | Quick response to fires |
| First Aid Kit | Include band-aids, antiseptic | Treat minor injuries promptly |
| Clear Pathways | Remove obstacles from walkways | Prevent trips and falls |
| Ventilation | Confirm proper airflow | Reduce smoke and heat buildup |
Planning the Cooking Schedule
To guarantee your cooking class runs smoothly, it’s essential to create a well-structured cooking schedule that keeps participants engaged and on track. Employing effective timing techniques can help you maximize your time while ensuring everyone learns. Consider these elements when planning your schedule:
- Recipe selection: Choose simple yet delicious recipes to boost confidence.
- Prep time: Allocate enough time for ingredient preparation and cooking processes.
- Demonstration segments: Allow time for you to demonstrate key techniques.
- Tasting sessions: Plan breaks for participants to taste their creations and share feedback.
Adding Personal Touches and Decorations
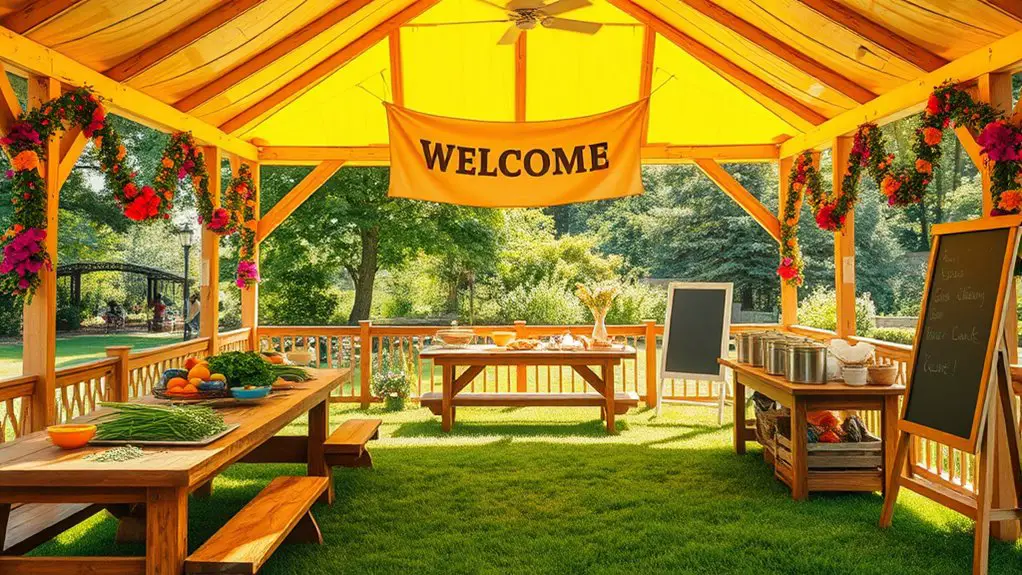
Creating a warm and inviting atmosphere is key when adding personal touches and decorations to your gazebo for the cooking class. Start by incorporating personalized banners that showcase your class theme or welcome guests. This small detail can make a big impact and set the tone for the event. Next, consider using themed tablecloths that reflect the culinary focus of the class. Whether it’s vibrant colors or rustic designs, these tablecloths can enhance the overall aesthetic. Don’t forget to add some greenery or fresh flowers to bring life to your setup. These thoughtful touches not only create a cozy environment but also encourage creativity and enjoyment among participants, making your cooking class a memorable experience. Additionally, incorporating lighting options can enhance the ambiance during evening gatherings, making the space even more inviting.
Frequently Asked Questions
What Is the Ideal Size for a Cooking Class Gazebo?
You might think a tiny gazebo’s perfect for a cooking class, but you’d be wrong! Ideal dimensions are at least 10×10 feet, allowing ample space for your cooking class layout and participants to move freely.
How Do I Handle Inclement Weather During the Class?
When dealing with inclement weather, you’ll want rainy day preparations ready. Consider moving indoors or using alternative cooking options, like stovetops or grills, to keep the class enjoyable and engaging, regardless of Mother Nature’s mood.
Should I Provide Seating for Participants?
When crafting a delightful experience, think about participant comfort. Providing thoughtful seating arrangements can elevate the atmosphere, allowing everyone to relax and focus on the joy of cooking together—making your class truly memorable.
Can I Use a Portable Grill in the Gazebo?
You can use a portable grill in your gazebo, but prioritize safety. Confirm proper ventilation to avoid smoke buildup, and keep the grill away from flammable materials. Enjoy cooking freely while staying safe and comfortable!
How Do I Promote My Cooking Class Effectively?
To promote your cooking class effectively, leverage social media to showcase your expertise and engage potential students. Form local partnerships with businesses to reach a wider audience, creating a community that values culinary experiences and freedom.